
photo stops
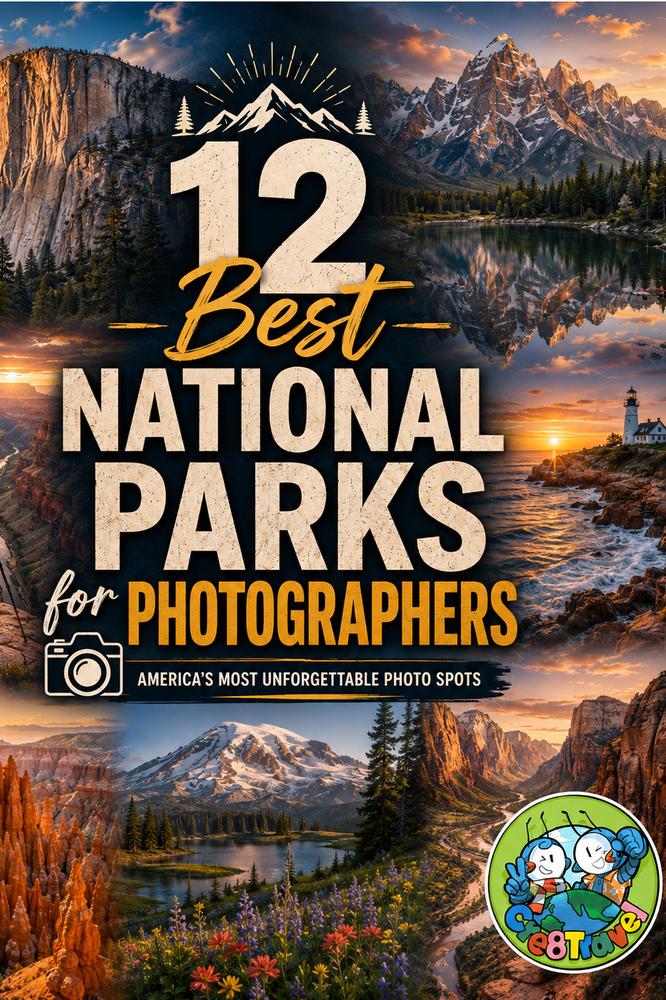
At Yosemite’s Tunnel View, granite walls frame the valley; at Grand Teton’s Schwabacher Landing, still water can reflect the mountains. This guide explores 12 National Parks through the photographs they invite you to make. Each park pairs a signature shot with a viewpoint, light, shooting direction, lens range, and access notes, then offers an alternative composition and a practical photo tip.
1. Yosemite National Park
California
✨ Wow ⭐⭐⭐⭐⭐ | 📷 Photo ⭐⭐⭐⭐⭐ | 🚶 Effort ●●○○○ | 👥 Crowds High
📷 Signature Shot: Yosemite Valley framed by El Capitan, Half Dome, and Bridalveil Fall
📍 Where to Stand: Tunnel View
🌅 Best Light: Late afternoon into sunset; storm-clearing light can be exceptional
🧭 Shooting Direction: East into Yosemite Valley
🔭 Lens Sweet Spot: 24–70mm; phone works well for the classic composition
🌦️ Perfect Conditions: Clearing storm, waterfall flow, layered clouds
🚶 Access: Roadside overlook
👥 Crowd Level: High
✨ Creative Alternative: Photograph El Capitan reflected in the Merced River or use valley meadows as foreground.
💡 Photo Tip: Don’t leave immediately after sunset; soft post-sunset light often gives the granite a quieter mood.
2. Grand Teton National Park
Wyoming
✨ Wow ⭐⭐⭐⭐⭐ | 📷 Photo ⭐⭐⭐⭐⭐ | 🚶 Effort ●●○○○ | 👥 Crowds Moderate–High
📷 Signature Shot: Tetons reflected in calm water
📍 Where to Stand: Schwabacher Landing
🌅 Best Light: Sunrise
🧭 Shooting Direction: West toward the Teton Range
🔭 Lens Sweet Spot: 24–70mm
🌦️ Perfect Conditions: Calm water + light clouds + fresh snow on high peaks
🚶 Access: Short walk
👥 Crowd Level: Moderate–High
✨ Creative Alternative: Use cottonwoods, beaver ponds, or wildlife as foreground subjects.
💡 Photo Tip: Arrive before sunrise, not at sunrise; the best color can happen before the peaks catch direct light.
3. Yellowstone National Park
Wyoming • Montana • Idaho
✨ Wow ⭐⭐⭐⭐⭐ | 📷 Photo ⭐⭐⭐⭐⭐ | 🚶 Effort ●●○○○ | 👥 Crowds High
📷 Signature Shot: Grand Prismatic Spring from above
📍 Where to Stand: Grand Prismatic Overlook
🌅 Best Light: Late morning to afternoon when steam is less likely to obscure color
🧭 Shooting Direction: Down toward Midway Geyser Basin
🔭 Lens Sweet Spot: 24–70mm or 70–200mm for abstract thermal details
🌦️ Perfect Conditions: Cool, clear air with light wind and visible thermal color
🚶 Access: Short uphill walk
👥 Crowd Level: High
✨ Creative Alternative: Photograph bison in steam or abstract mineral textures around thermal basins.
💡 Photo Tip: Yellowstone needs two camera mindsets: wide landscape for geothermal features and telephoto discipline for wildlife.
4. Grand Canyon National Park
Arizona
✨ Wow ⭐⭐⭐⭐⭐ | 📷 Photo ⭐⭐⭐⭐⭐ | 🚶 Effort ●○○○○ | 👥 Crowds High
📷 Signature Shot: Layered canyon ridges glowing in low light
📍 Where to Stand: Desert View or Hopi Point
🌅 Best Light: Sunrise or sunset
🧭 Shooting Direction: Across and along the canyon to capture overlapping layers
🔭 Lens Sweet Spot: 24–70mm; 70–200mm for compressed layers
🌦️ Perfect Conditions: Broken clouds, storm light, fresh snow, or atmospheric haze
🚶 Access: Roadside / short walk
👥 Crowd Level: High
✨ Creative Alternative: Use telephoto compression to isolate repeating ridges rather than trying to fit the entire canyon into one frame.
💡 Photo Tip: Expose for the brightest sky and let the canyon retain some shadow; over-brightening removes depth.
5. Zion National Park
Utah
✨ Wow ⭐⭐⭐⭐⭐ | 📷 Photo ⭐⭐⭐⭐⭐ | 🚶 Effort ●●●○○ | 👥 Crowds High
📷 Signature Shot: The Watchman above the Virgin River corridor
📍 Where to Stand: Pa’rus Trail / Canyon Junction area
🌅 Best Light: Sunset and blue hour
🧭 Shooting Direction: Toward The Watchman
🔭 Lens Sweet Spot: 24–70mm
🌦️ Perfect Conditions: Cottonwood color, textured clouds, calm river reflections
🚶 Access: Easy walk
👥 Crowd Level: High
✨ Creative Alternative: Photograph The Narrows with a person for scale and flowing water as the leading line.
💡 Photo Tip: Zion’s canyon creates huge dynamic range; bracket exposures when bright cliffs and dark foregrounds share the frame.
6. Bryce Canyon National Park
Utah
✨ Wow ⭐⭐⭐⭐⭐ | 📷 Photo ⭐⭐⭐⭐⭐ | 🚶 Effort ●●○○○ | 👥 Crowds High
📷 Signature Shot: Sunrise across Bryce Amphitheater
📍 Where to Stand: Sunrise Point
🌅 Best Light: Sunrise
🧭 Shooting Direction: East across the hoodoo amphitheater
🔭 Lens Sweet Spot: 24–70mm; 70–200mm for hoodoo patterns
🌦️ Perfect Conditions: Fresh snow, clear horizon, side light
🚶 Access: Short paved walk
👥 Crowd Level: High
✨ Creative Alternative: Descend below the rim and use hoodoos to frame hikers or switchbacks.
💡 Photo Tip: Stay after the initial sunrise color; stronger side light can create better texture than the first few minutes.
7. Arches National Park
Utah
✨ Wow ⭐⭐⭐⭐⭐ | 📷 Photo ⭐⭐⭐⭐⭐ | 🚶 Effort ●●●○○ | 👥 Crowds High
📷 Signature Shot: Delicate Arch glowing above the desert
📍 Where to Stand: Delicate Arch amphitheater area
🌅 Best Light: Late afternoon / sunset
🧭 Shooting Direction: Toward the arch with the La Sal Mountains beyond
🔭 Lens Sweet Spot: 24–70mm; 70–200mm for compressed arch-and-mountain compositions
🌦️ Perfect Conditions: Warm light, snow on La Sals, dramatic clouds
🚶 Access: Hike
👥 Crowd Level: High
✨ Creative Alternative: Use Double Arch or a window opening as a natural frame for stars or nearby formations.
💡 Photo Tip: Build extra time for people in the frame; patience is often more useful than a wider lens.
8. Acadia National Park
Maine
✨ Wow ⭐⭐⭐⭐⭐ | 📷 Photo ⭐⭐⭐⭐⭐ | 🚶 Effort ●●○○○ | 👥 Crowds High
📷 Signature Shot: Granite coast meeting the Atlantic at first light
📍 Where to Stand: Ocean Path / Otter Cliffs area
🌅 Best Light: Sunrise
🧭 Shooting Direction: East across the Atlantic
🔭 Lens Sweet Spot: 16–35mm or 24–70mm
🌦️ Perfect Conditions: Moving clouds, surf, fall color, sea mist
🚶 Access: Roadside / short walk
👥 Crowd Level: Moderate–High
✨ Creative Alternative: Photograph Jordan Pond with the Bubbles reflected in calm water.
💡 Photo Tip: Use foreground granite and moving surf to create depth instead of making the horizon the whole picture.
9. Olympic National Park
Washington
✨ Wow ⭐⭐⭐⭐⭐ | 📷 Photo ⭐⭐⭐⭐⭐ | 🚶 Effort ●●○○○ | 👥 Crowds High
📷 Signature Shot: Sea stacks and driftwood on the Pacific coast
📍 Where to Stand: Ruby Beach
🌅 Best Light: Sunset / blue hour
🧭 Shooting Direction: West toward the Pacific
🔭 Lens Sweet Spot: 16–35mm or 24–70mm
🌦️ Perfect Conditions: Sea mist, textured clouds, wet reflective sand
🚶 Access: Short walk
👥 Crowd Level: Moderate–High
✨ Creative Alternative: Embrace rain in the Hoh Rain Forest and photograph layers of moss, ferns, and soft fog.
💡 Photo Tip: Check tides before coastal photography; the best composition is not worth getting trapped by water.
10. Death Valley National Park
California
✨ Wow ⭐⭐⭐⭐⭐ | 📷 Photo ⭐⭐⭐⭐⭐ | 🚶 Effort ●●○○○ | 👥 Crowds Moderate
📷 Signature Shot: Eroded badlands glowing at Zabriskie Point
📍 Where to Stand: Zabriskie Point
🌅 Best Light: Sunrise
🧭 Shooting Direction: Across the badlands toward Manly Beacon and distant mountains
🔭 Lens Sweet Spot: 24–70mm; 70–200mm for abstract ridges
🌦️ Perfect Conditions: Side light, storm clouds, rare snow on surrounding peaks
🚶 Access: Short paved uphill walk
👥 Crowd Level: Moderate–High at sunrise
✨ Creative Alternative: Use Mesquite Flat Sand Dunes for minimalist curves and long shadows.
💡 Photo Tip: For dunes, move away from the first cluster of footprints before composing.
11. Glacier National Park
Montana
✨ Wow ⭐⭐⭐⭐⭐ | 📷 Photo ⭐⭐⭐⭐⭐ | 🚶 Effort ●●●○○ | 👥 Crowds High
📷 Signature Shot: Wild Goose Island in St. Mary Lake
📍 Where to Stand: Wild Goose Island Overlook
🌅 Best Light: Sunrise / early morning
🧭 Shooting Direction: Across St. Mary Lake toward the mountain skyline
🔭 Lens Sweet Spot: 24–70mm
🌦️ Perfect Conditions: Calm lake, dramatic cloud layers, fresh alpine snow
🚶 Access: Roadside overlook
👥 Crowd Level: Moderate–High
✨ Creative Alternative: Photograph reflections and colored stones at Lake McDonald after rain.
💡 Photo Tip: Mountain weather changes quickly; a “bad” forecast can produce the most interesting light.
12. Badlands National Park
South Dakota
✨ Wow ⭐⭐⭐⭐ | 📷 Photo ⭐⭐⭐⭐⭐ | 🚶 Effort ●○○○○ | 👥 Crowds Moderate
📷 Signature Shot: Layered formations glowing at golden hour
📍 Where to Stand: Pinnacles Overlook
🌅 Best Light: Sunset
🧭 Shooting Direction: Across the eroded formations toward open badlands
🔭 Lens Sweet Spot: 24–70mm; telephoto for patterns and wildlife
🌦️ Perfect Conditions: Side light, thunderstorms at a safe distance, soft haze
🚶 Access: Roadside
👥 Crowd Level: Moderate
✨ Creative Alternative: Include bison or bighorn sheep against the striped formations.
💡 Photo Tip: Midday flattens the landscape; low-angle light is what gives the formations their depth.
Keepsakes Along This Guide
Small markers for the parks in the story
37 matching products for National Parks named in the original guide.
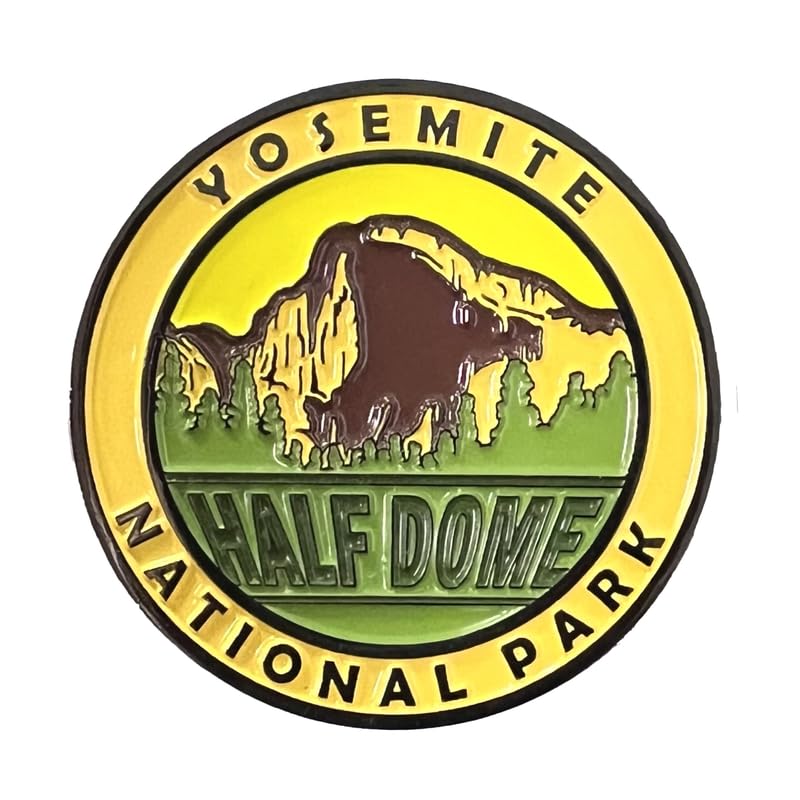 Yosemite National Park
Magnet
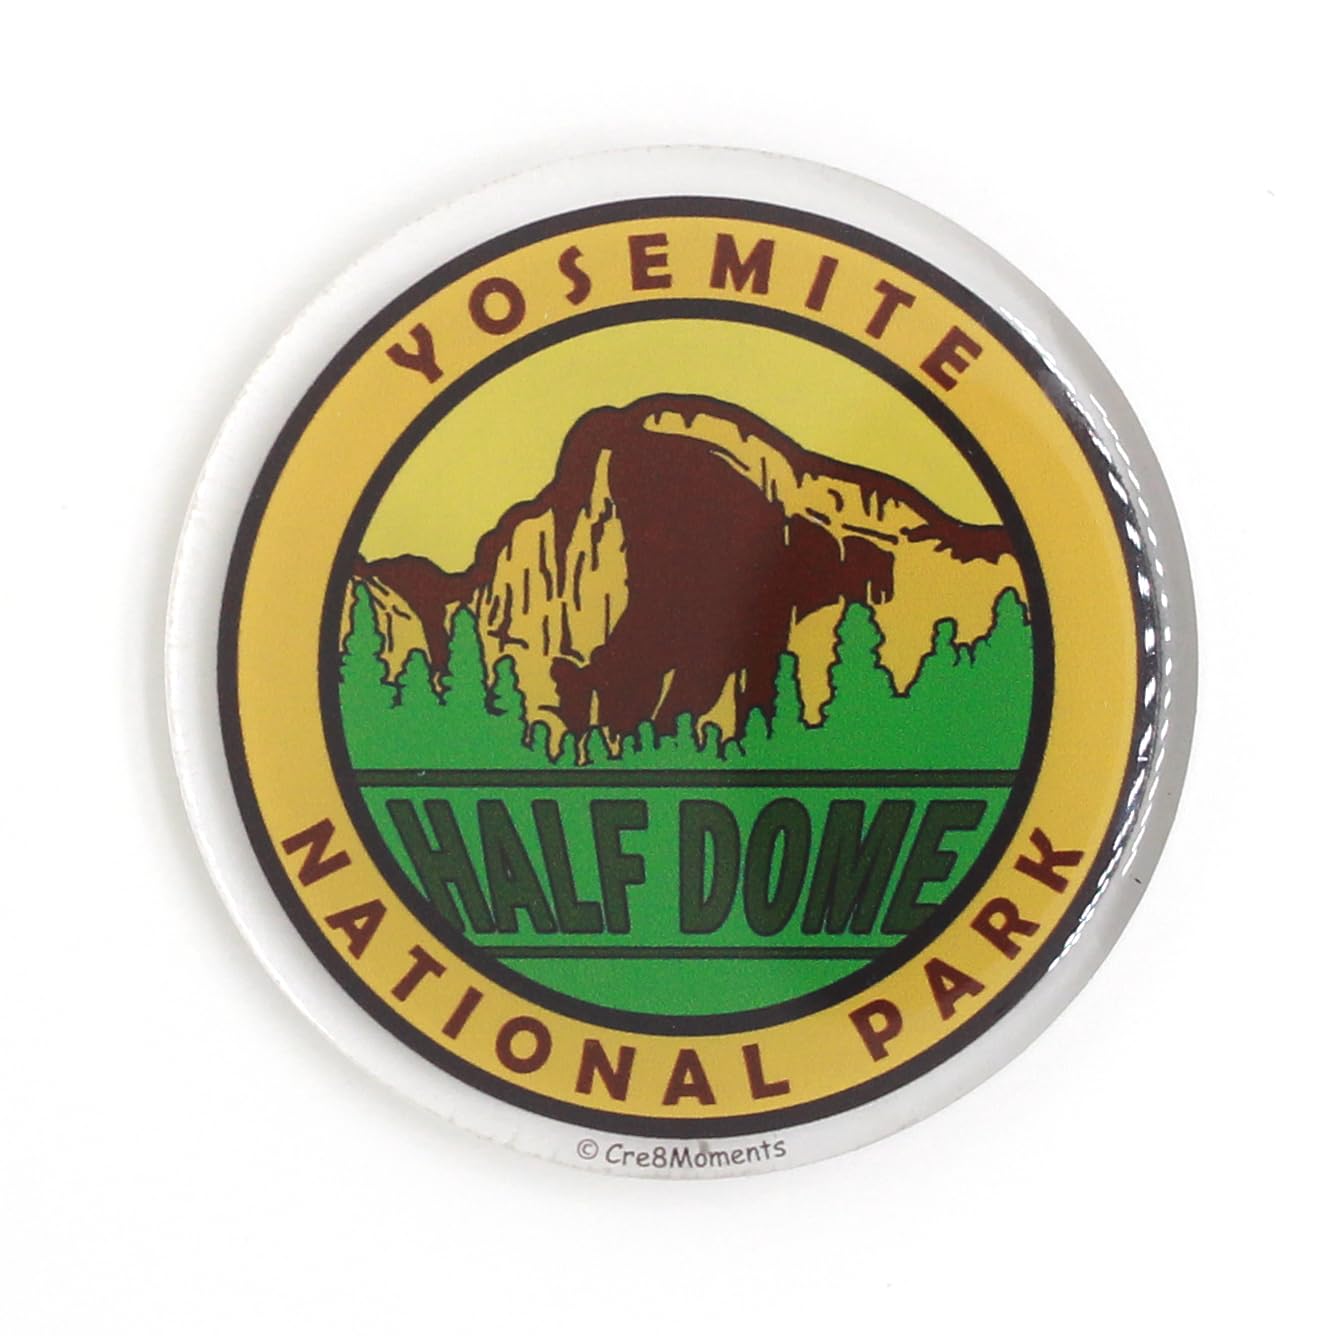 Yosemite National Park
NFC Magnet
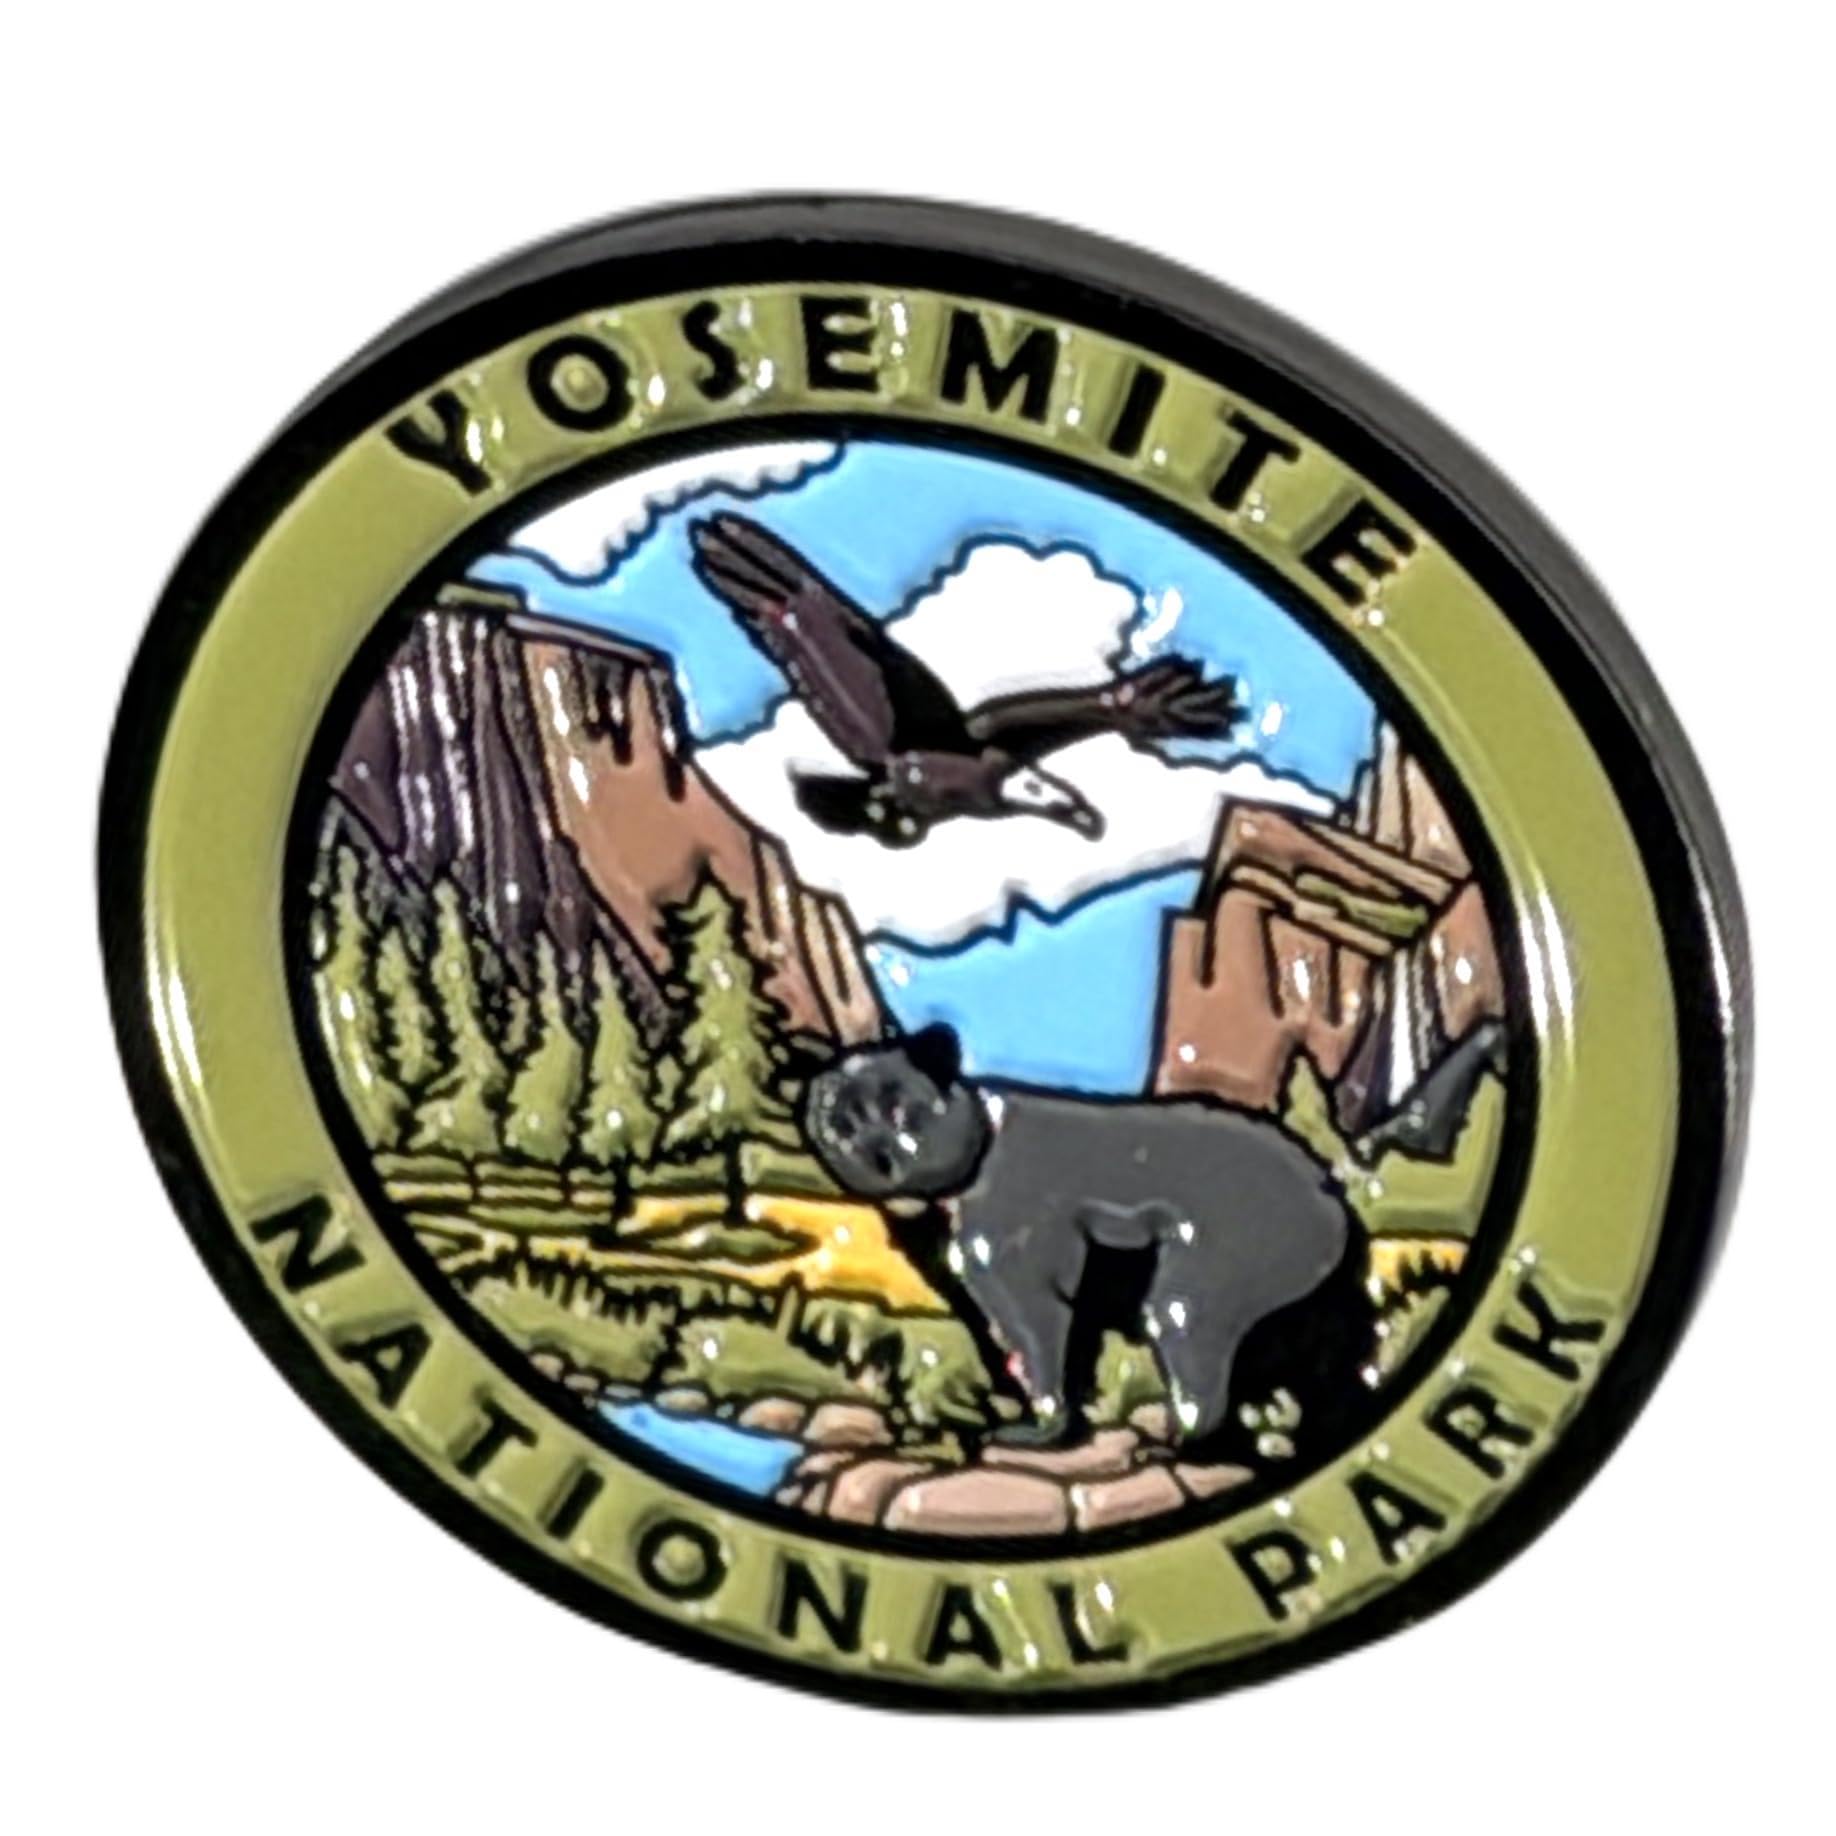 Yosemite National Park
Pin
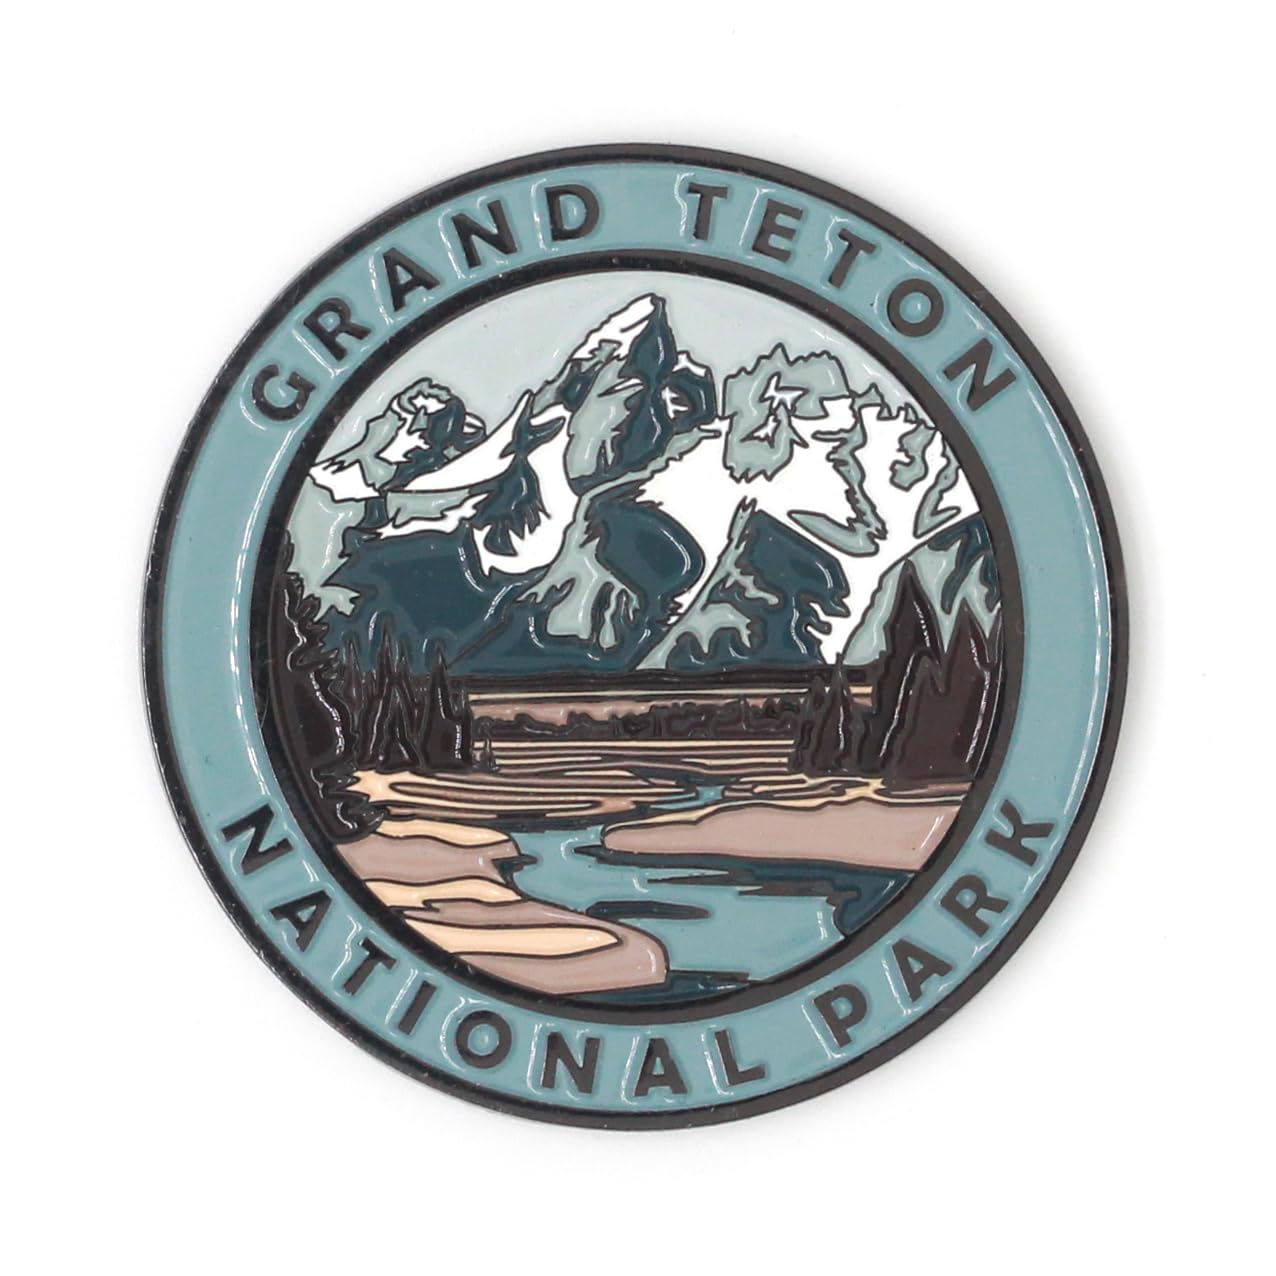 Grand Teton National Park
Magnet
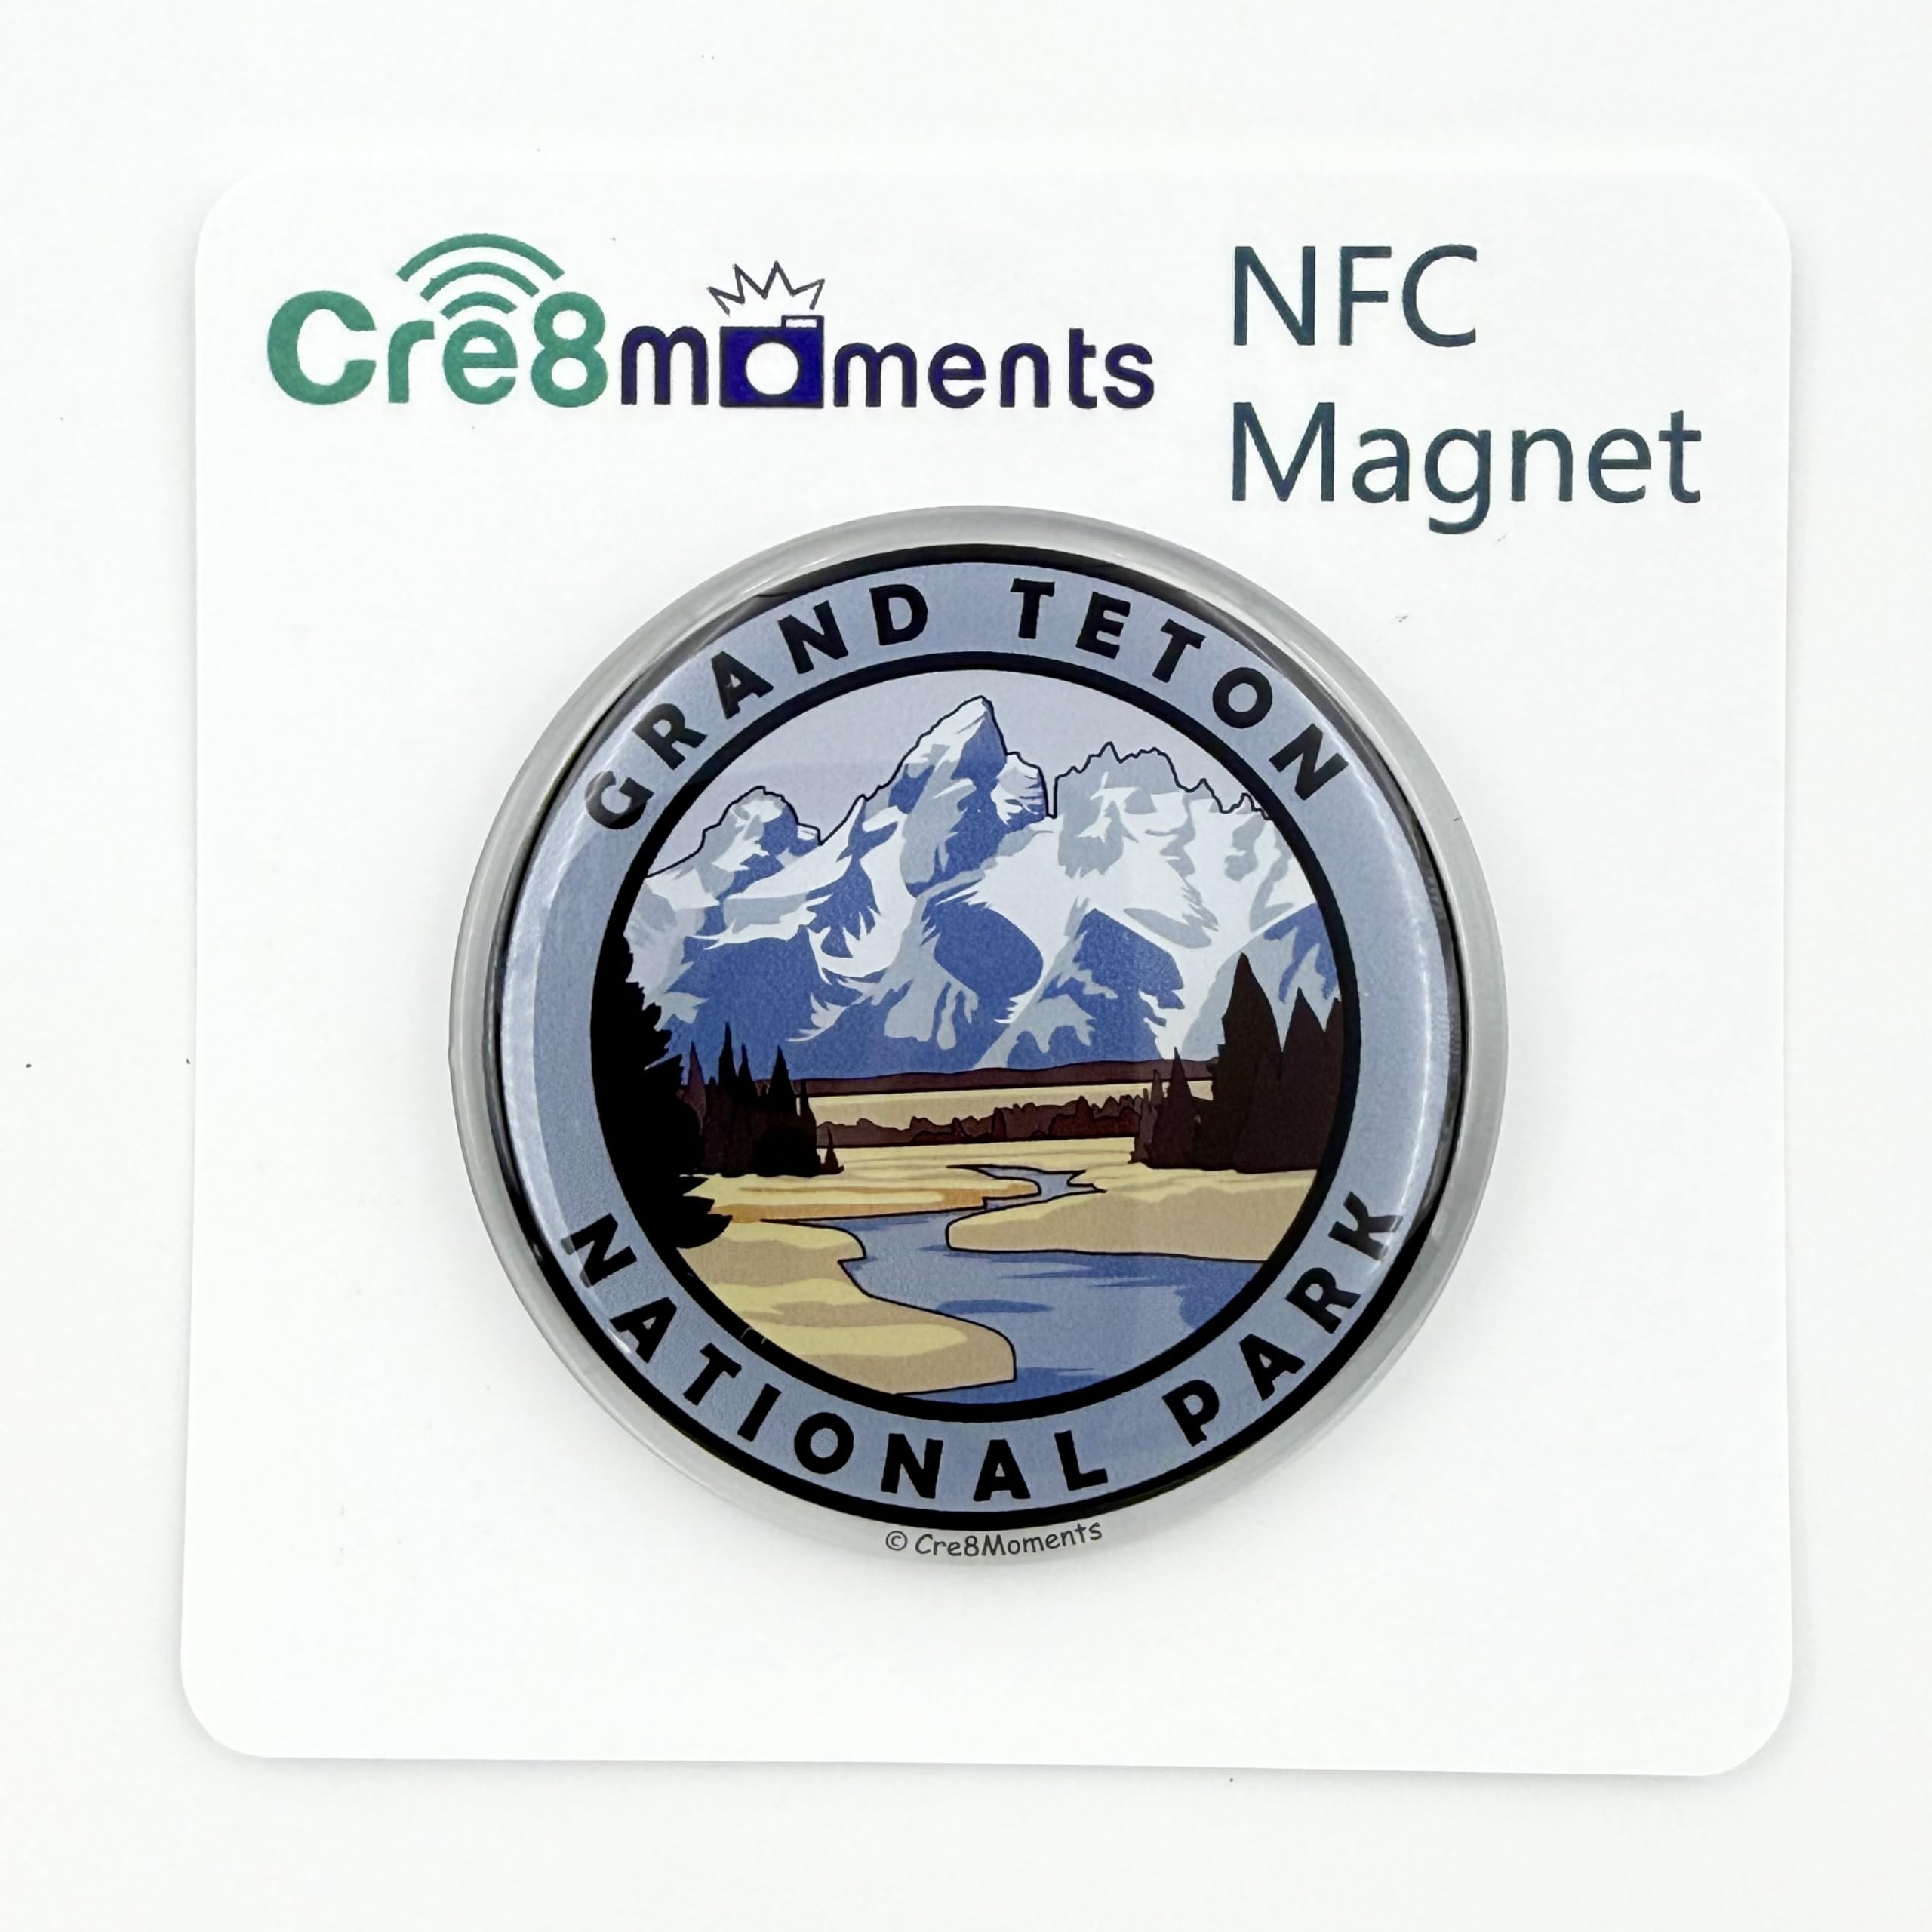 Grand Teton National Park
NFC Magnet
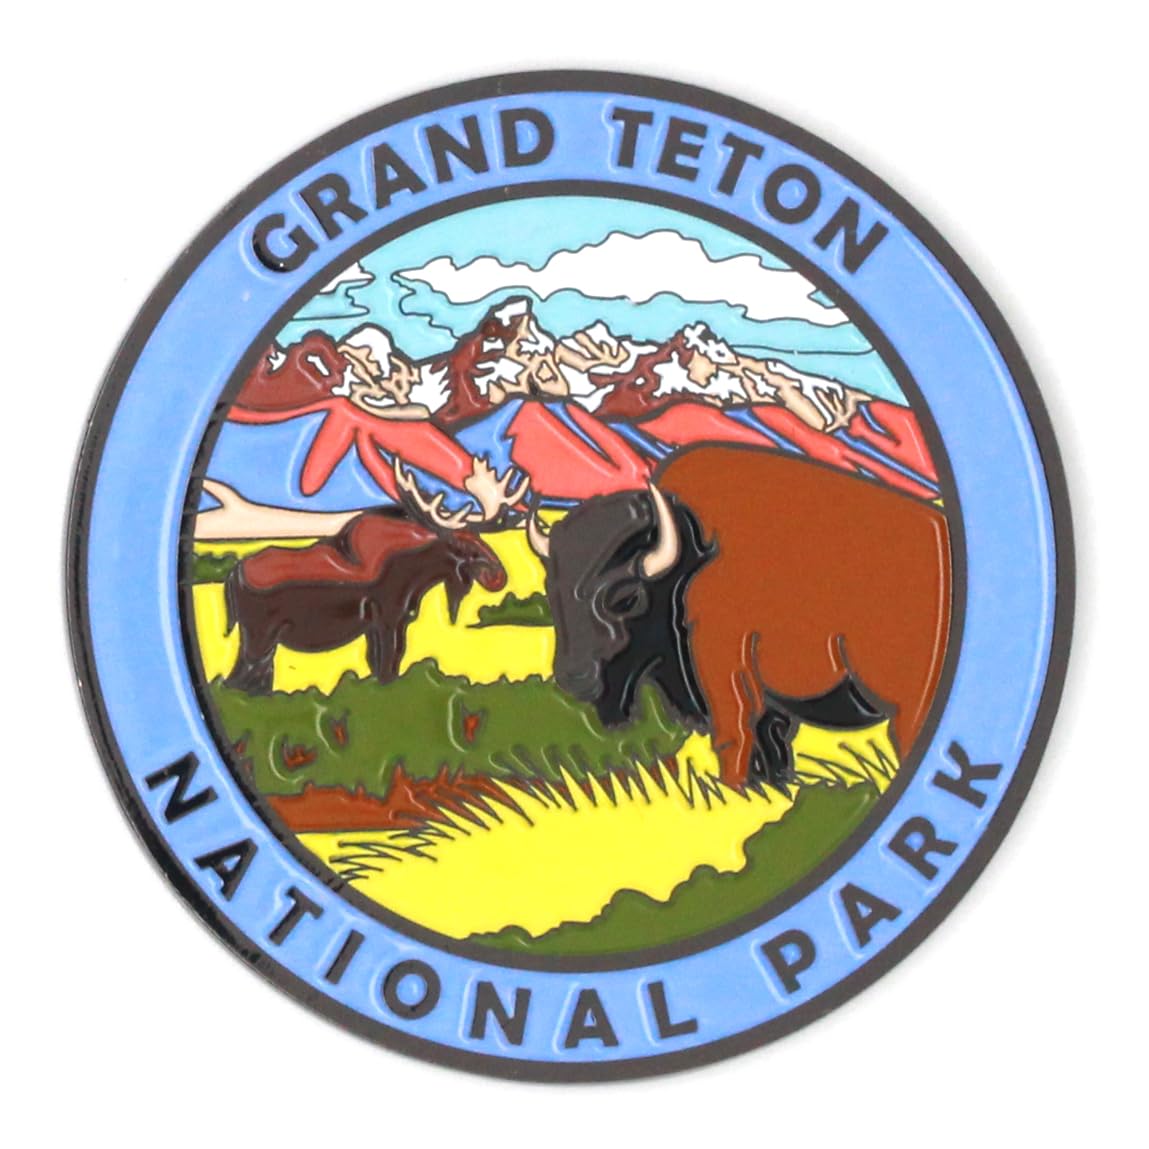 Grand Teton National Park
Magnet
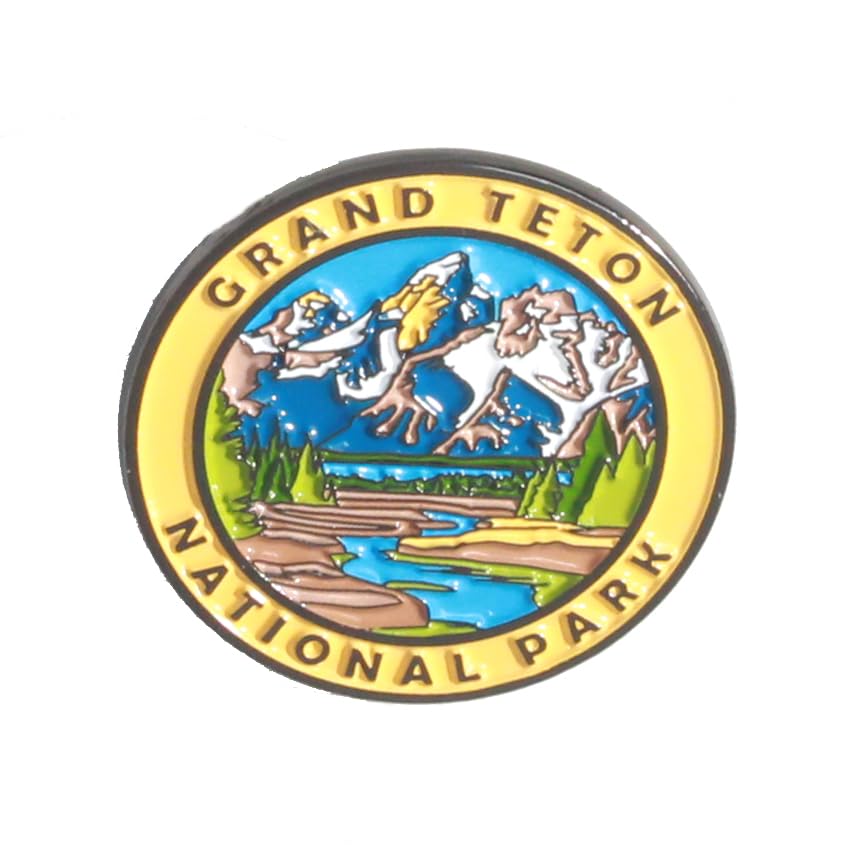 Grand Teton National Park
Pin
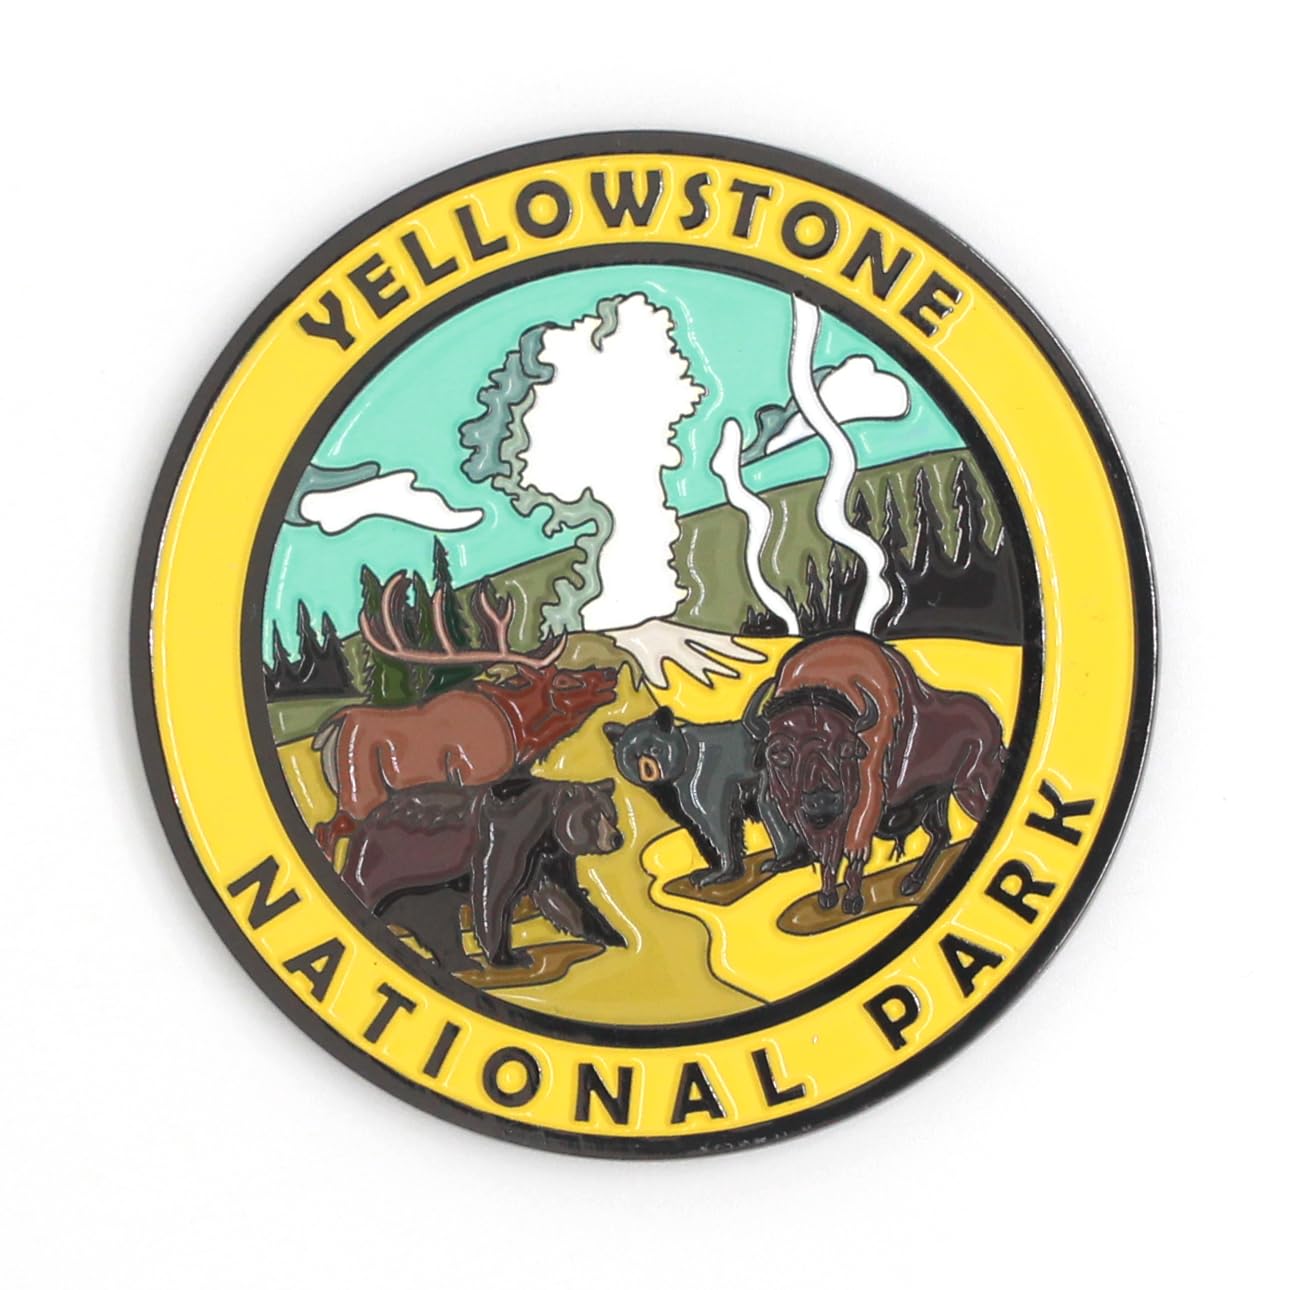 Yellowstone National Park
Magnet
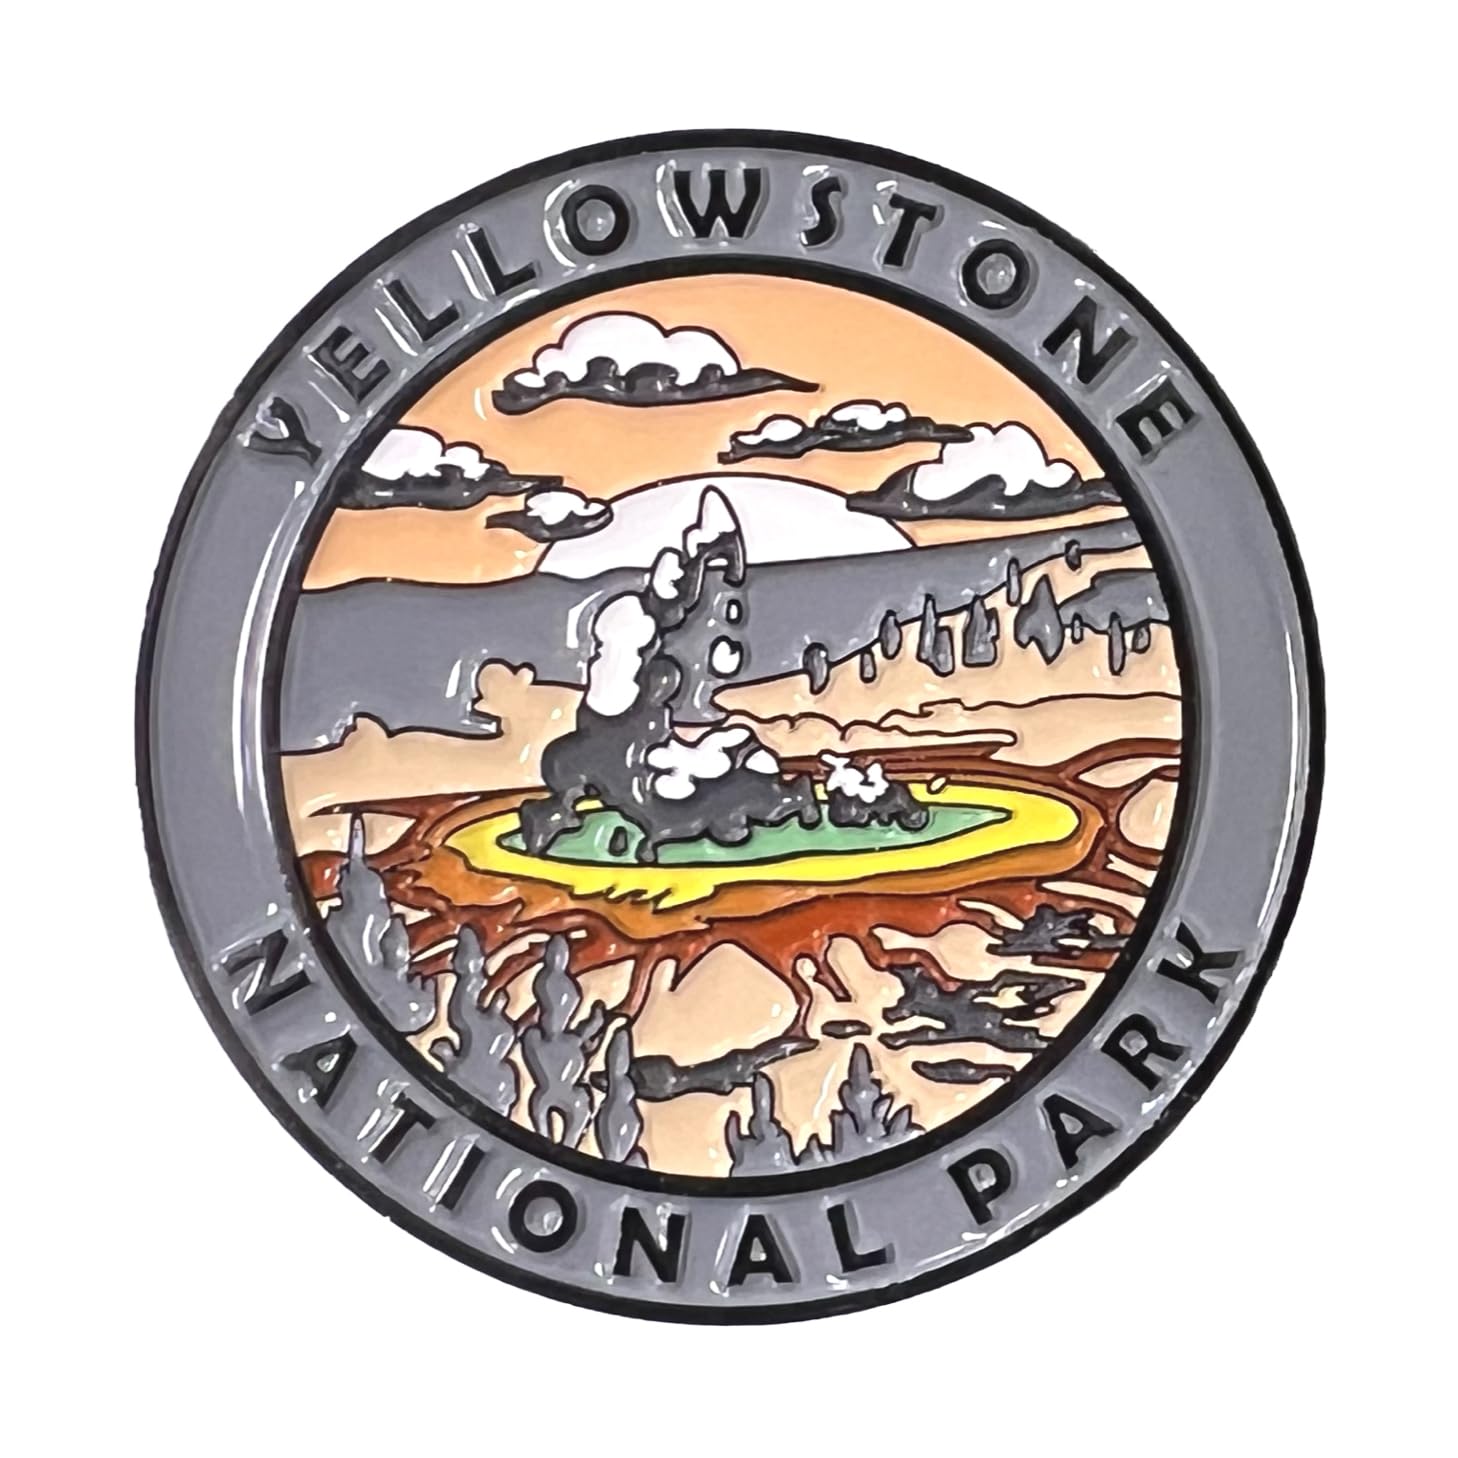 Yellowstone National Park
Magnet
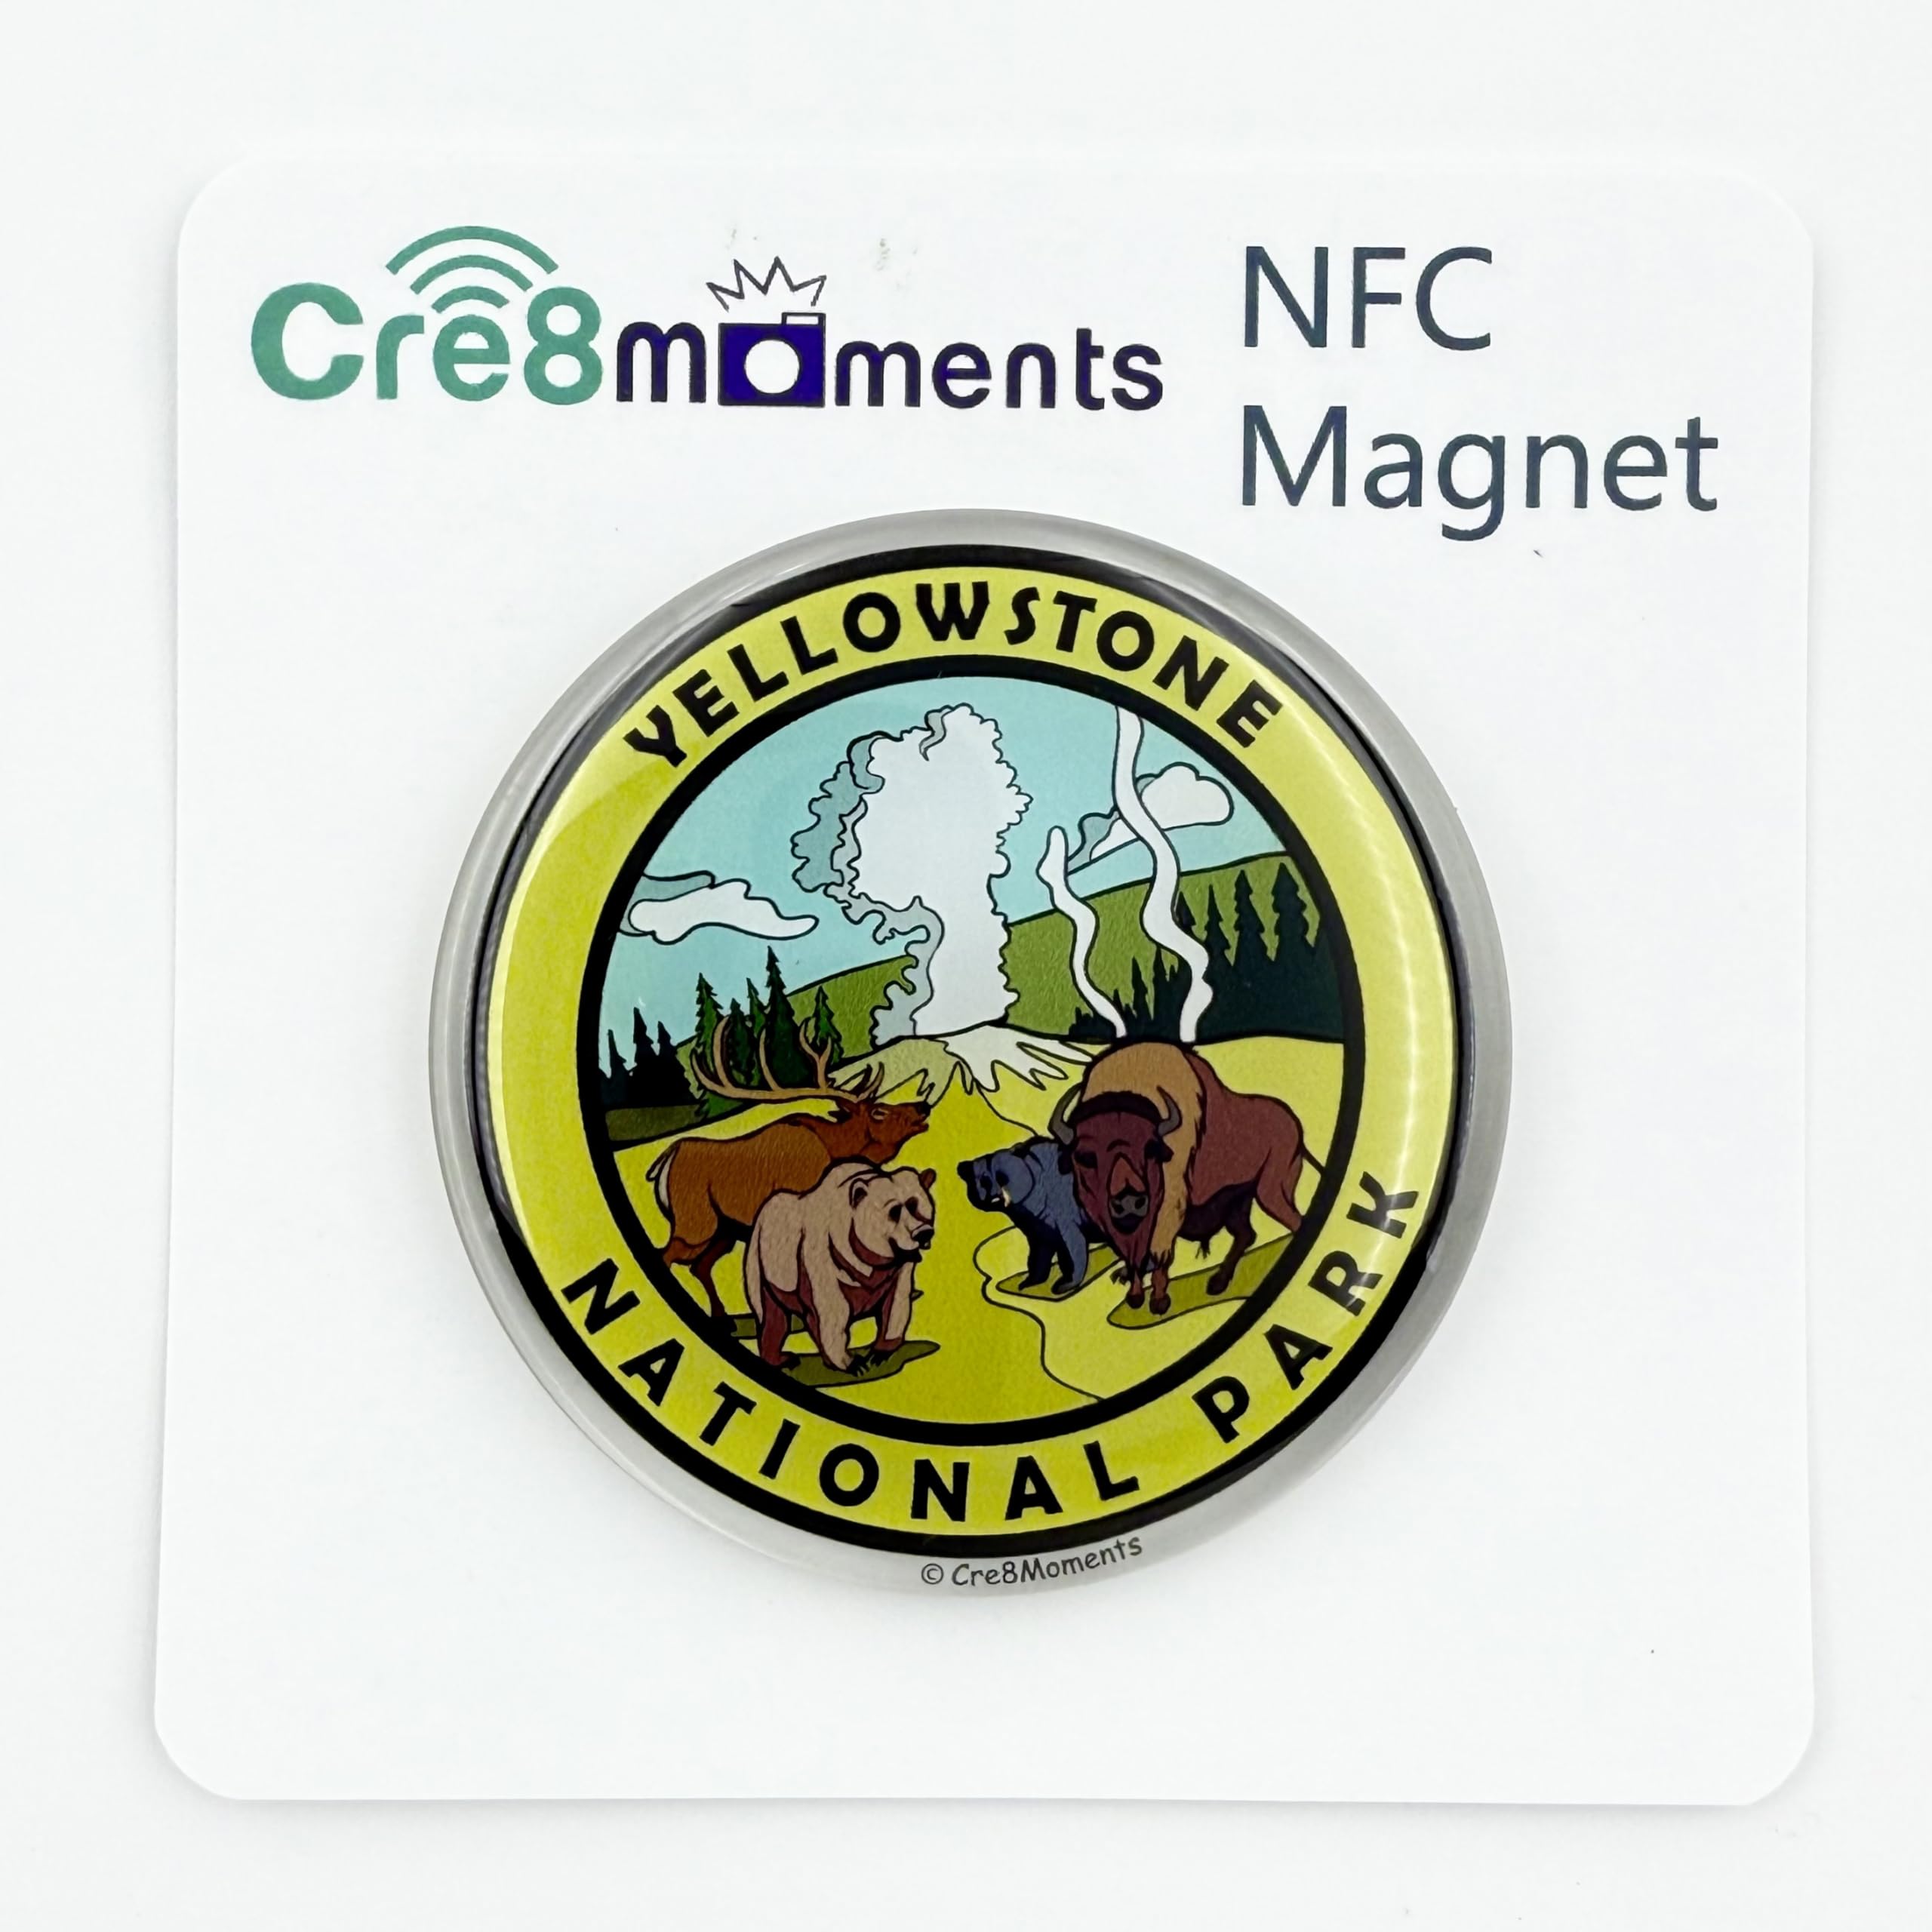 Yellowstone National Park
NFC Magnet
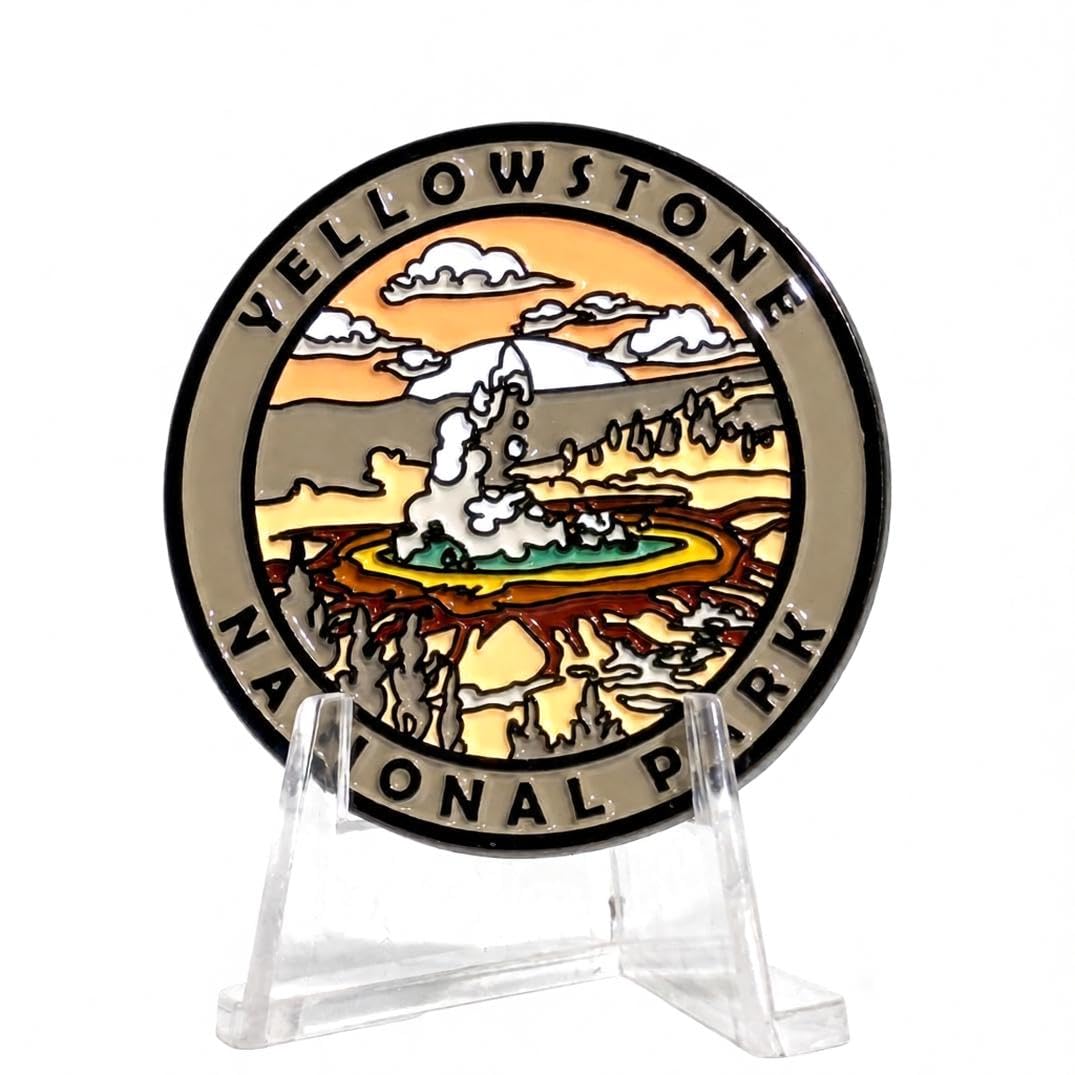 Yellowstone National Park
Pin
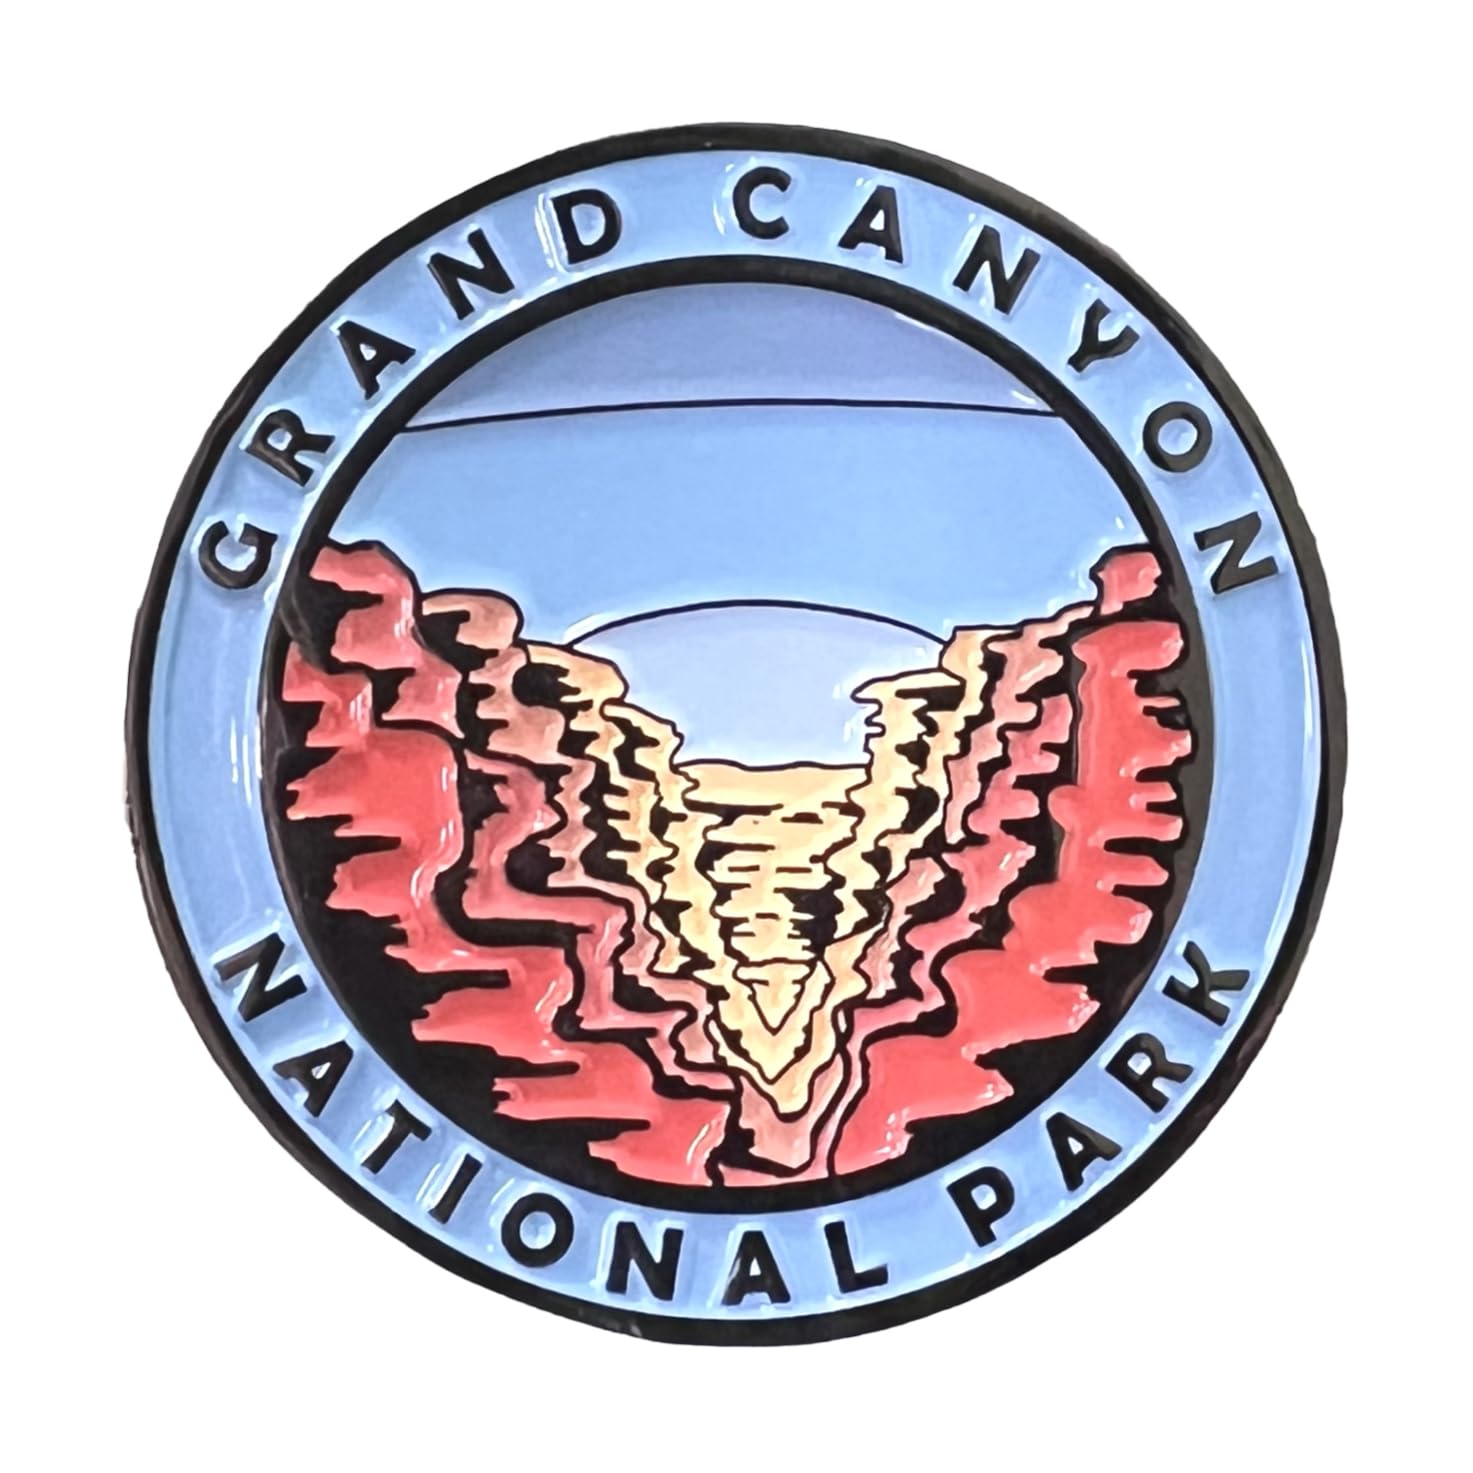 Grand Canyon National Park
Magnet
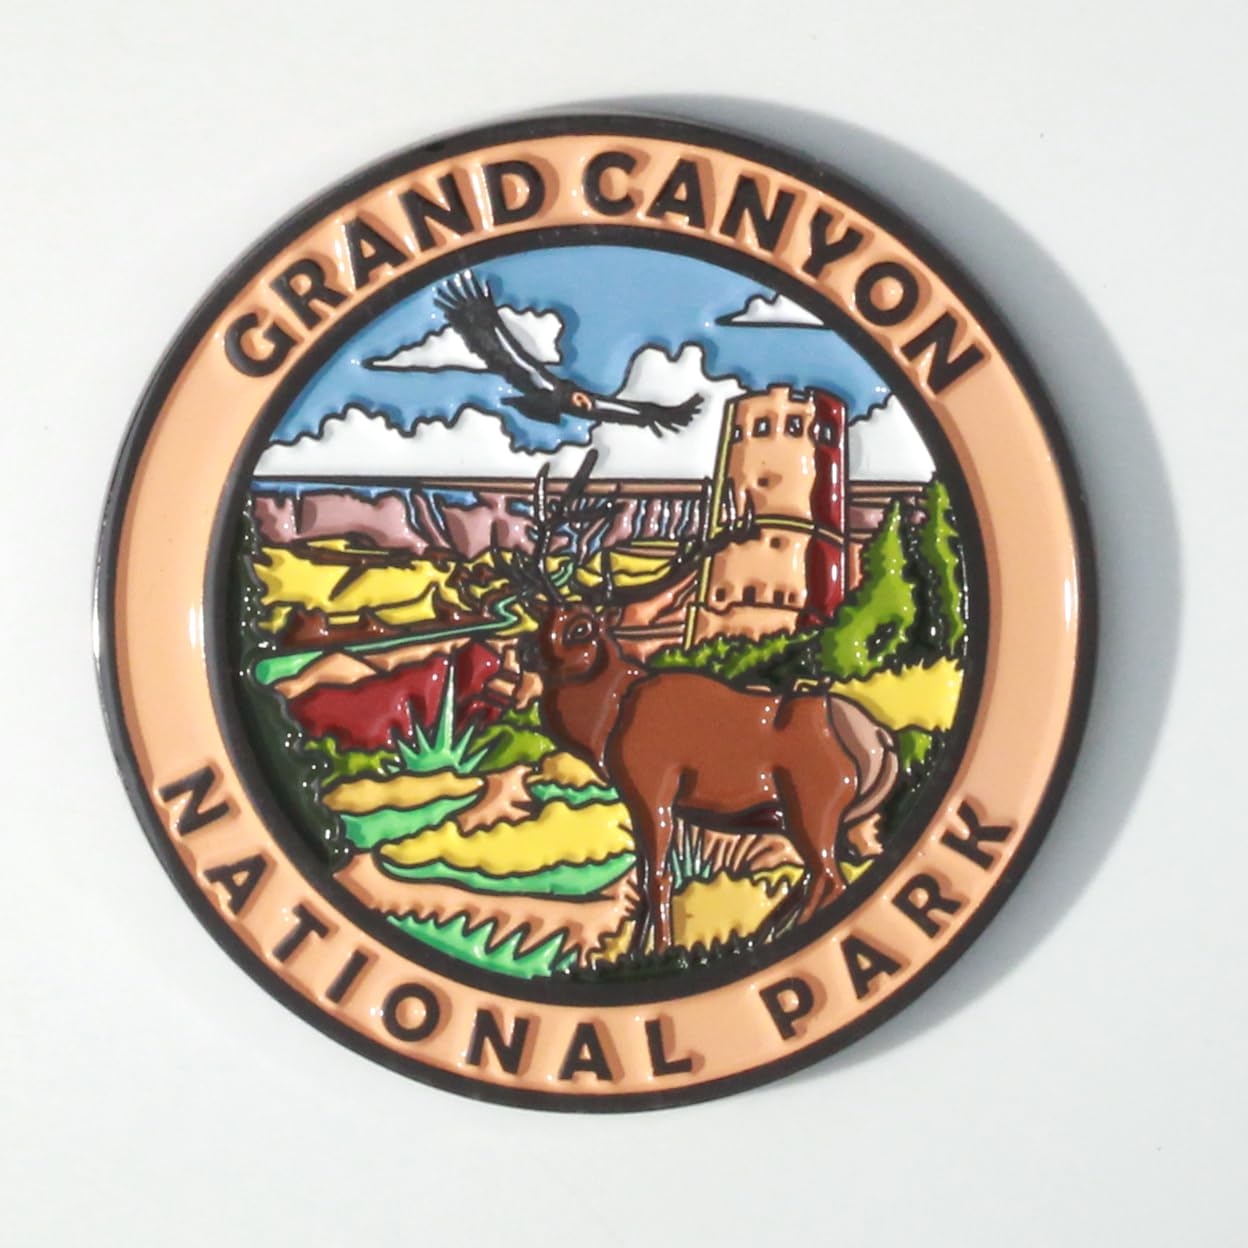 Grand Canyon National Park
Magnet
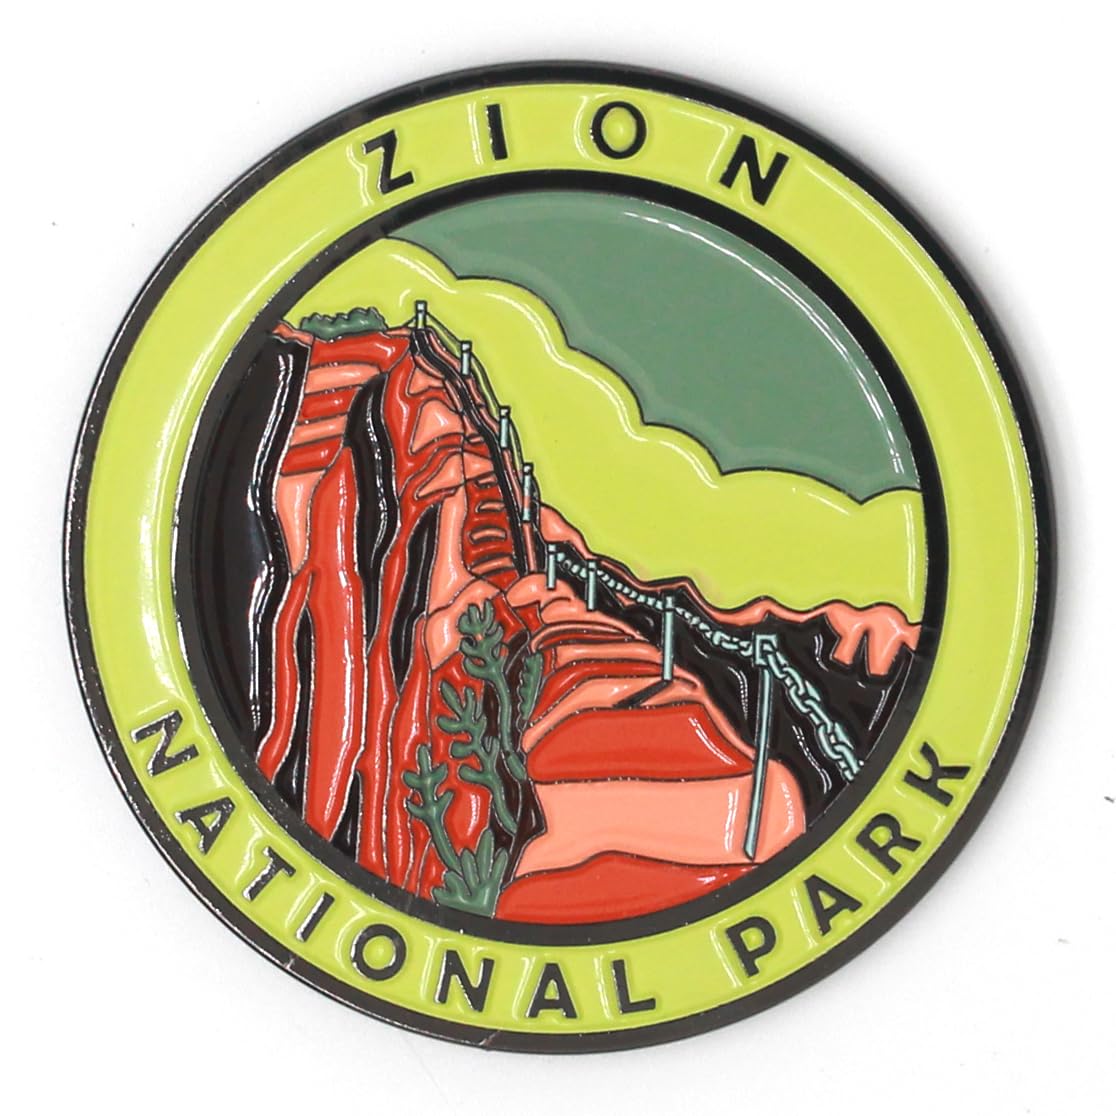 Zion National Park
Magnet
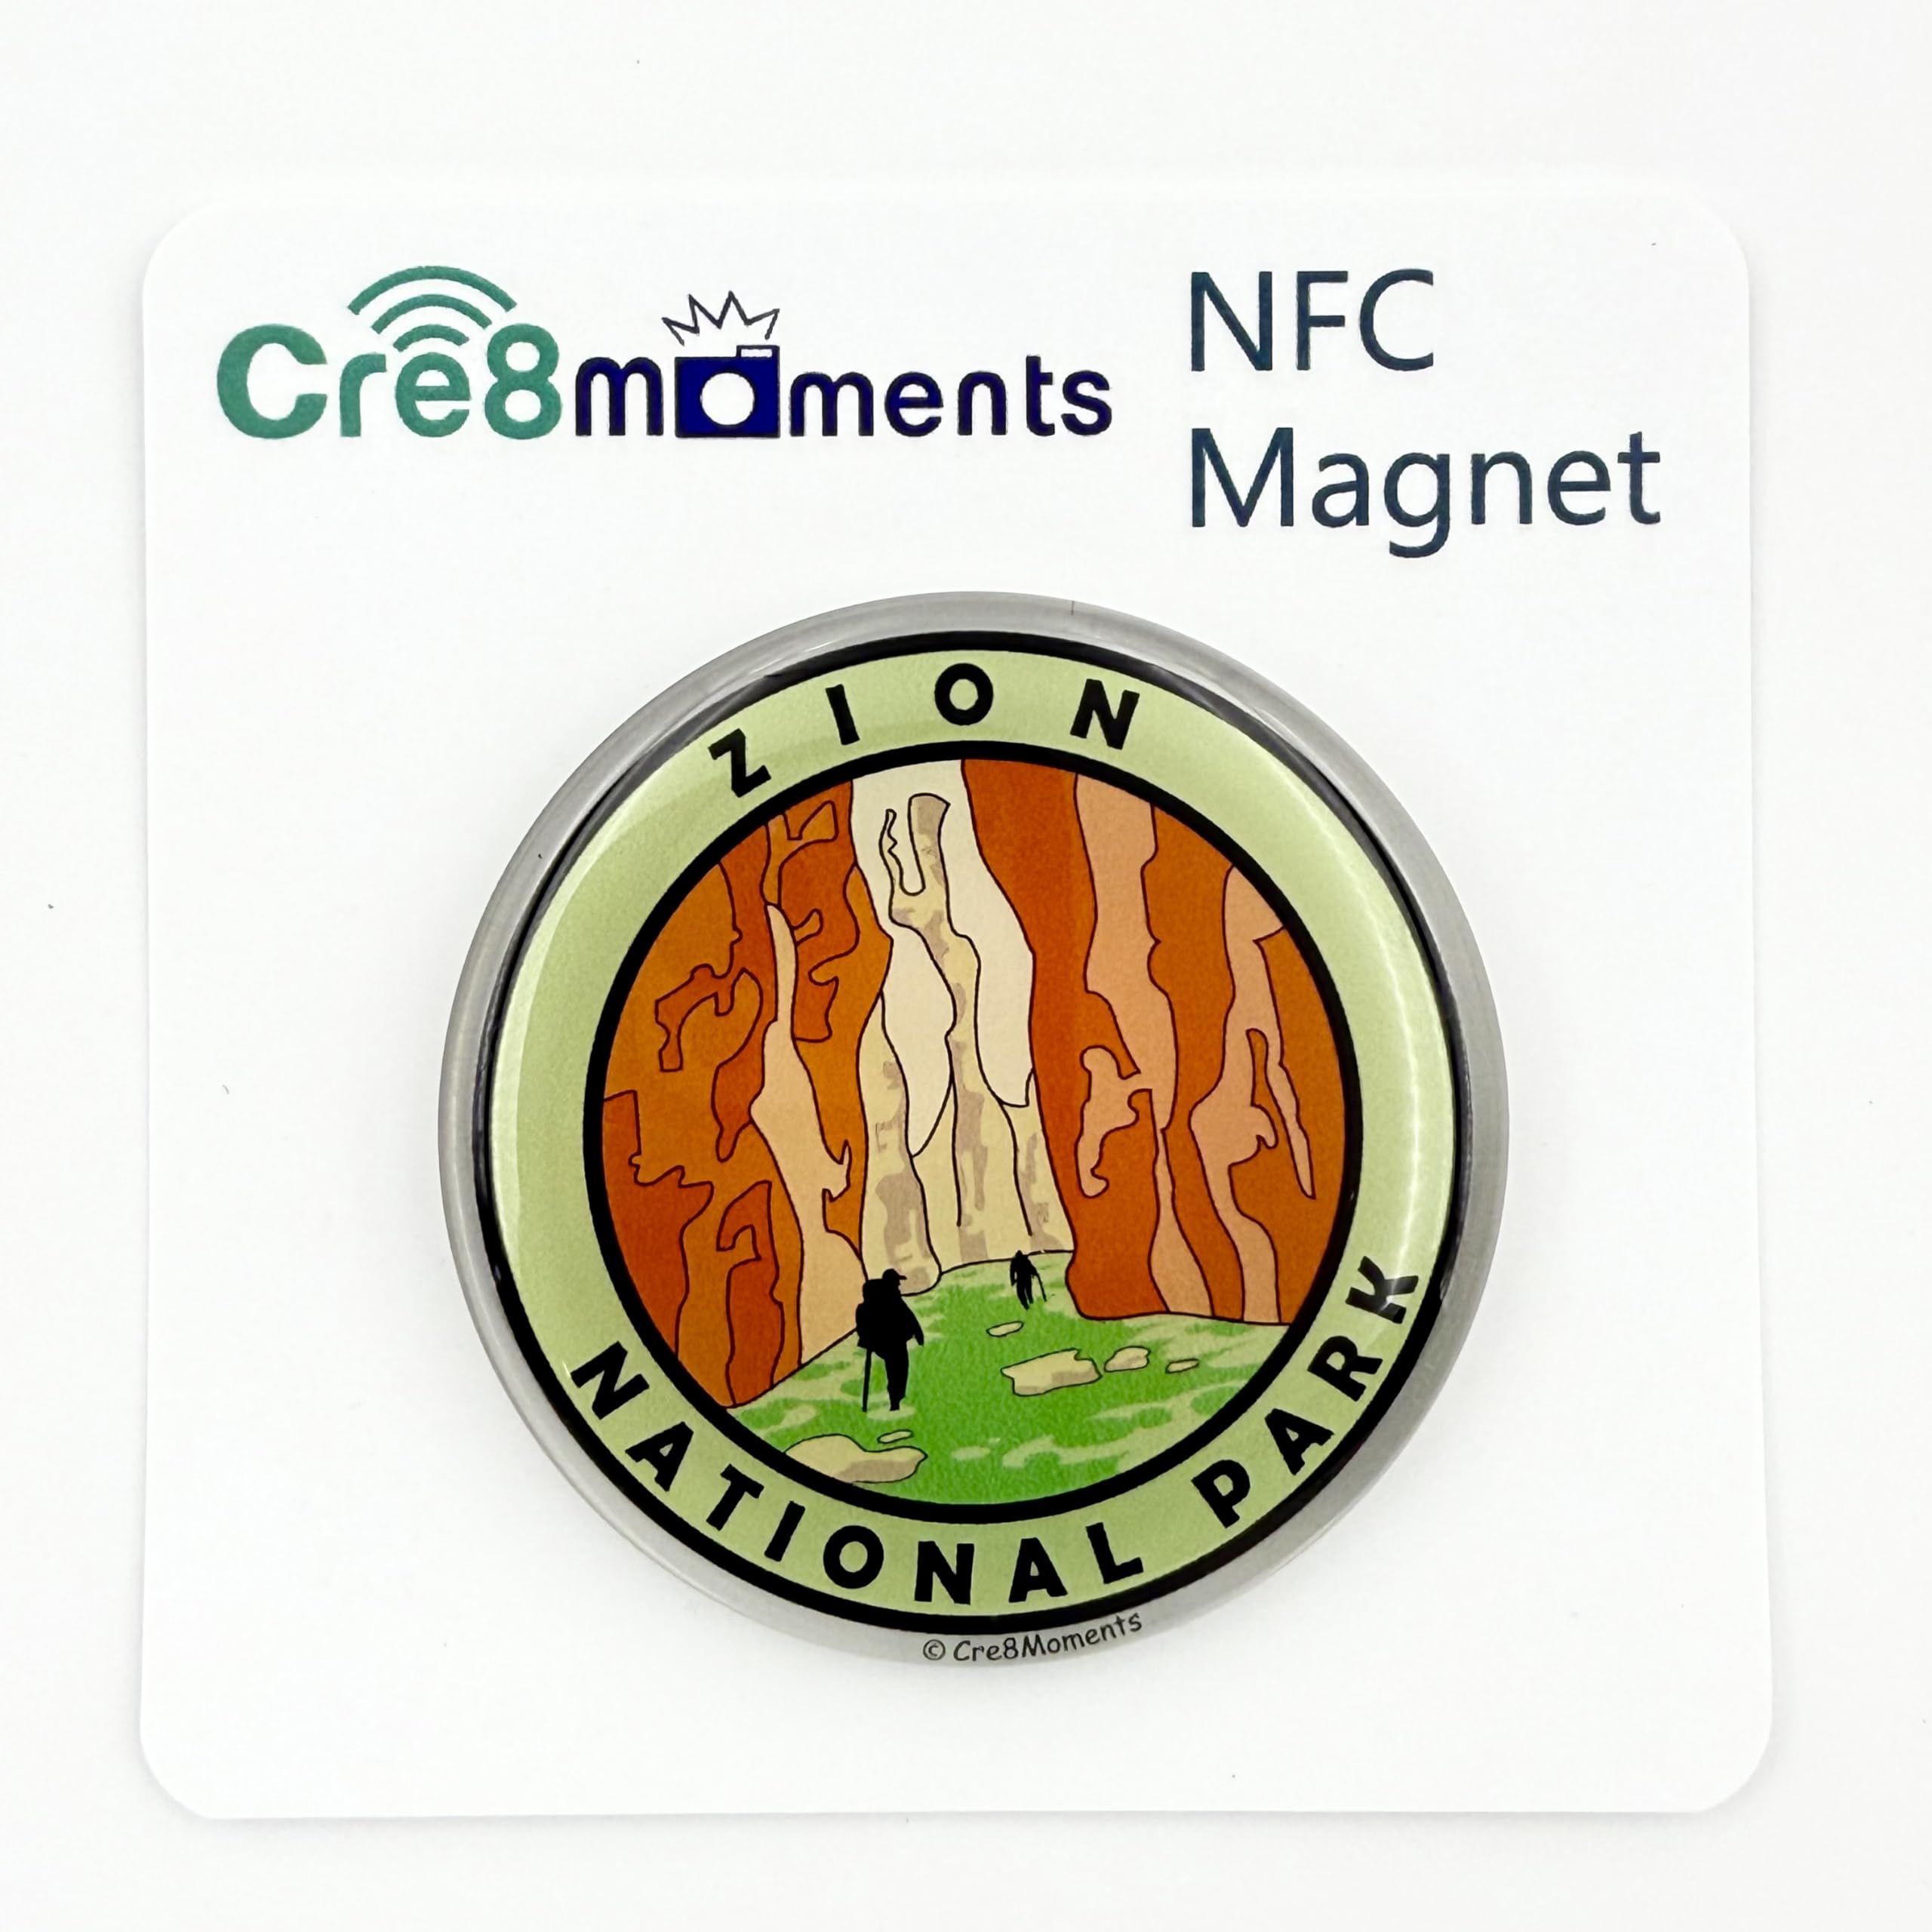 Zion National Park
NFC Magnet
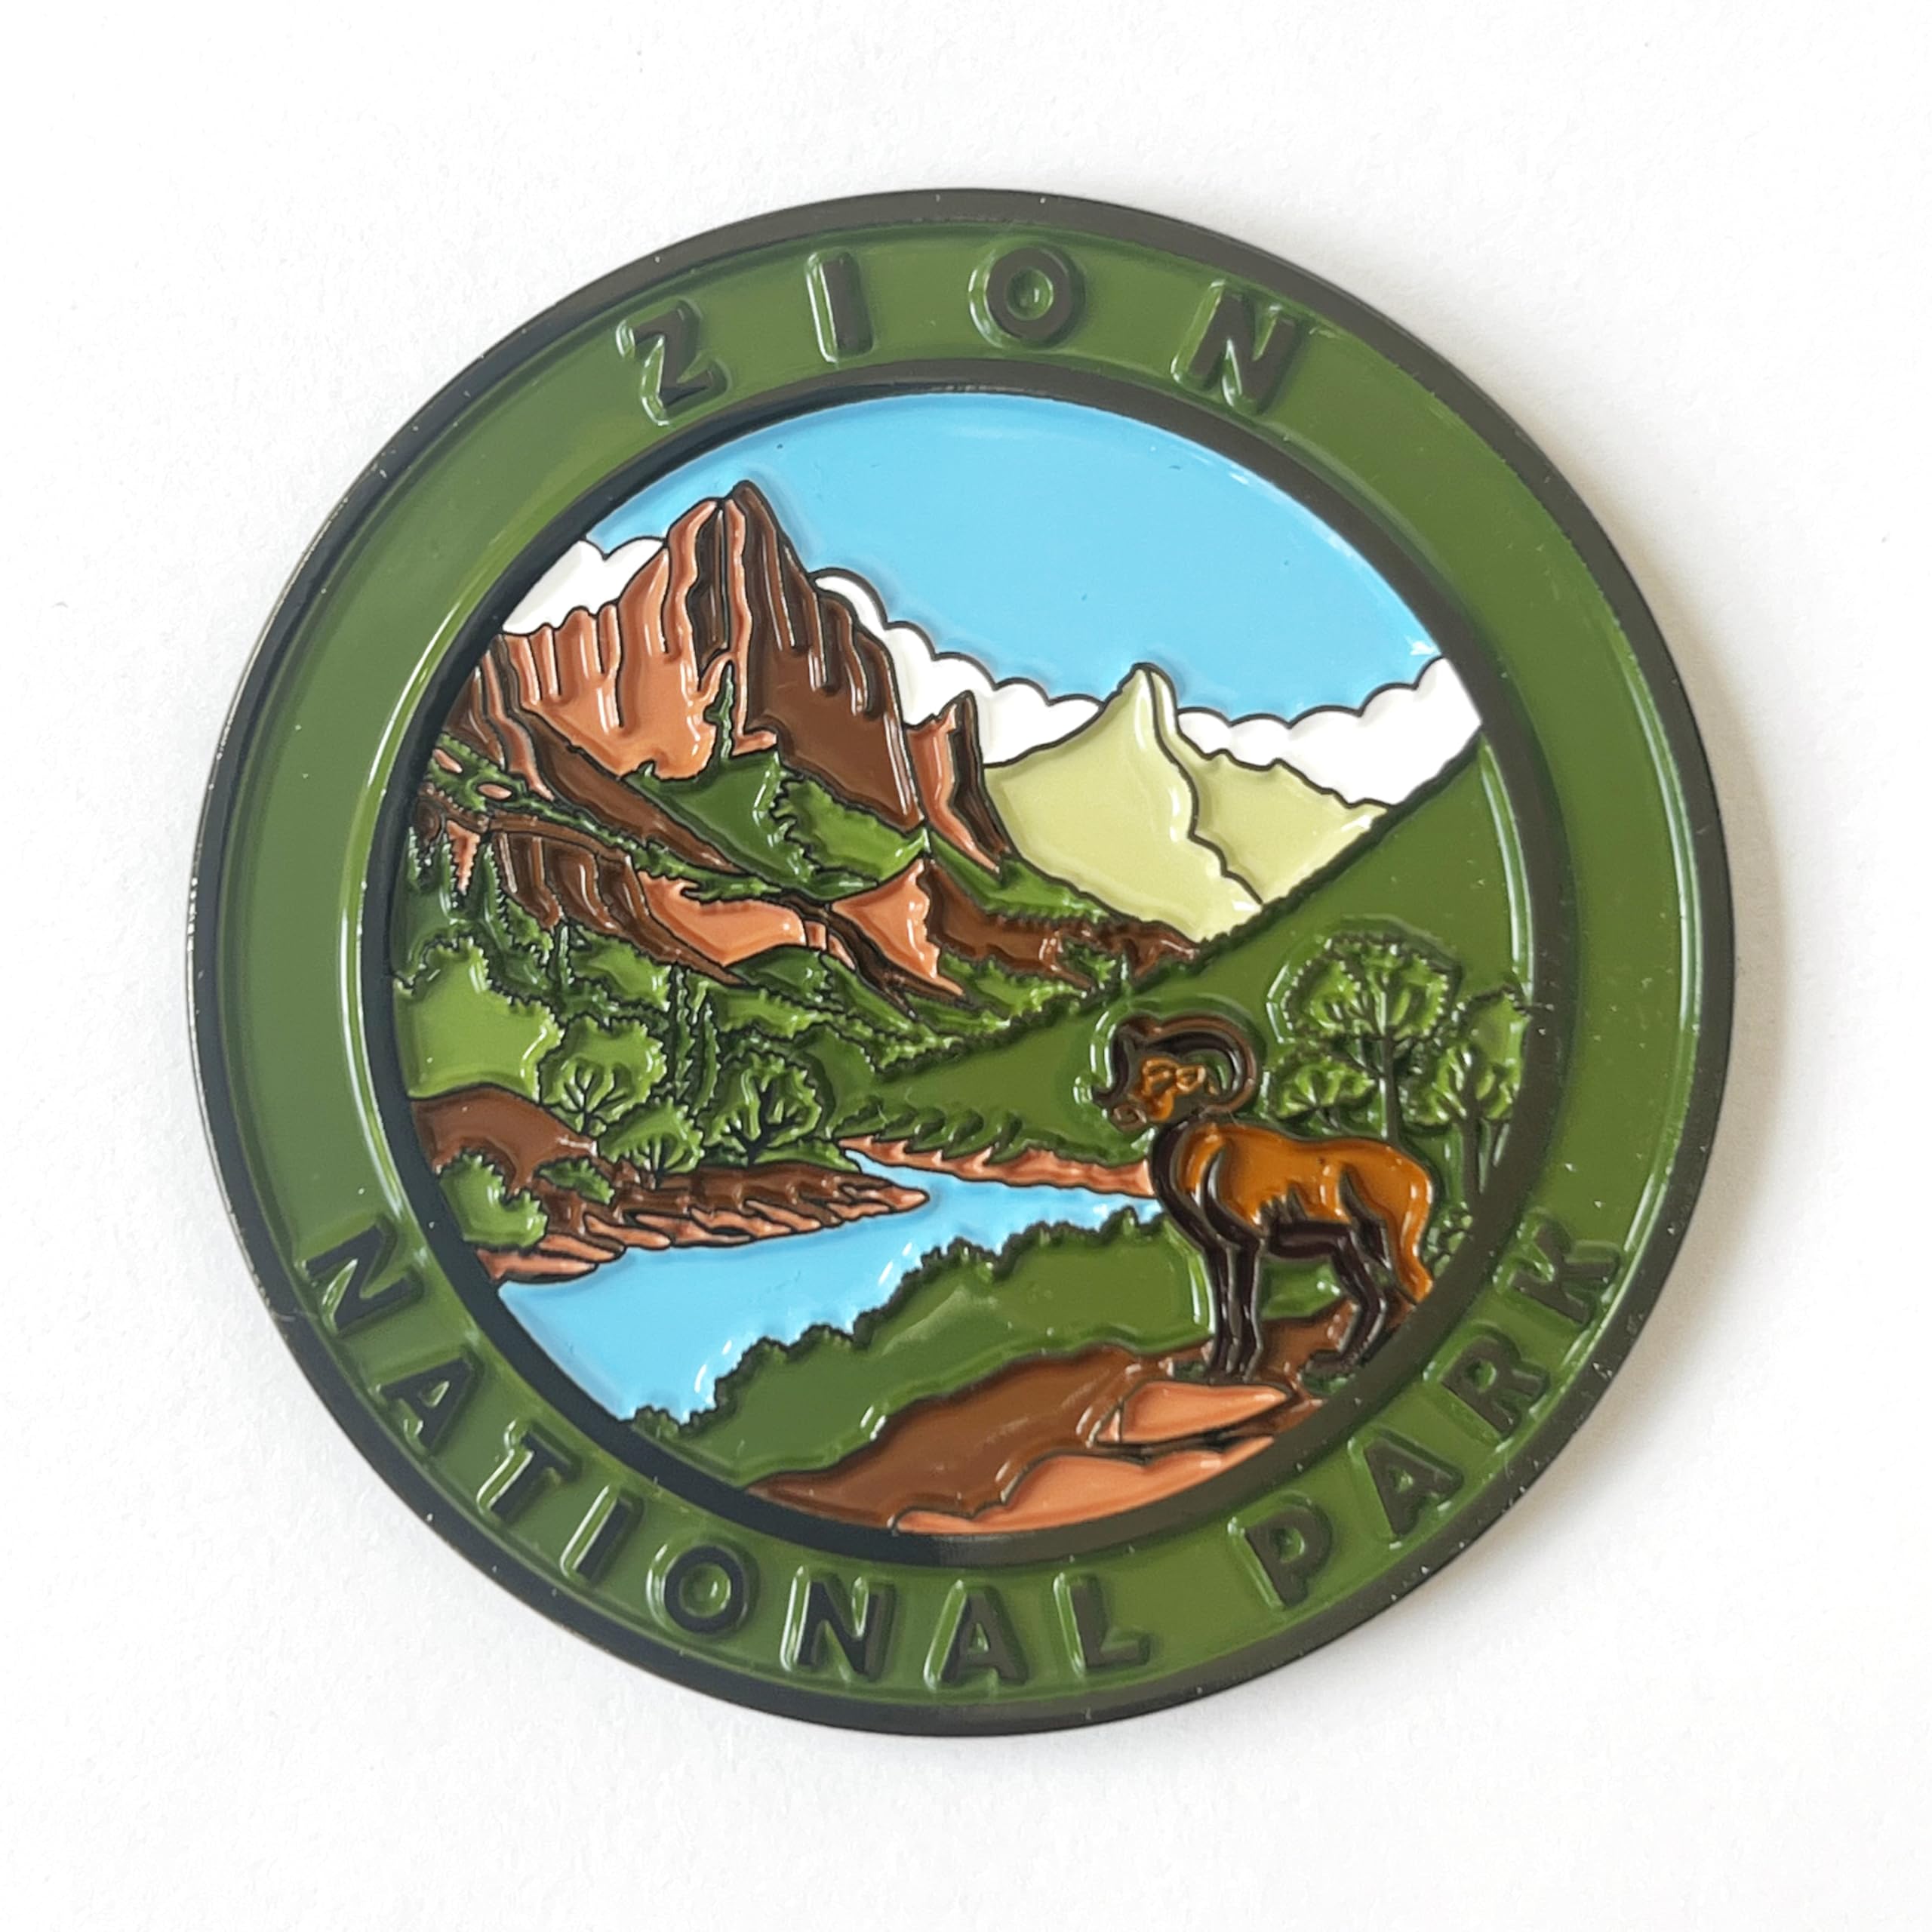 Zion National Park
Magnet
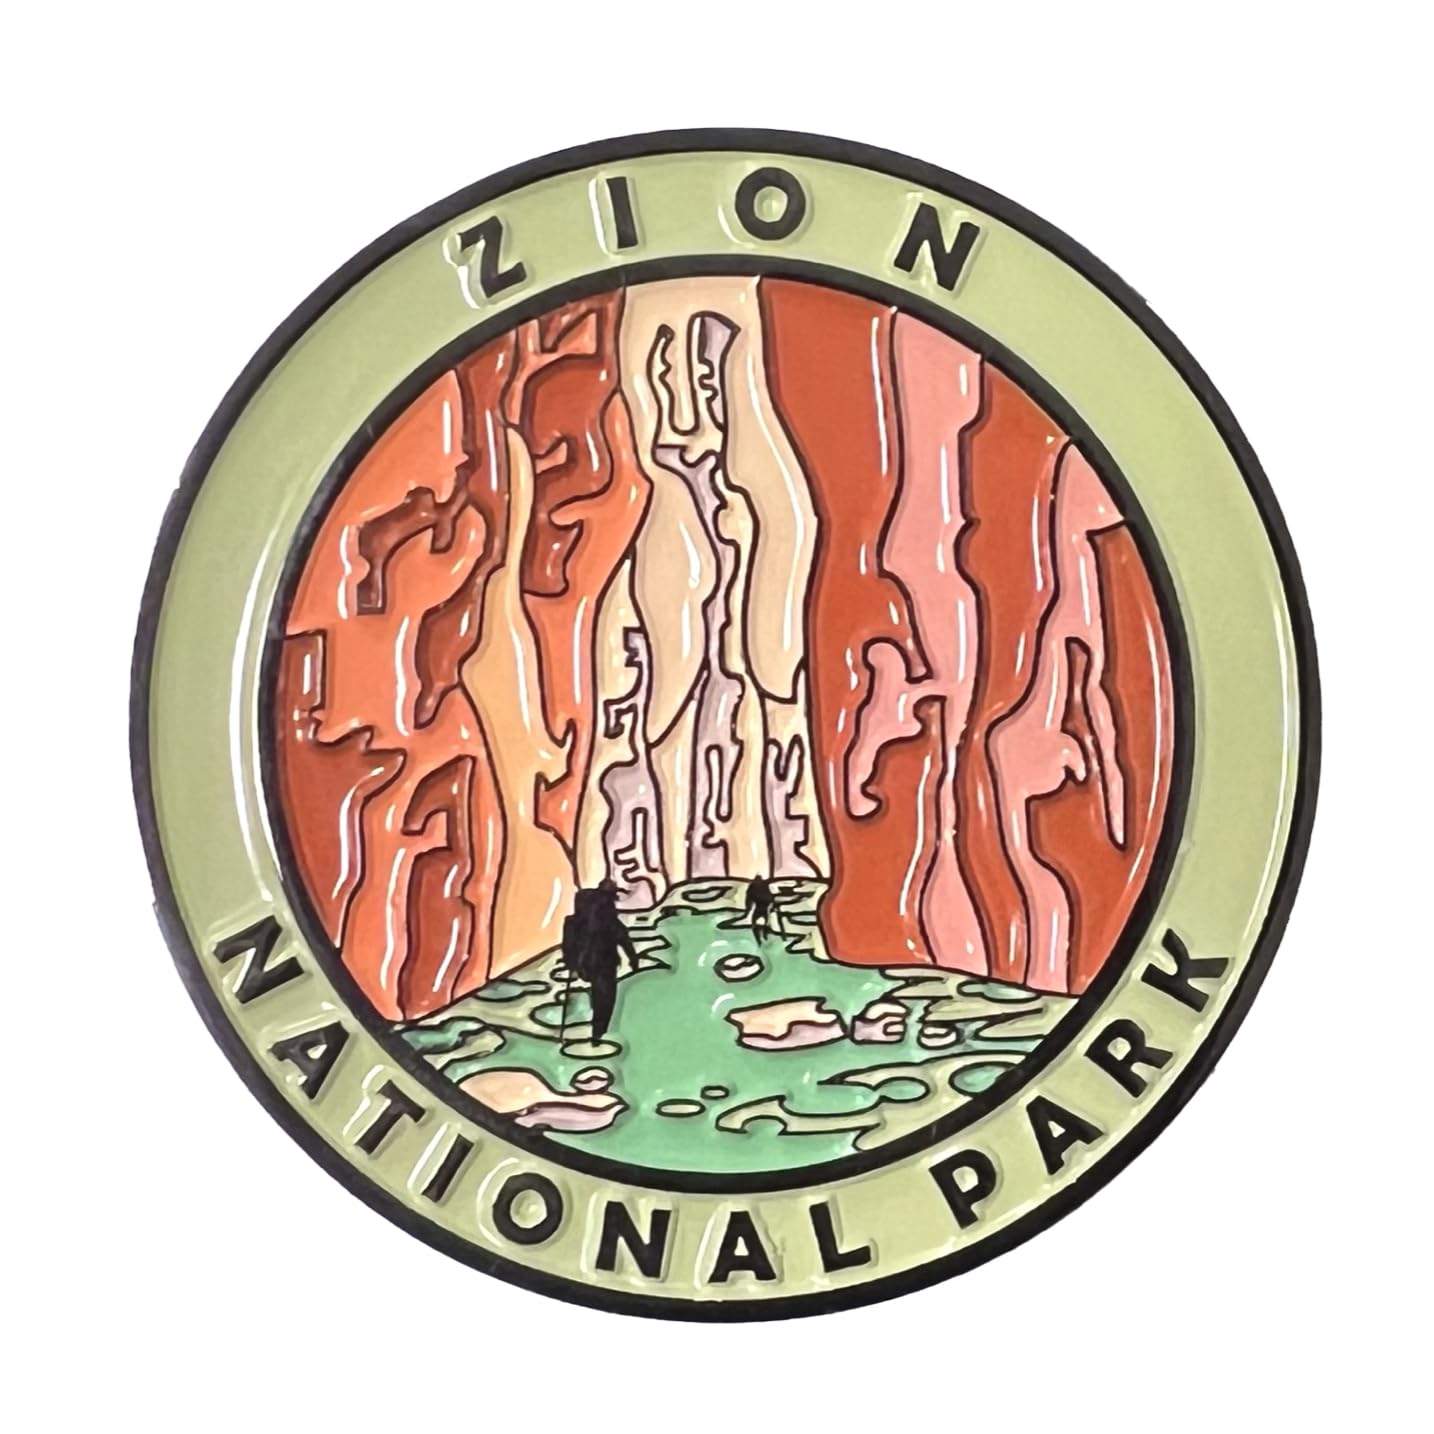 Zion National Park
Magnet
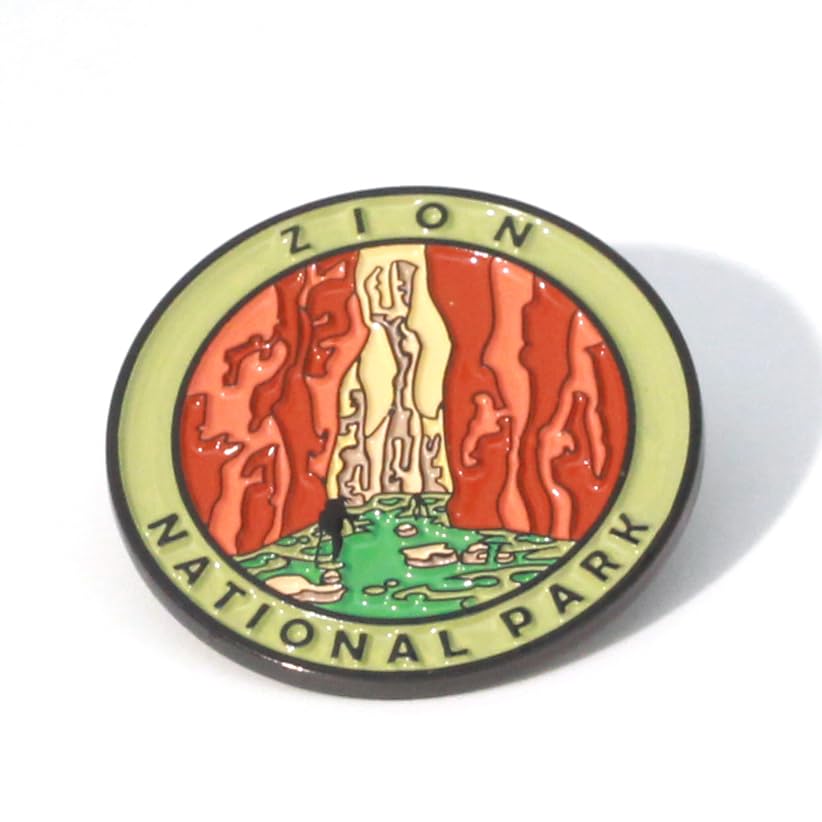 Zion National Park
Pin
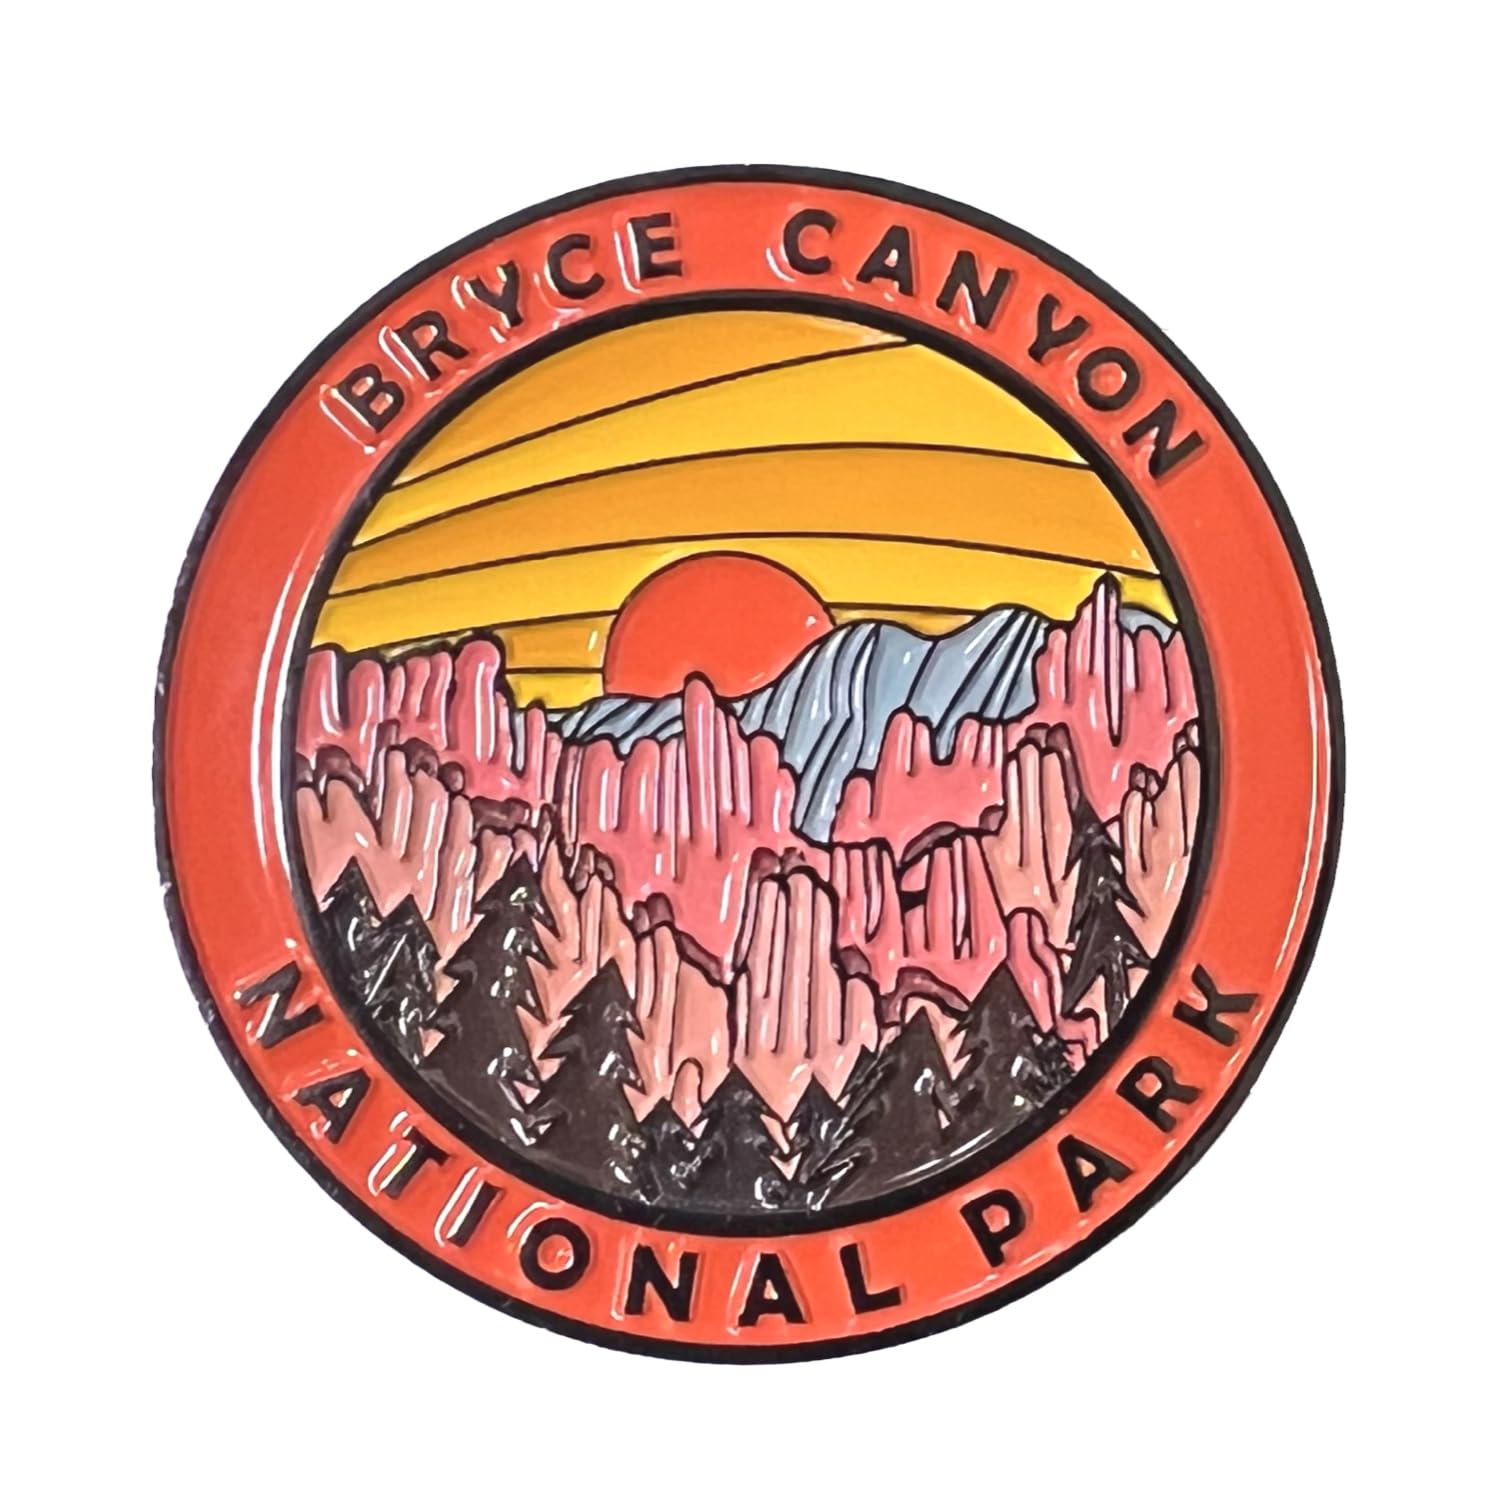 Bryce Canyon National Park
Magnet
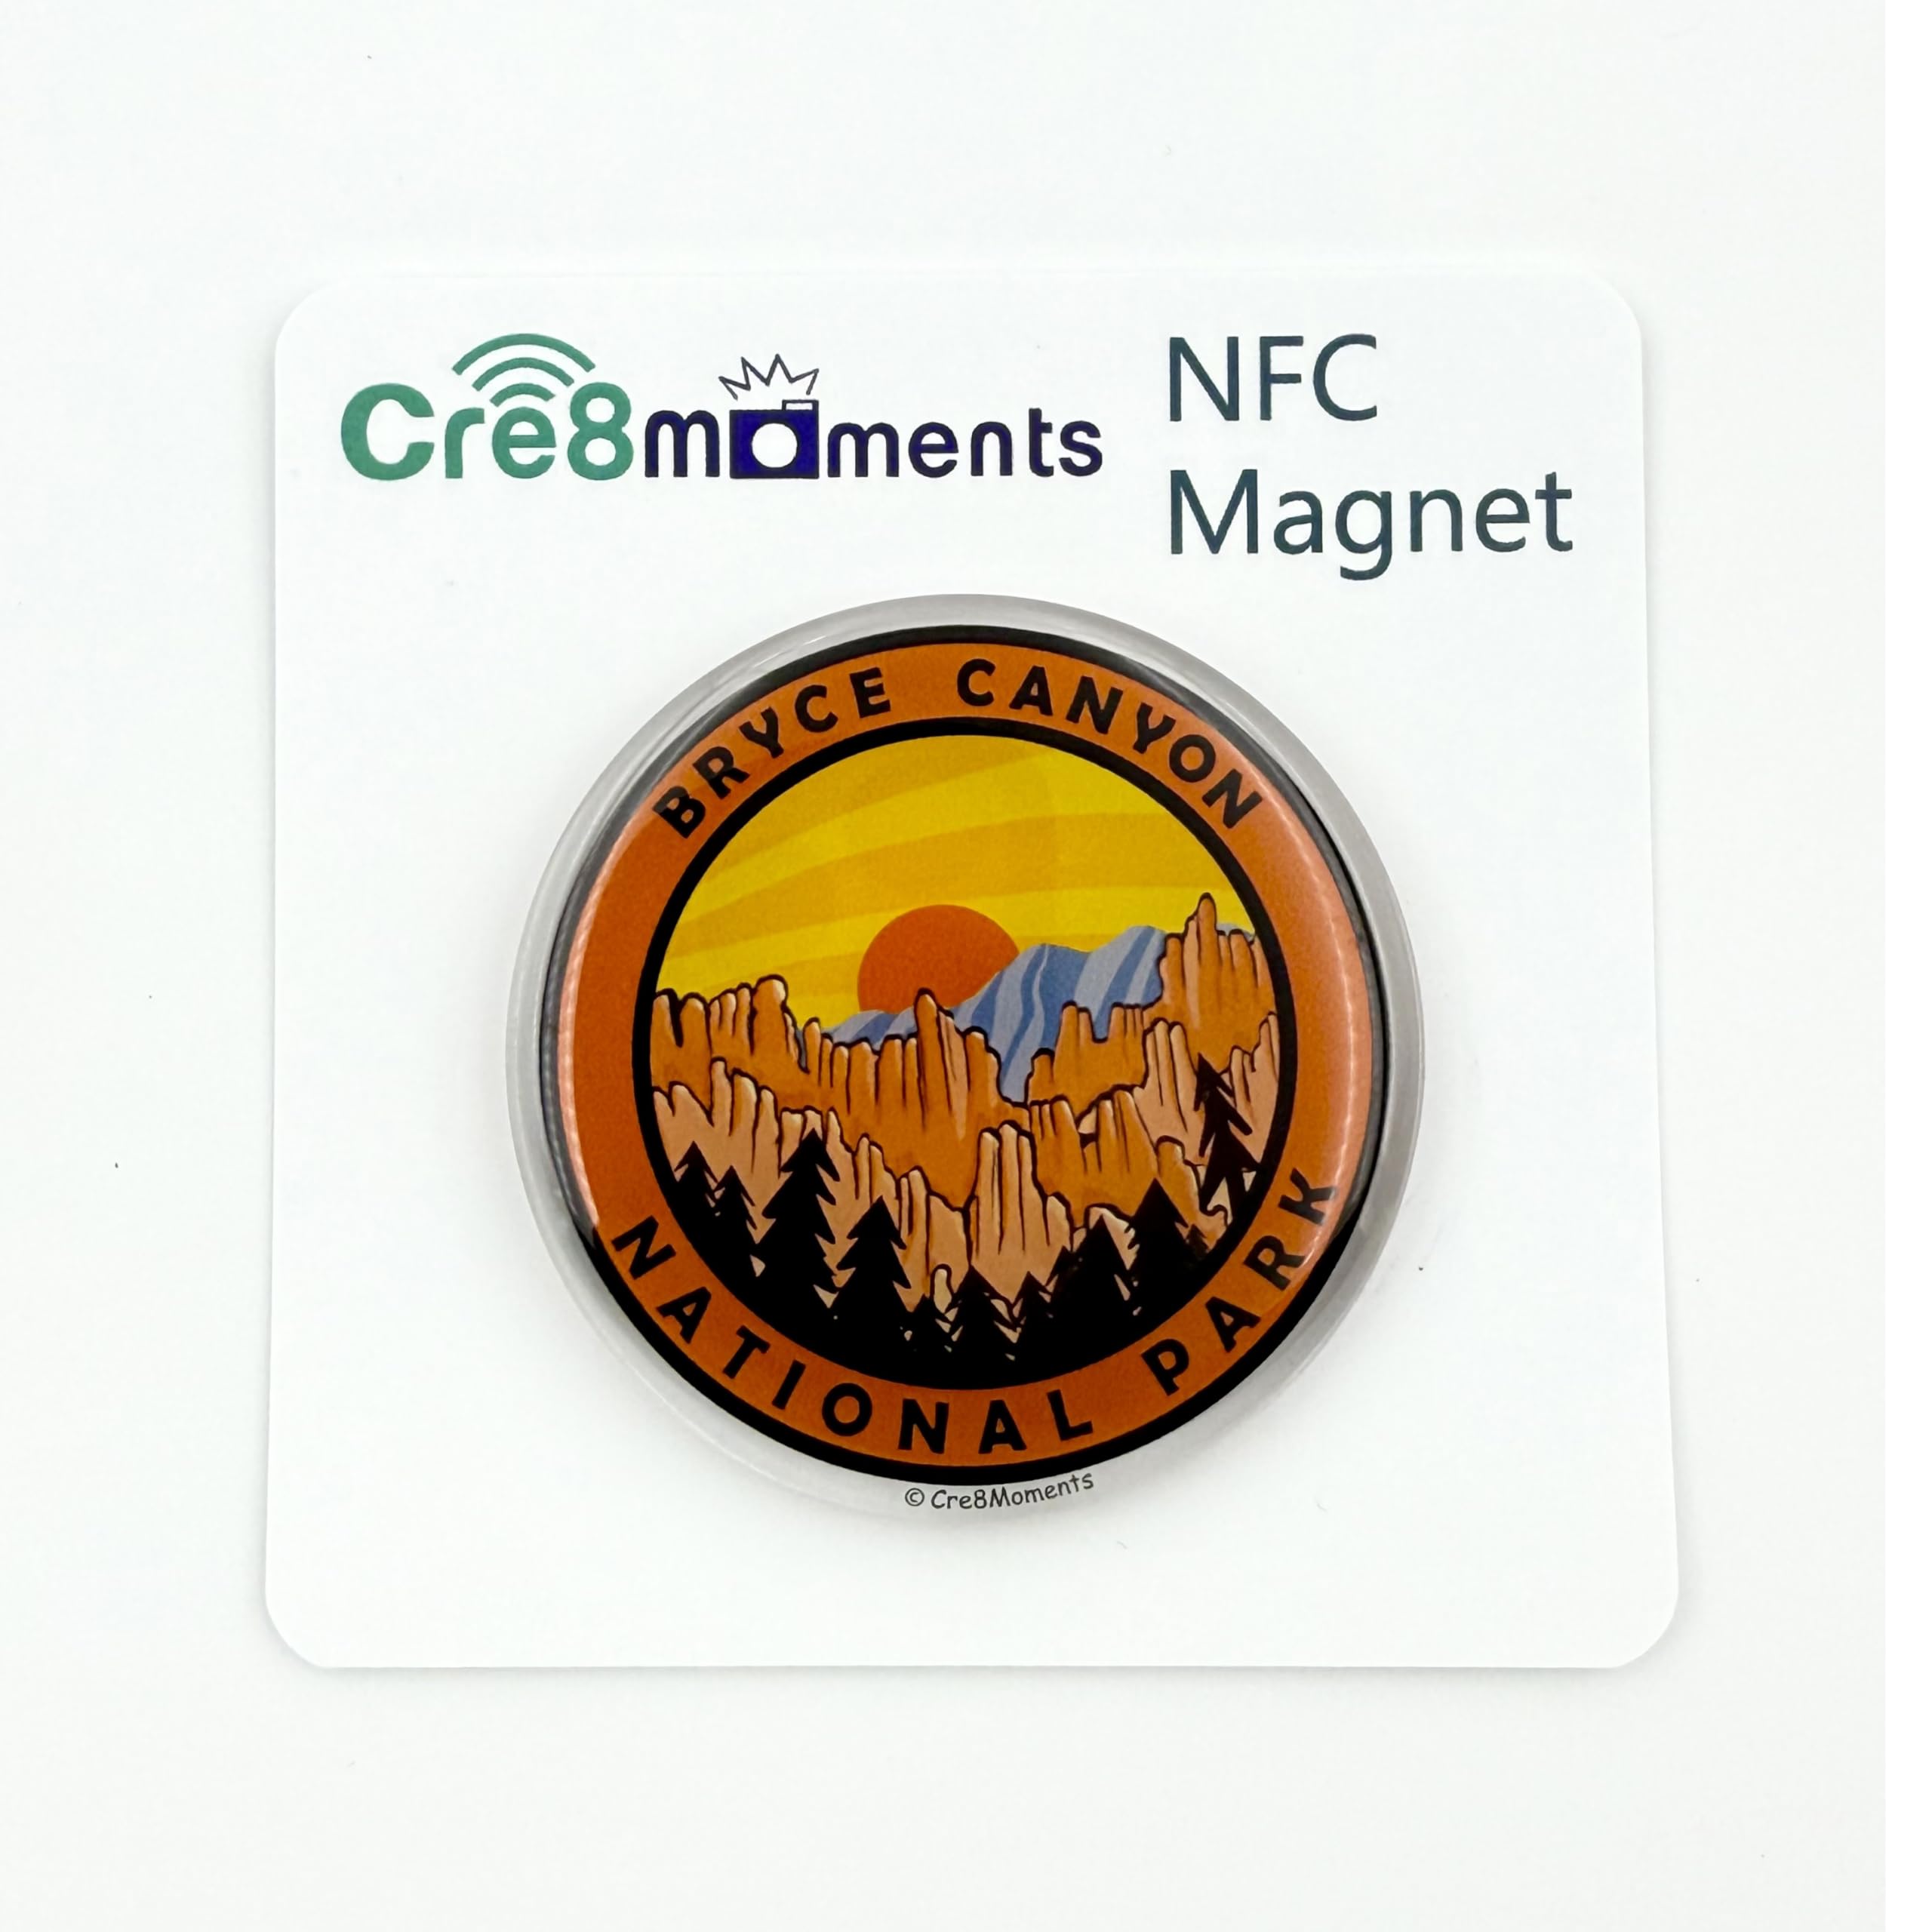 Bryce Canyon National Park
NFC Magnet
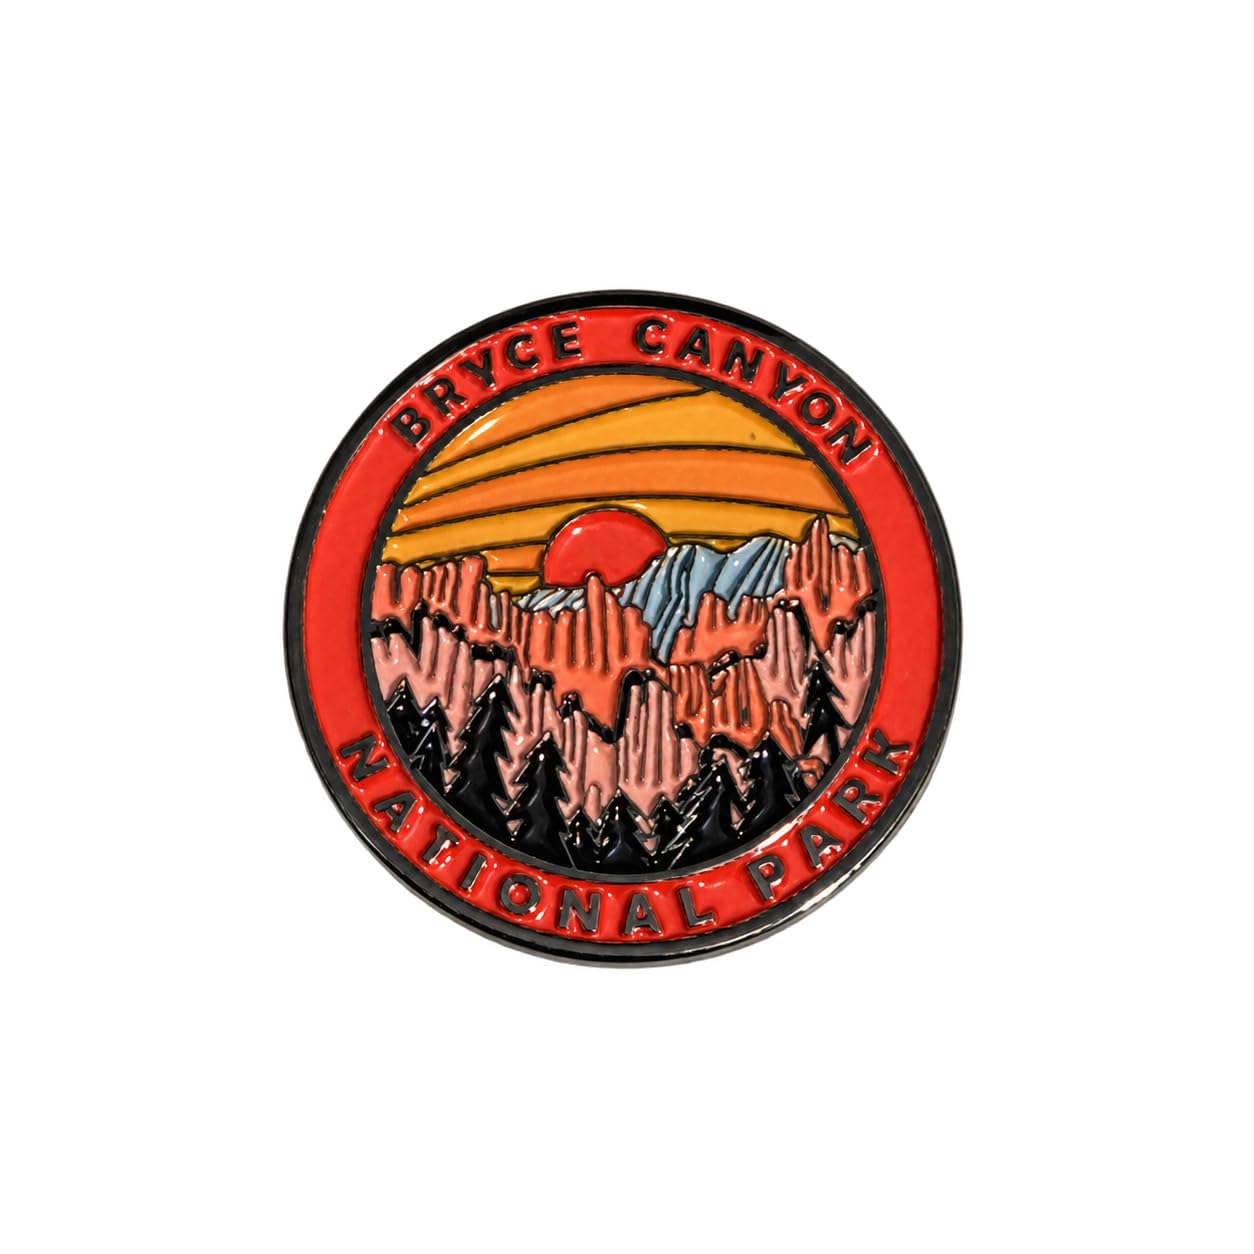 Bryce Canyon National Park
Pin
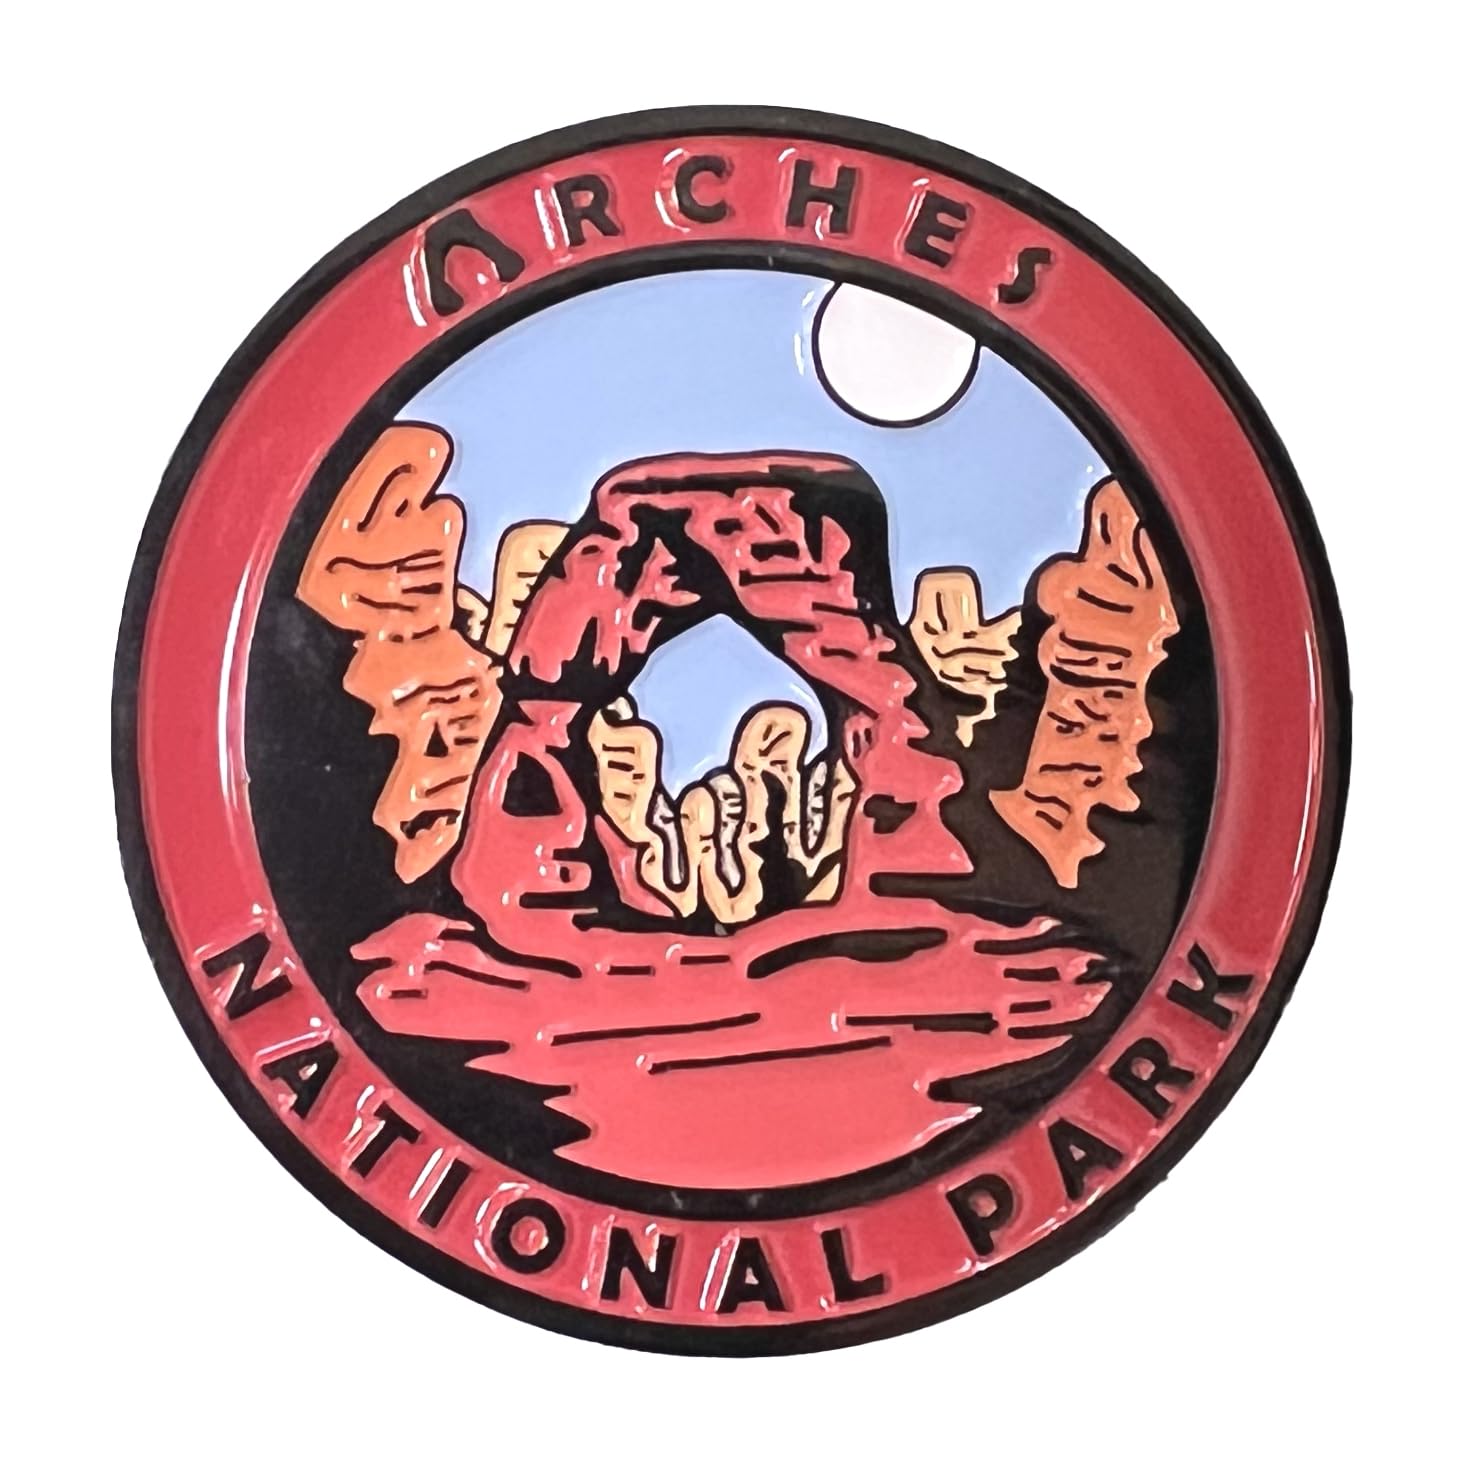 Arches National Park
Magnet
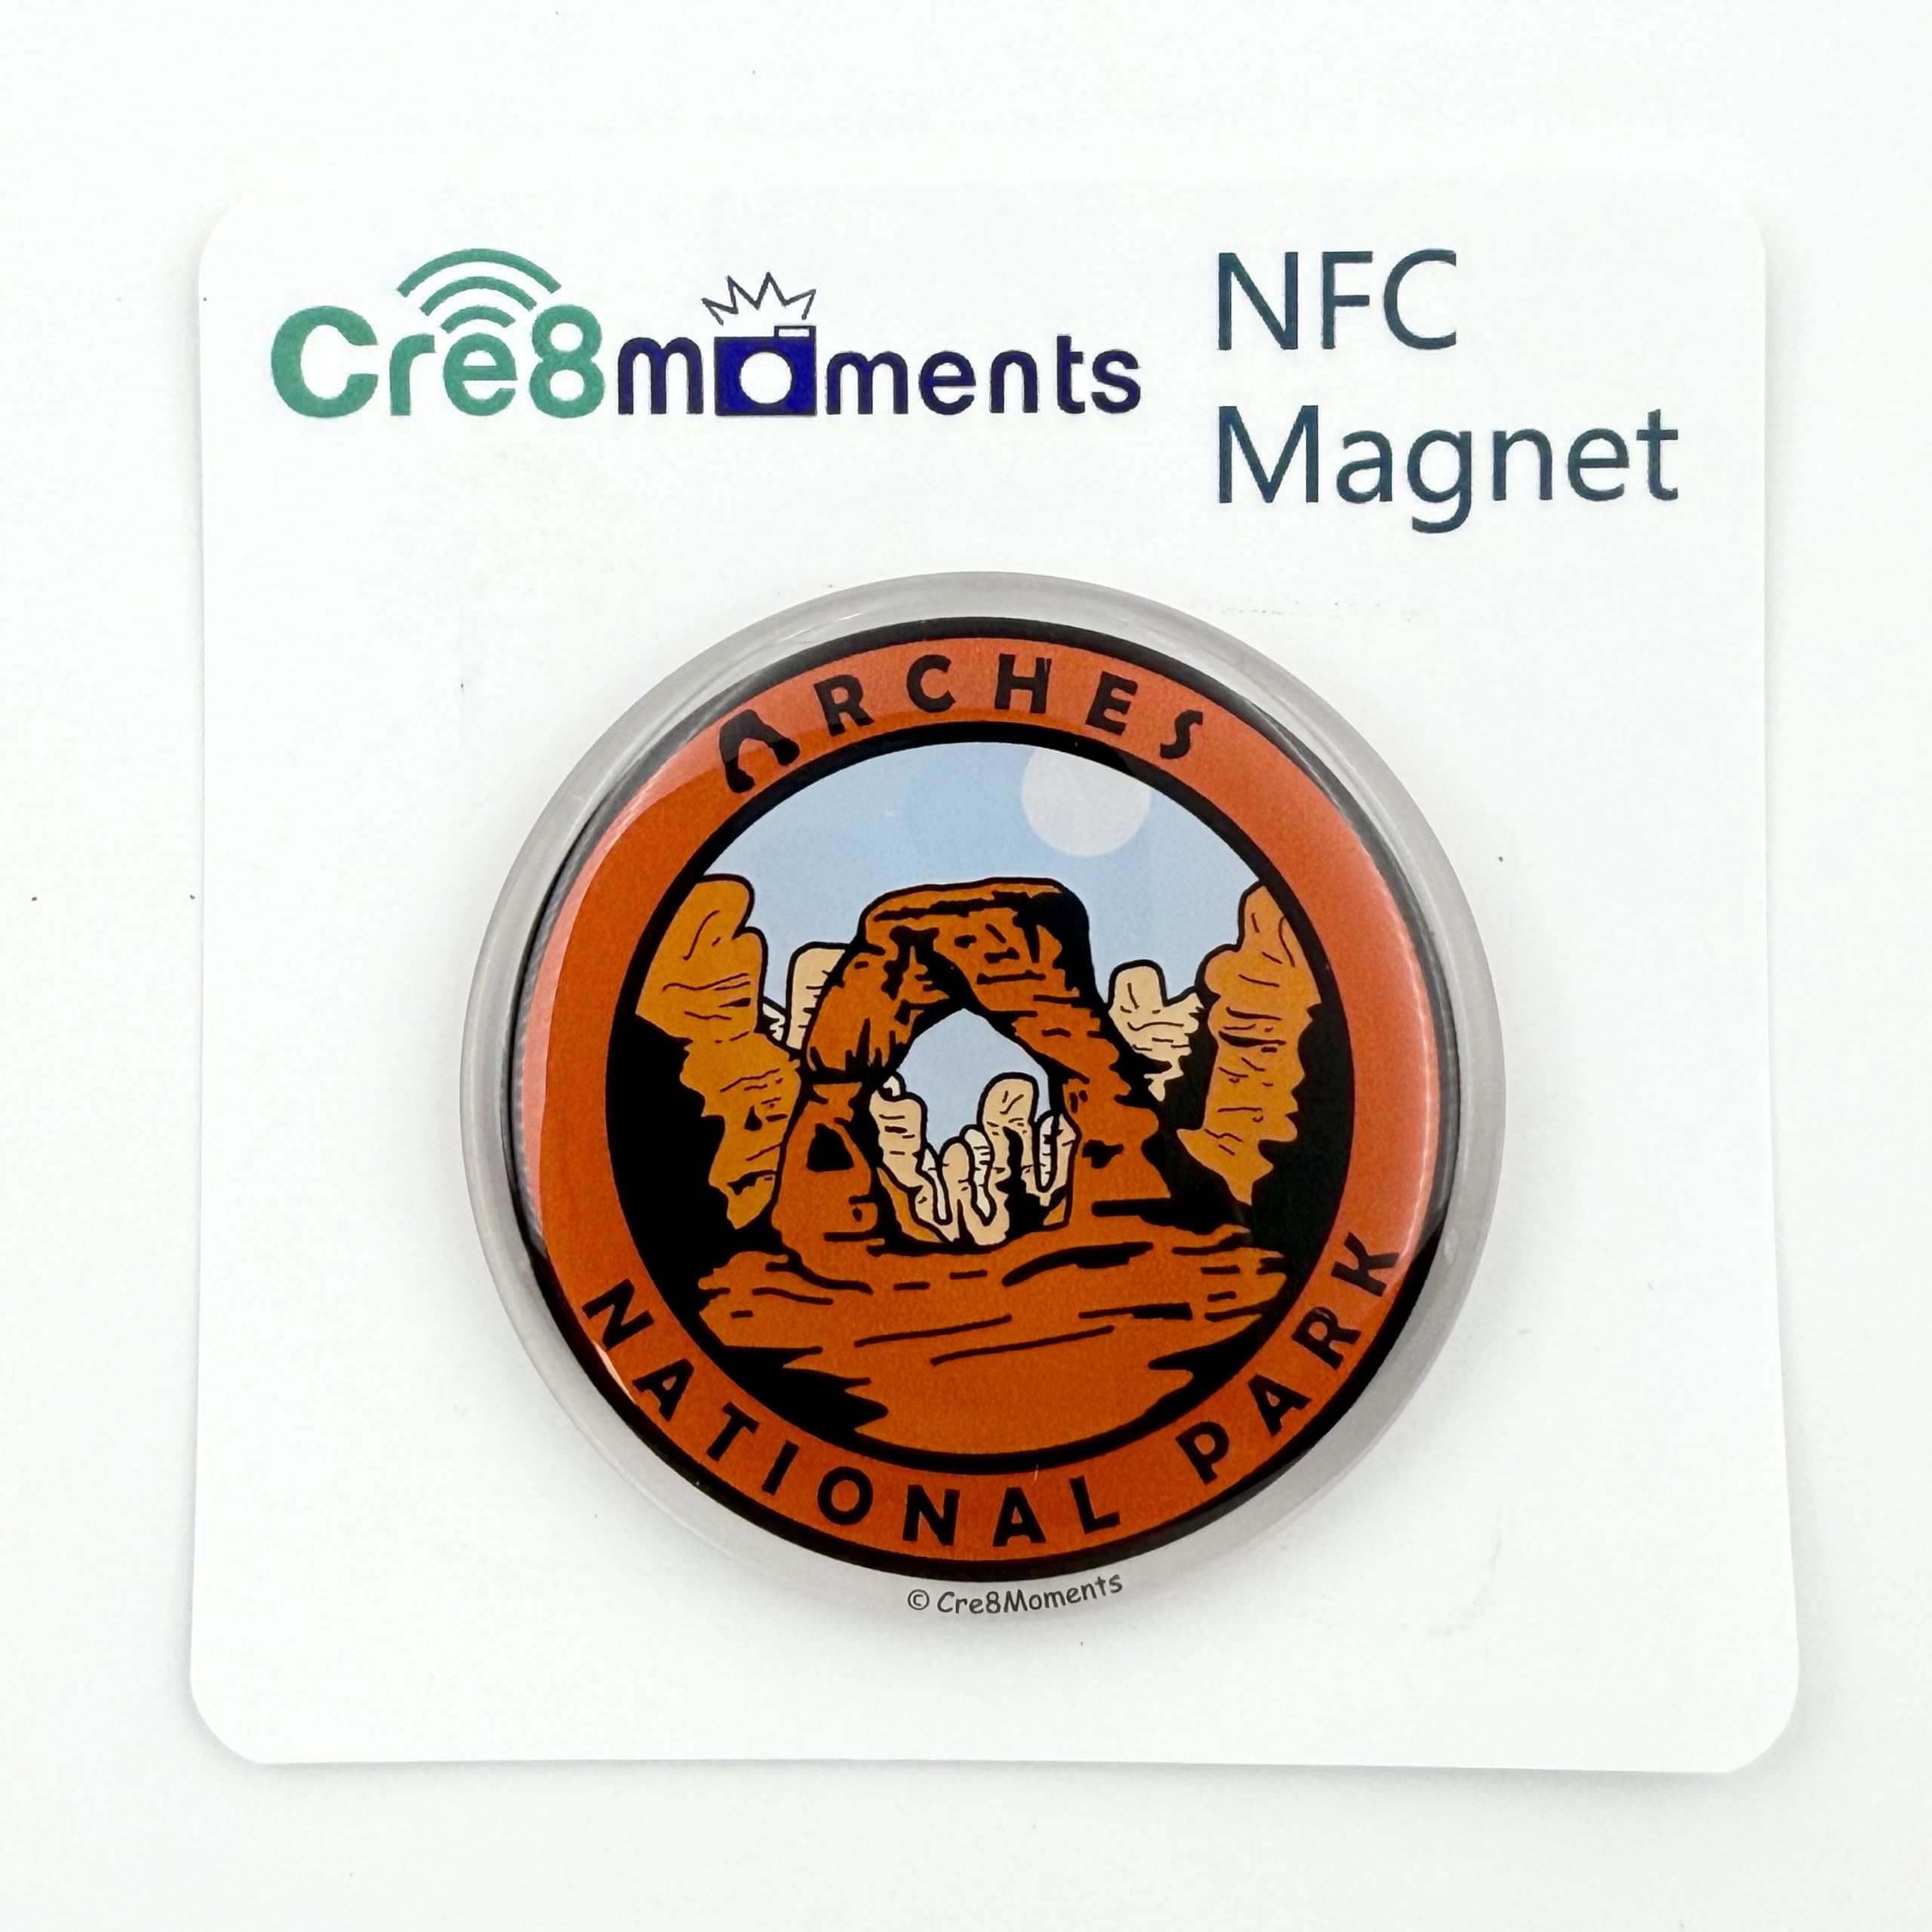 Arches National Park
NFC Magnet
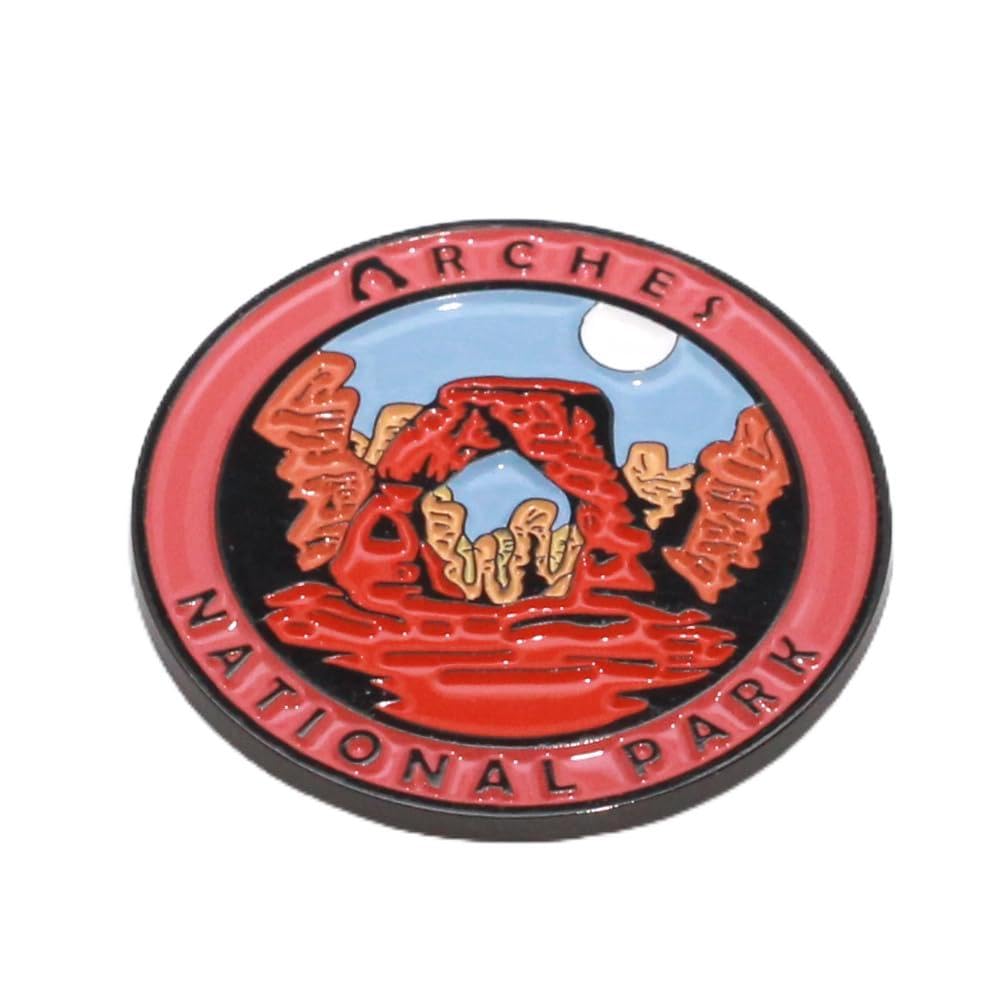 Arches National Park
Pin
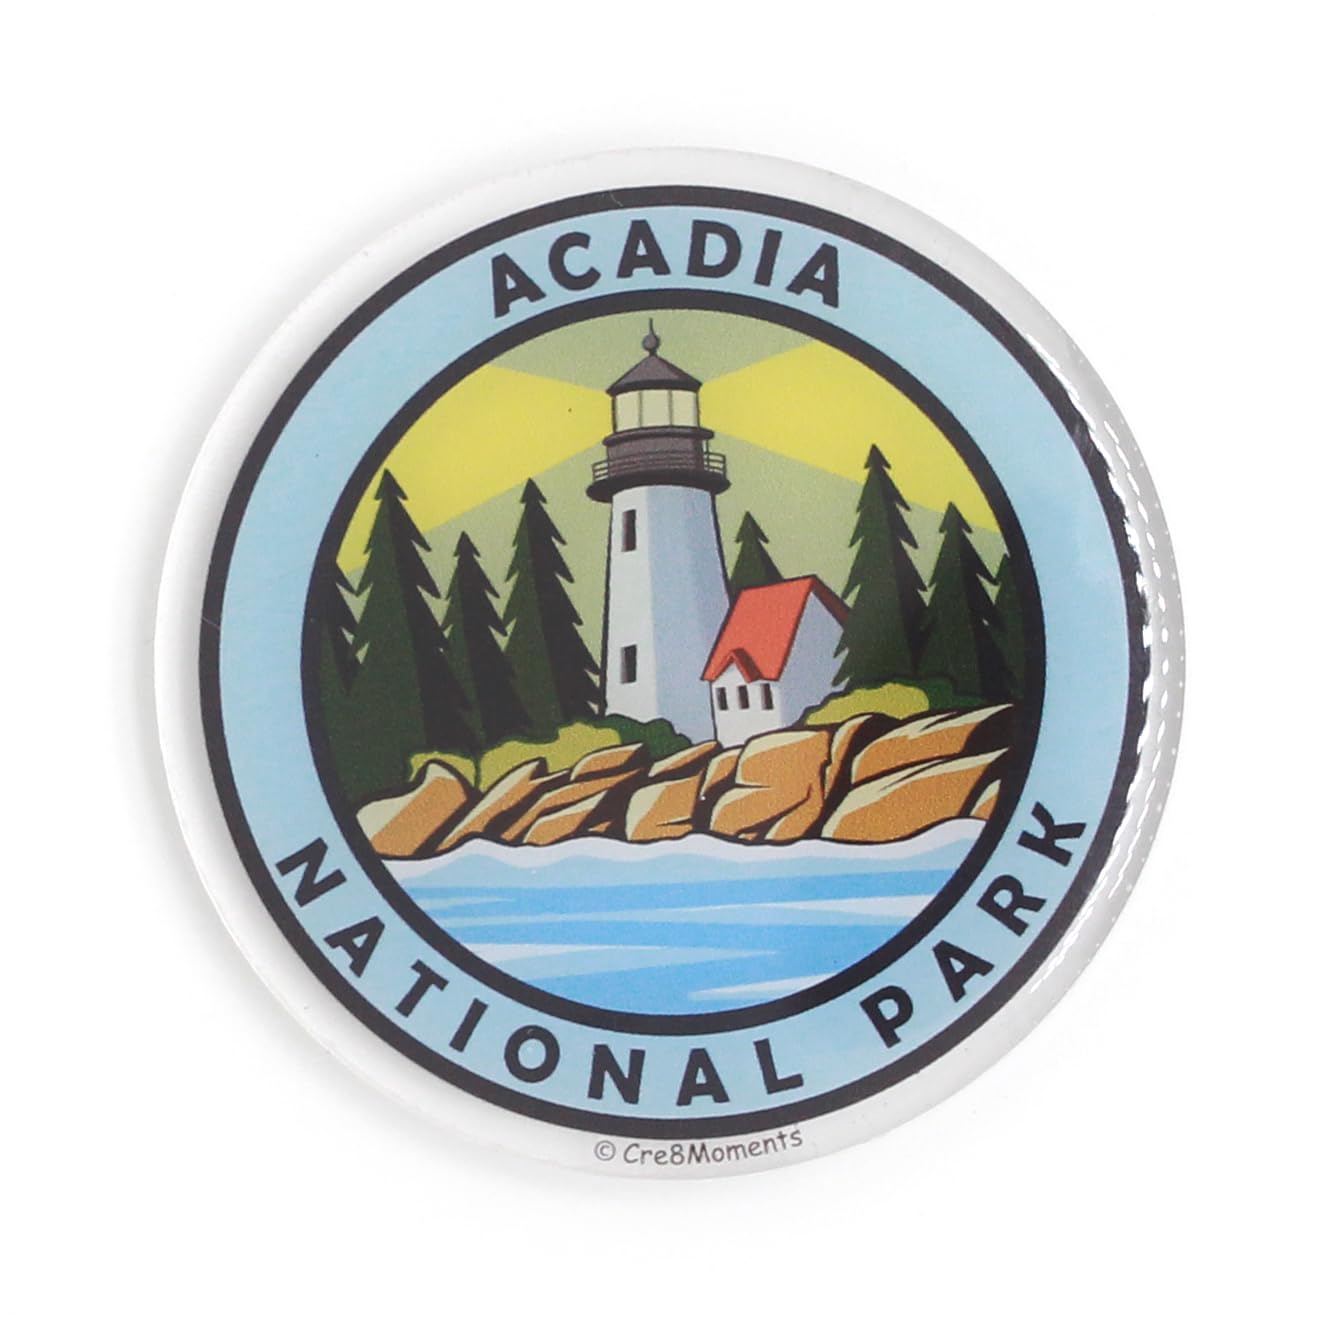 Acadia National Park
NFC Magnet
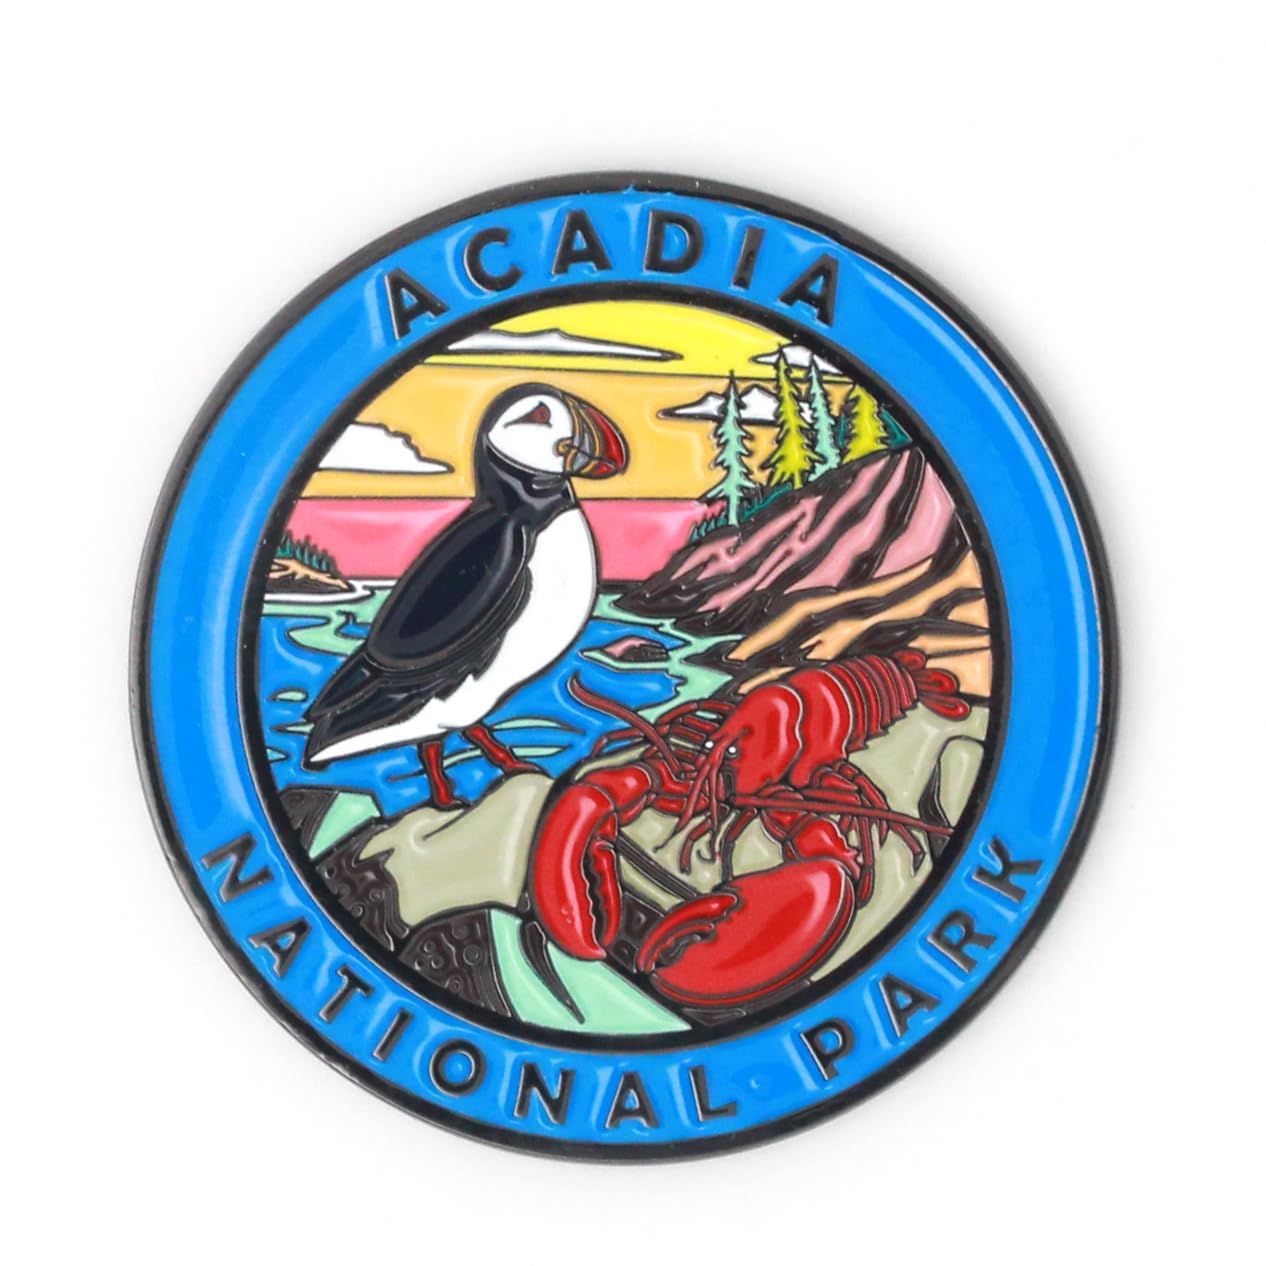 Acadia National Park
Magnet
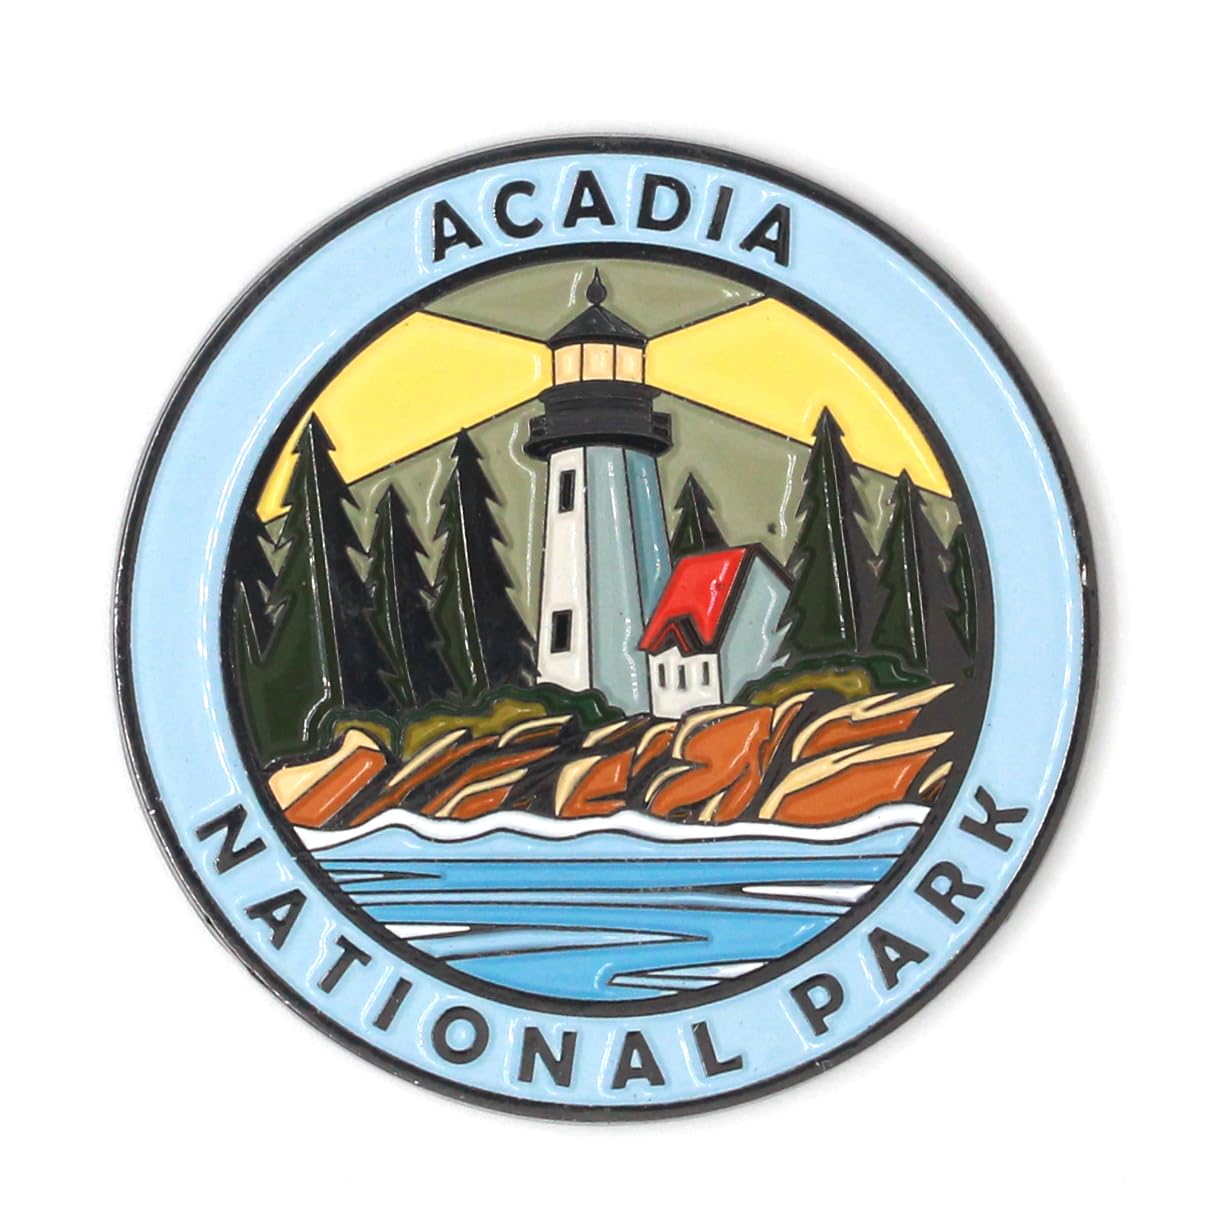 Acadia National Park
Magnet
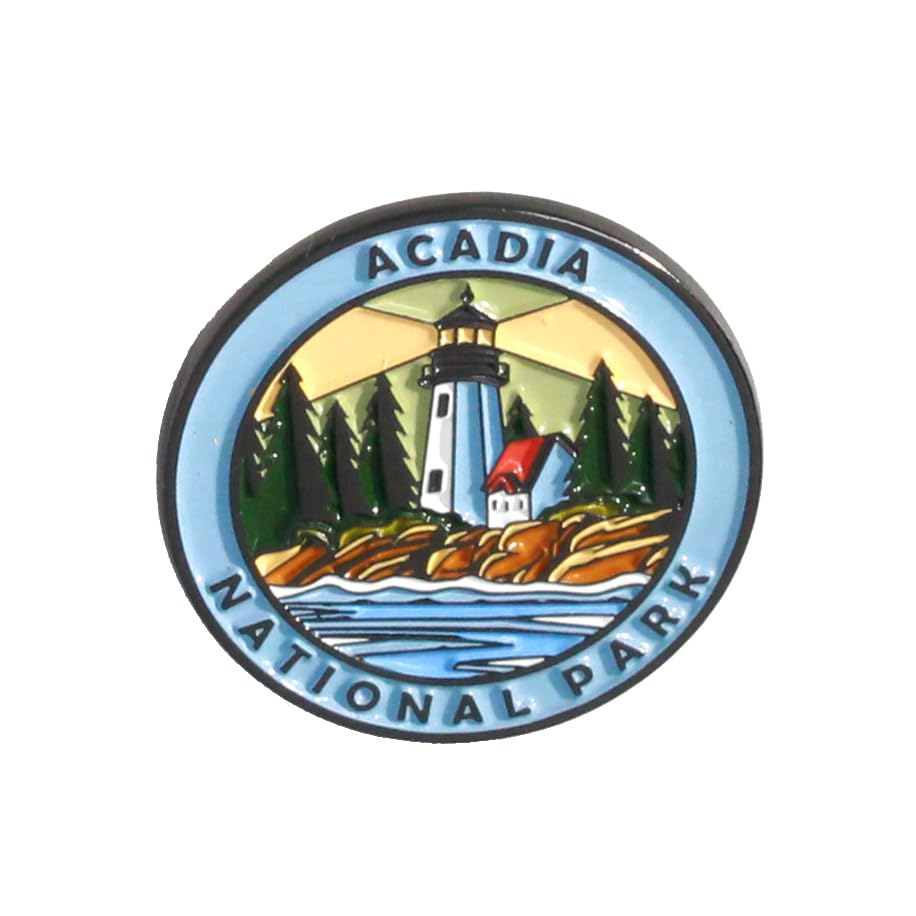 Acadia National Park
Pin
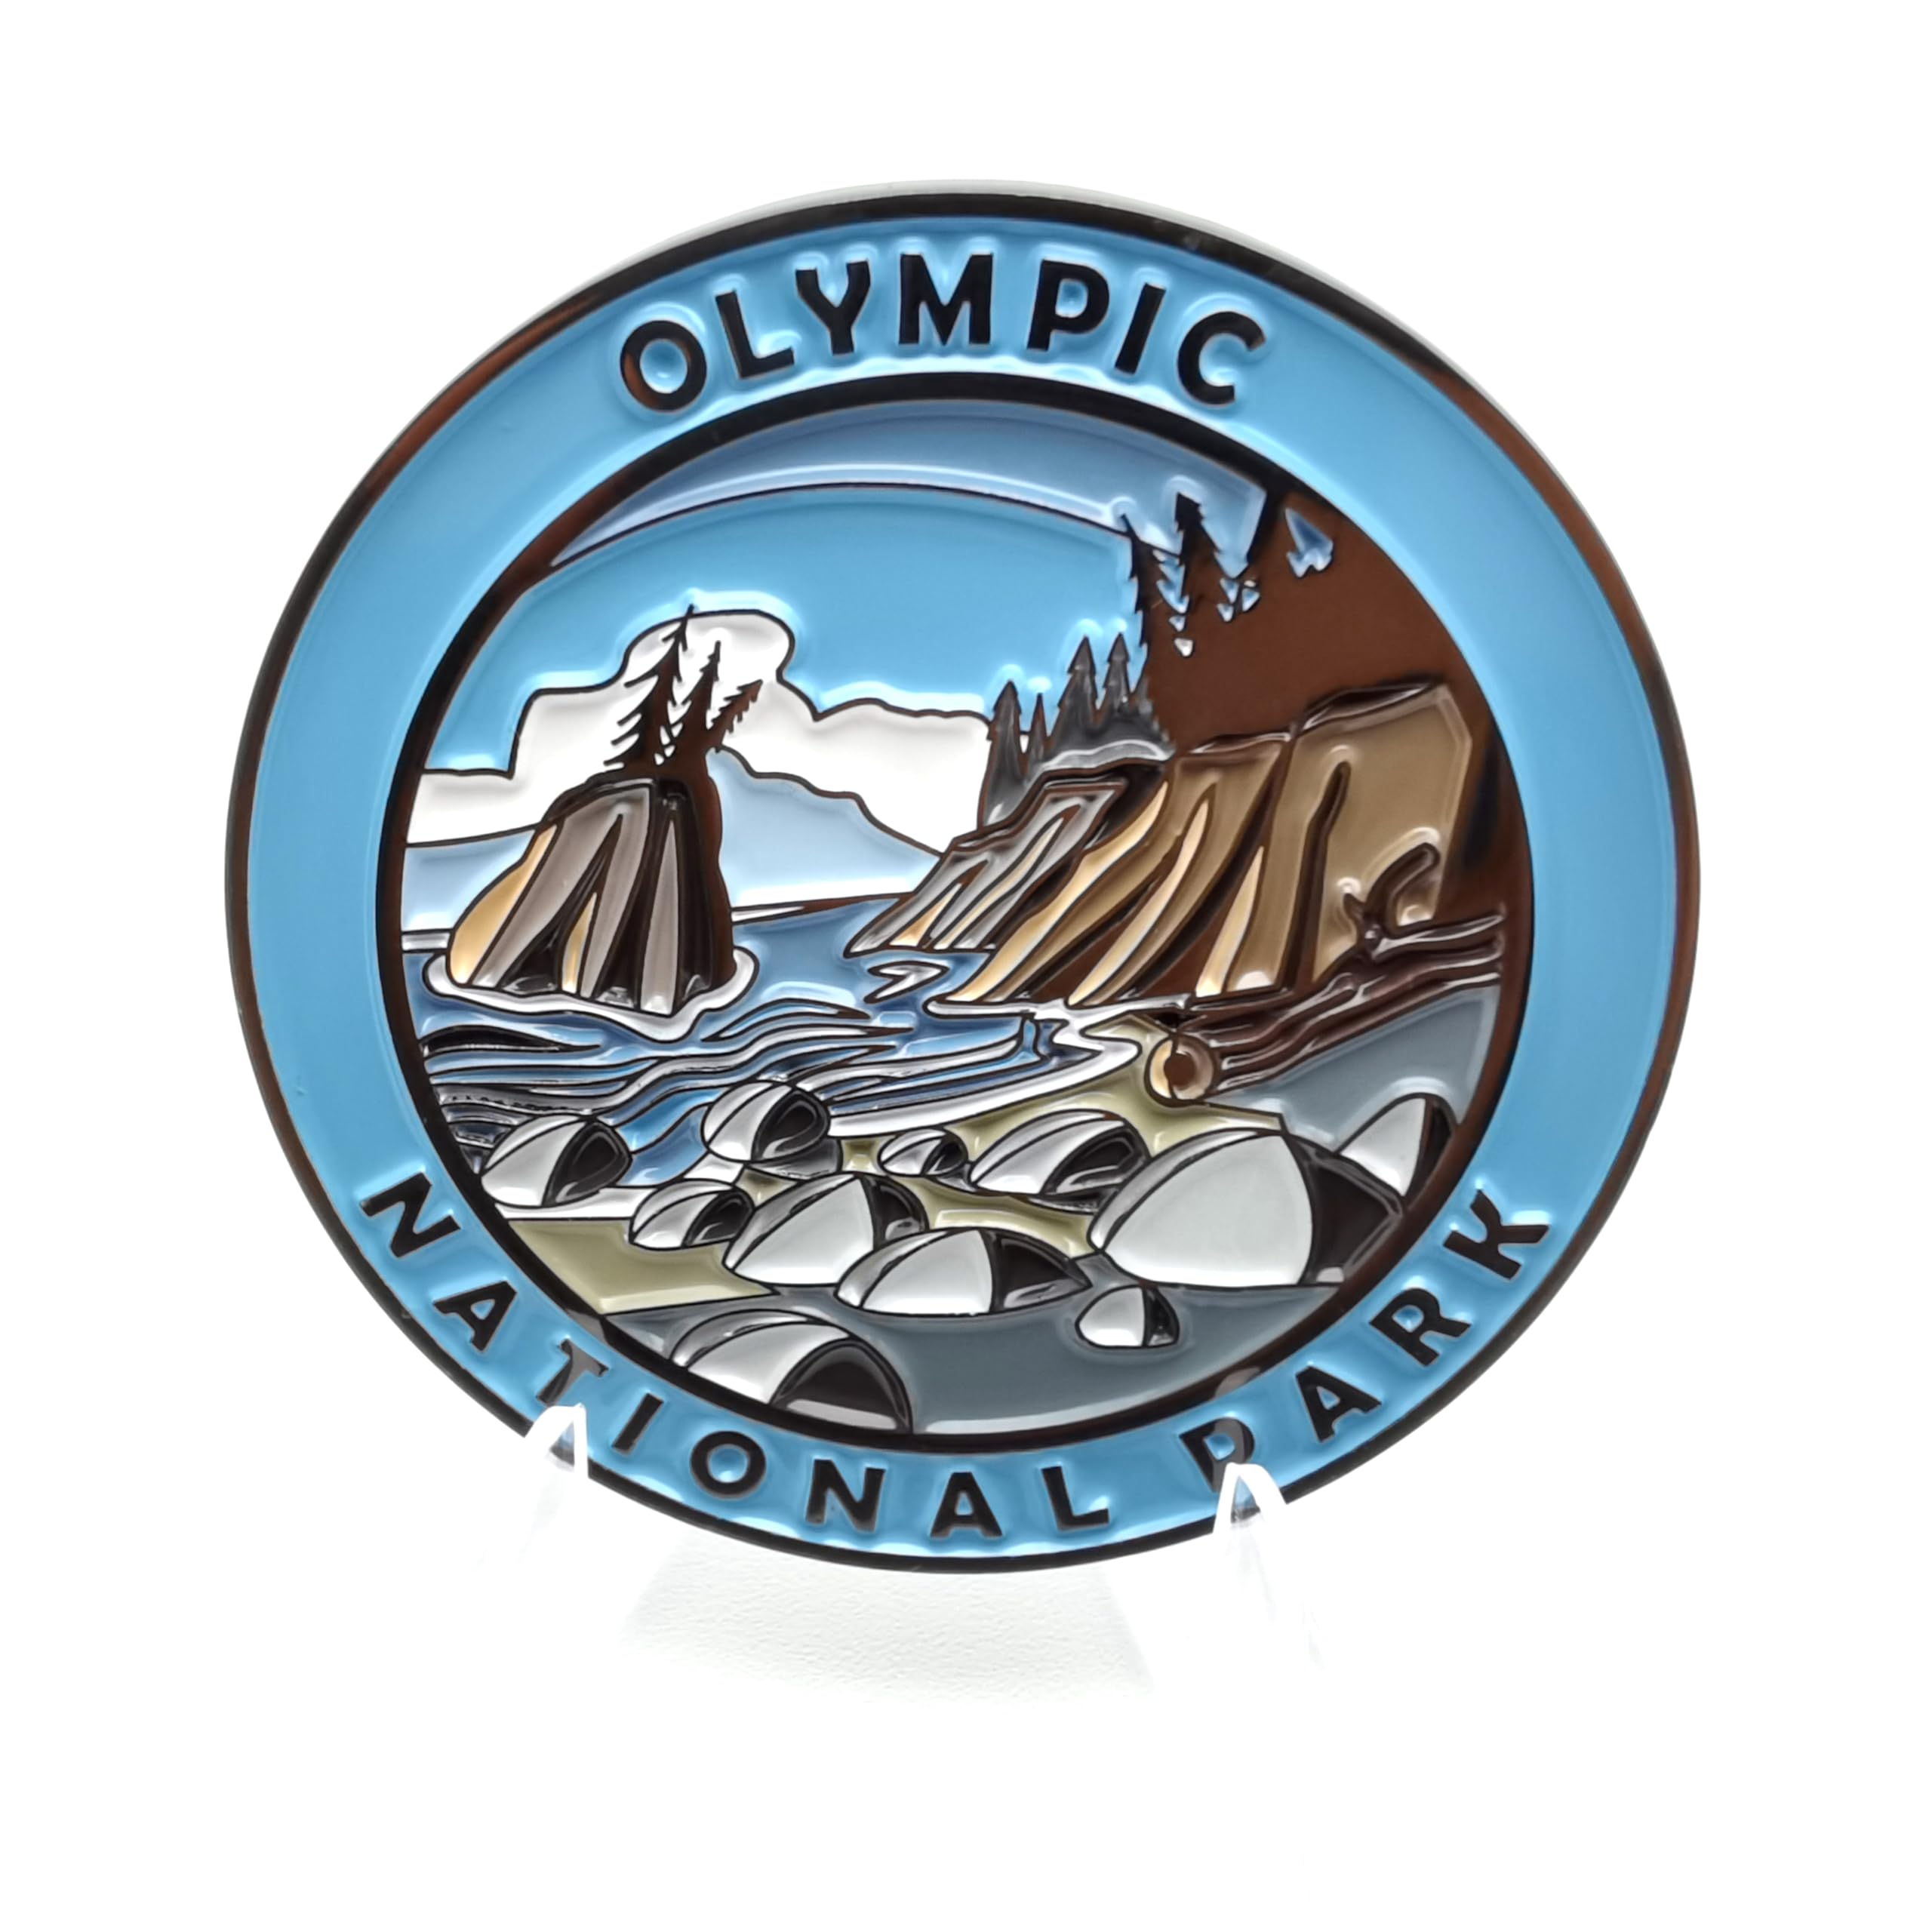 Olympic National Park
Magnet
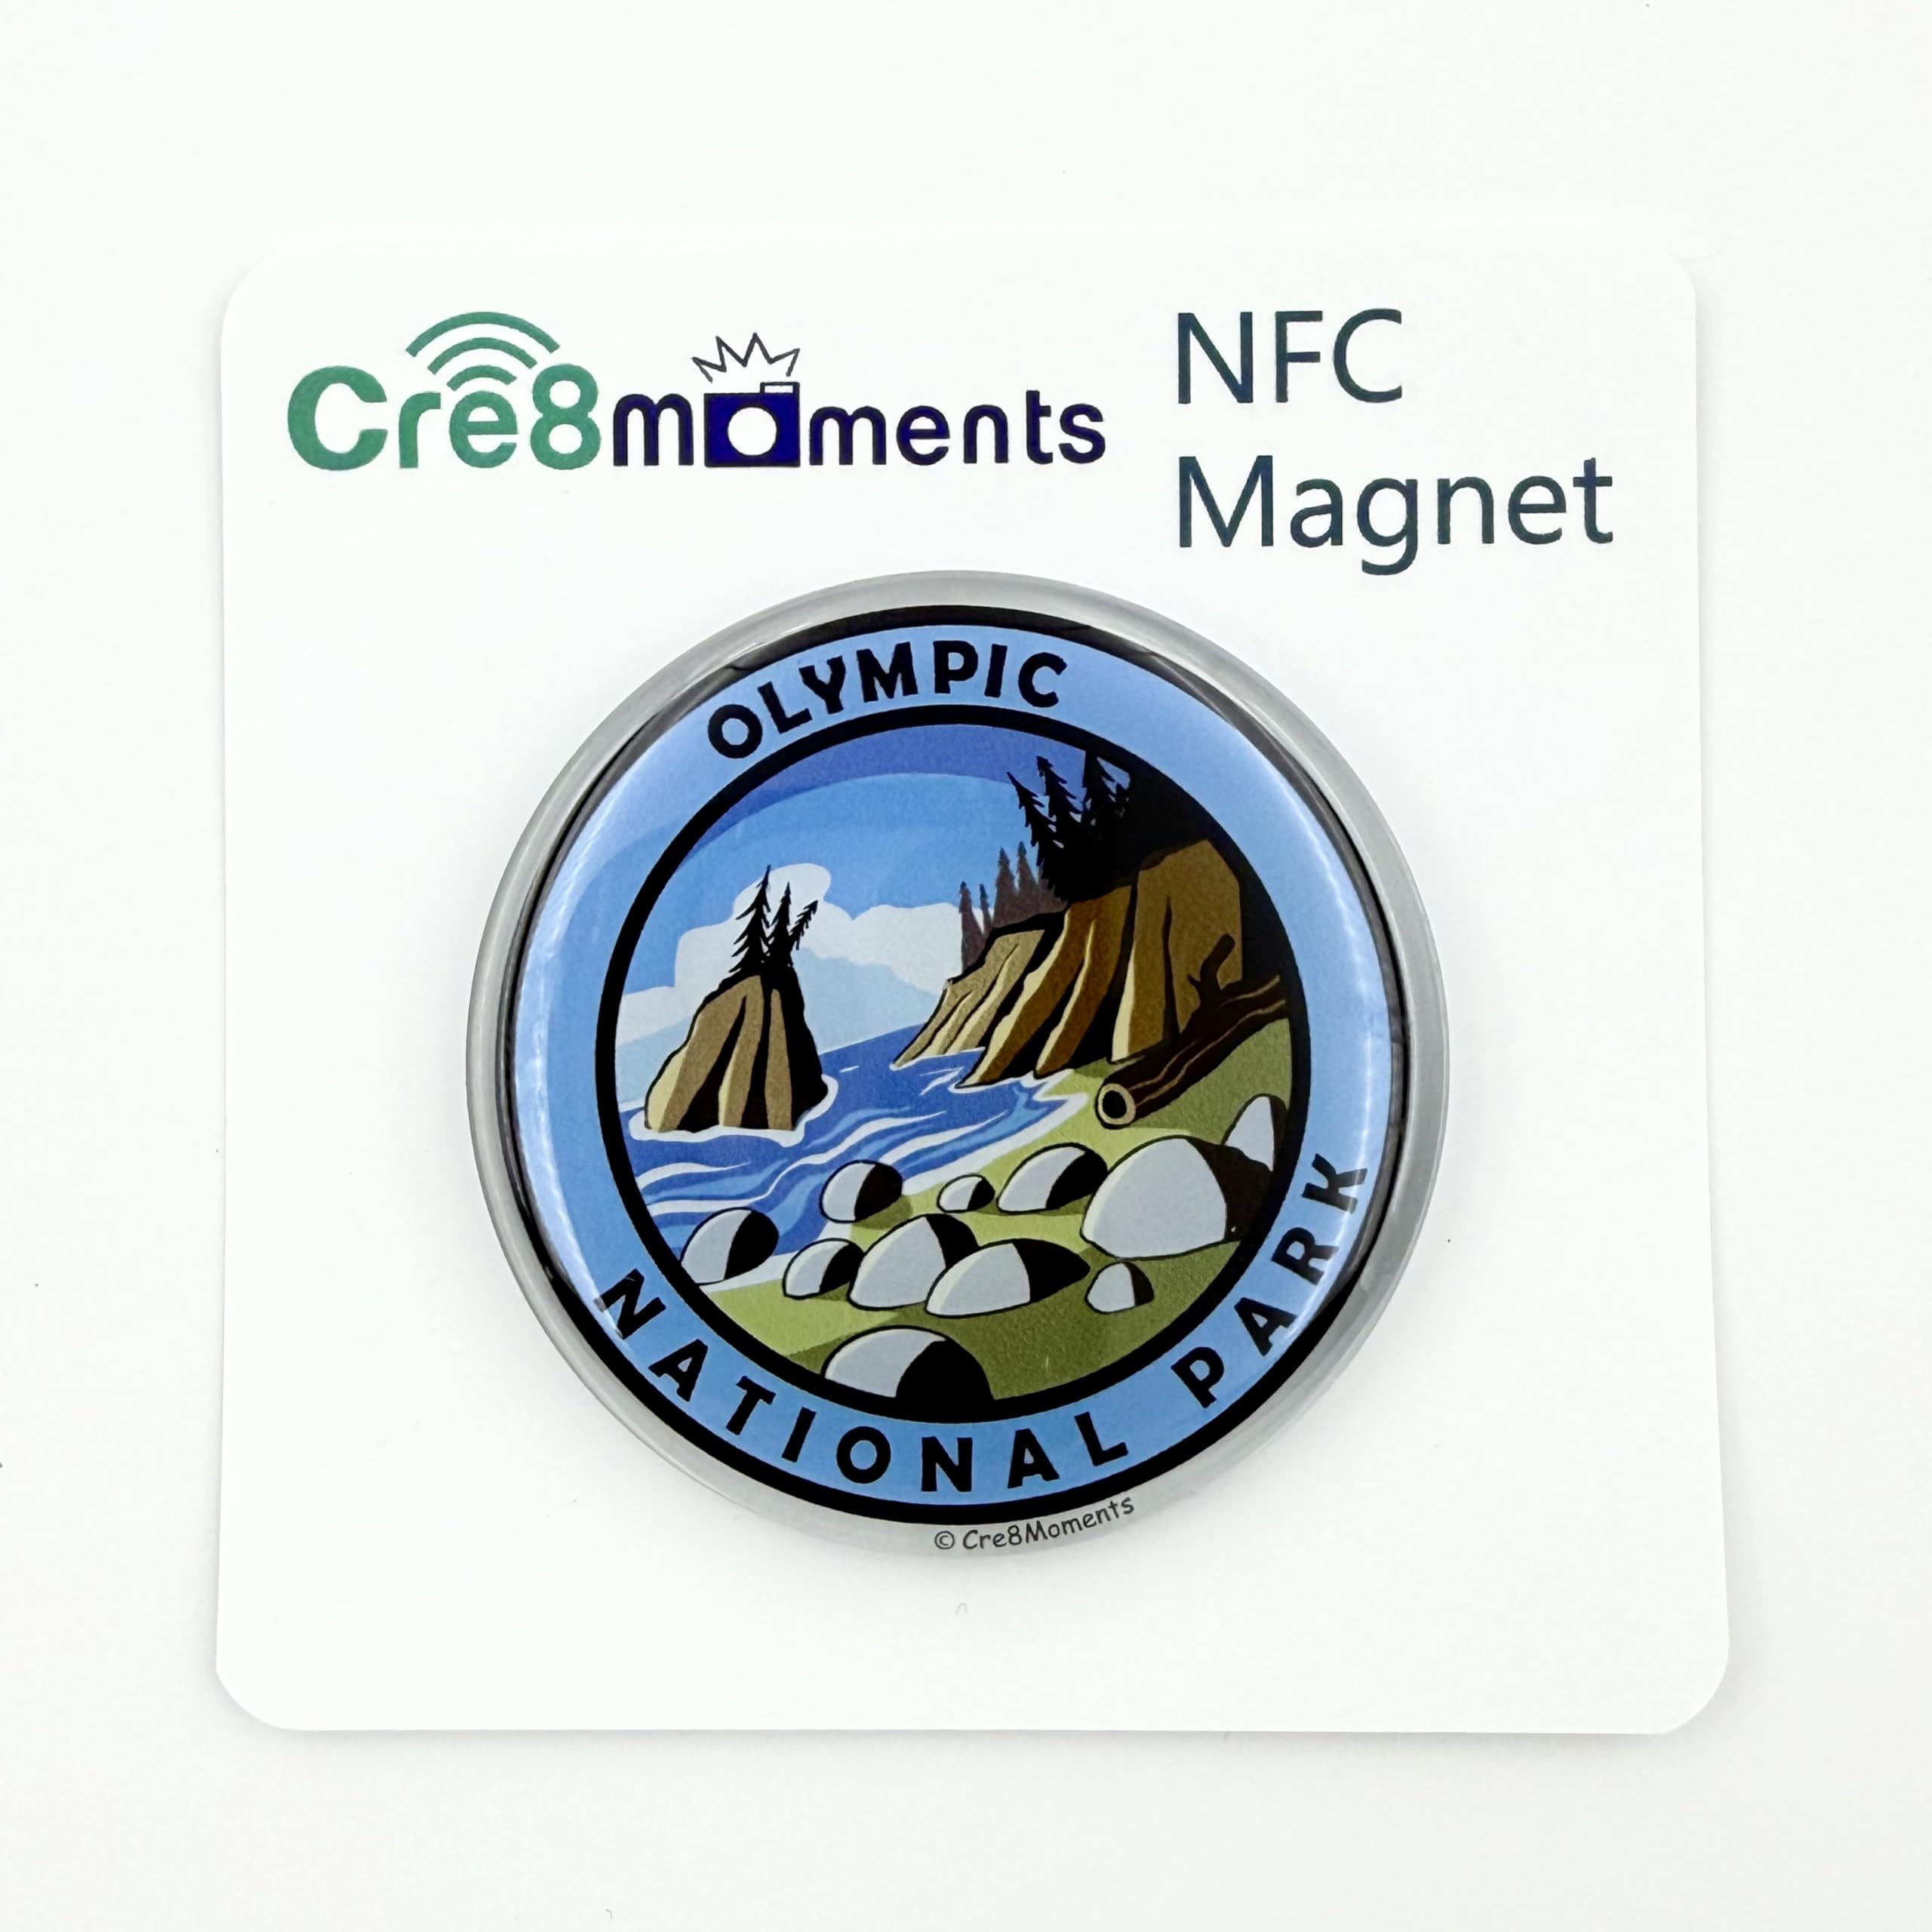 Olympic National Park
NFC Magnet
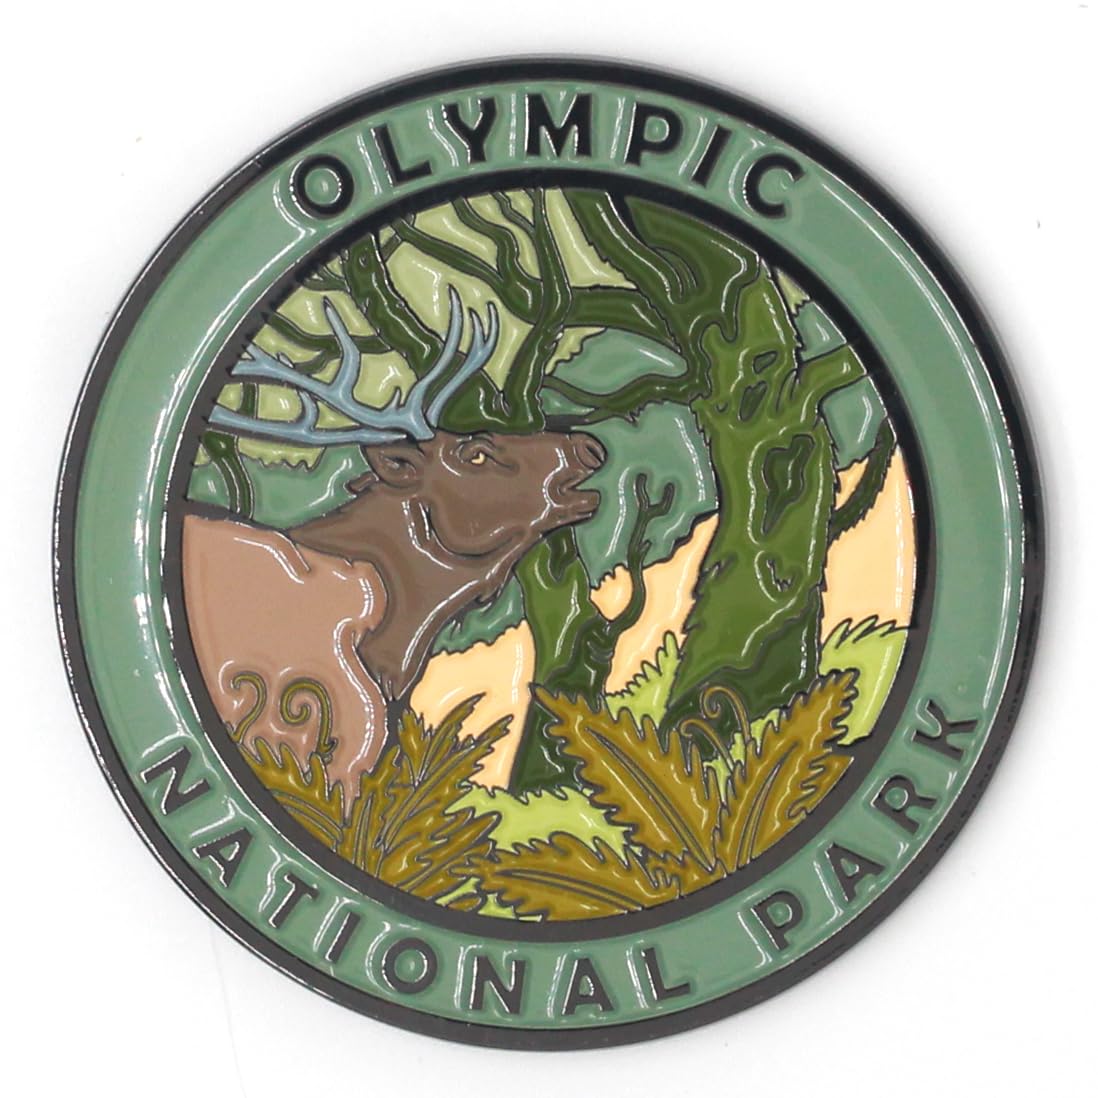 Olympic National Park
Magnet
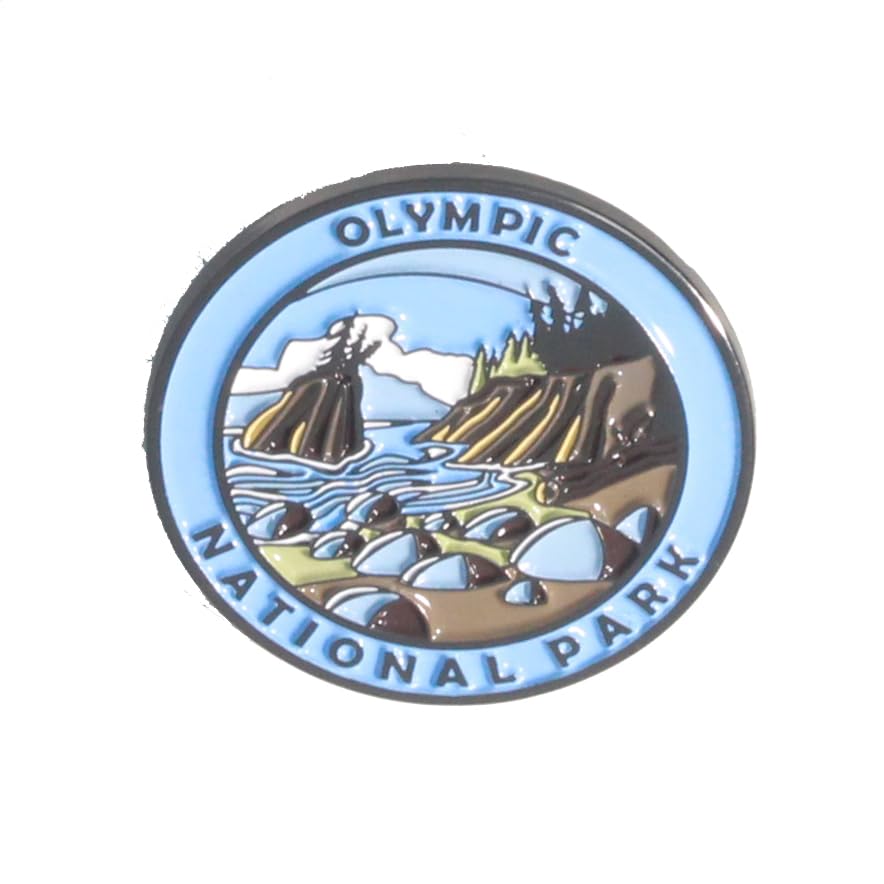 Olympic National Park
Pin
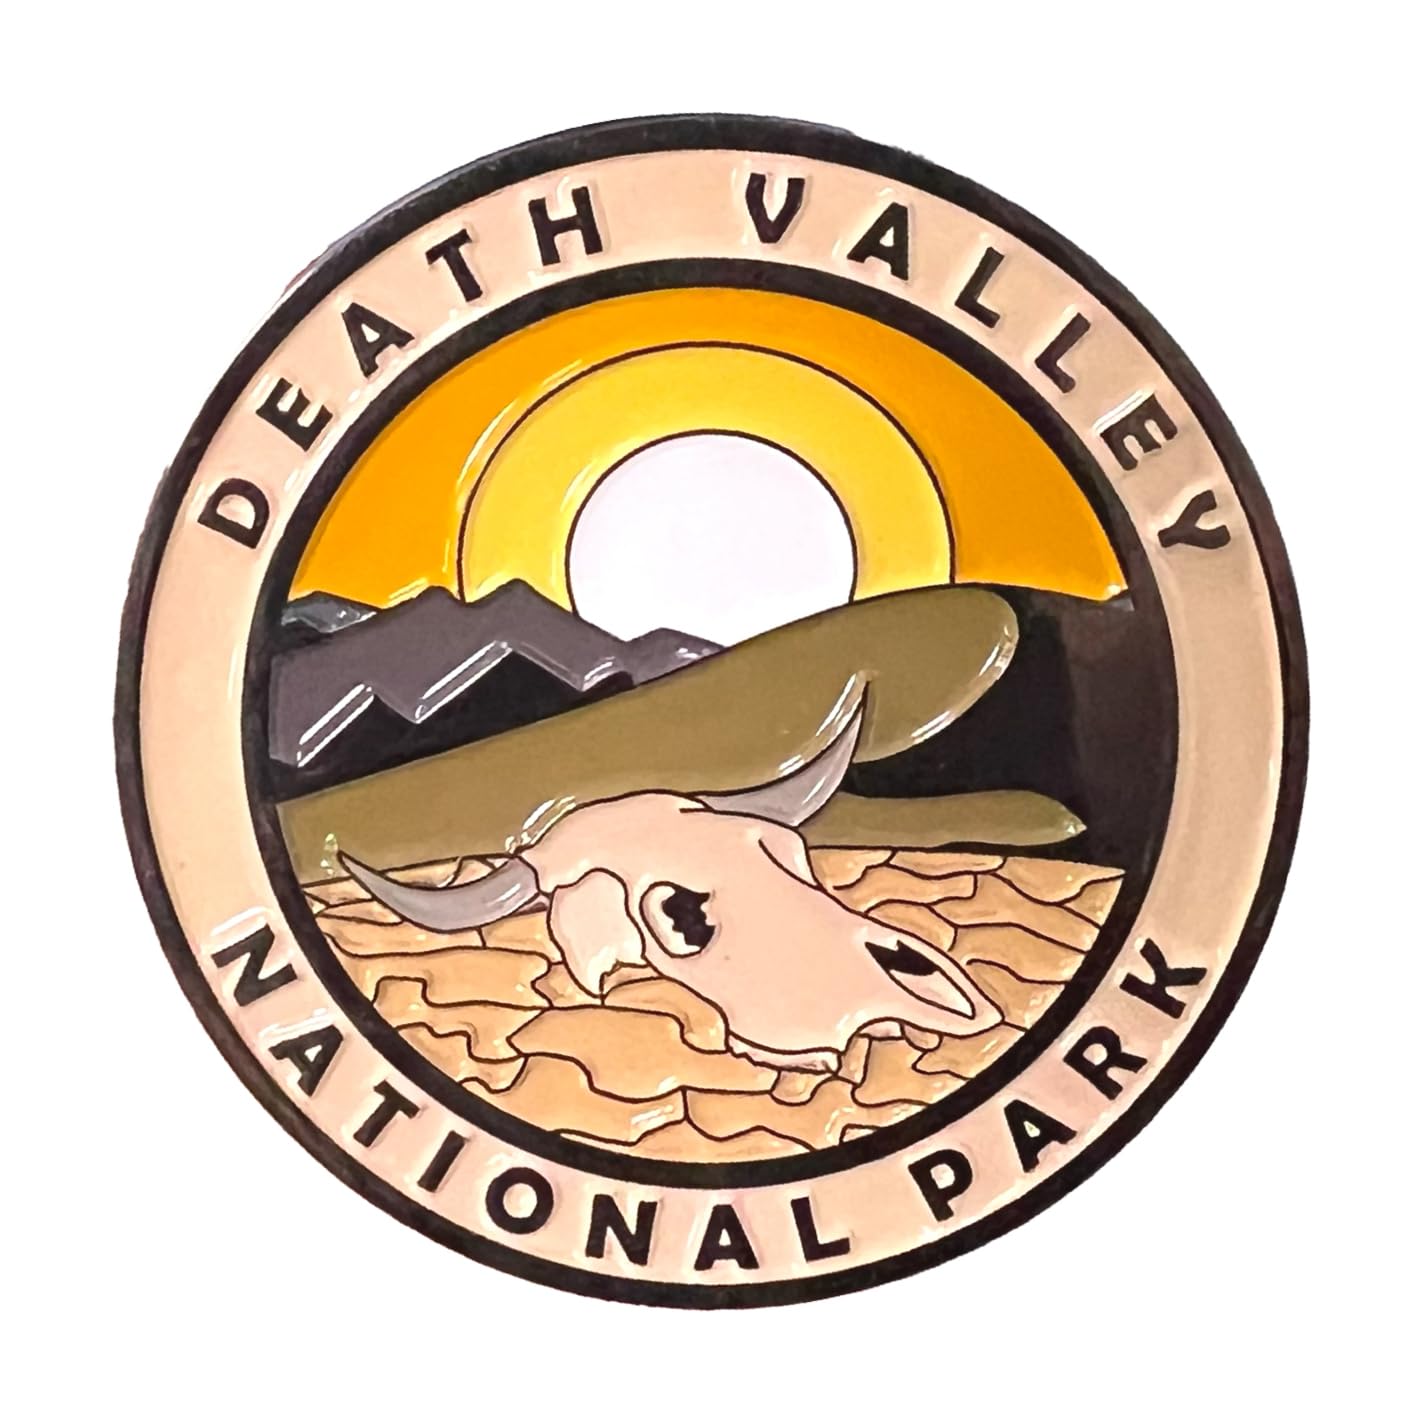 Death Valley National Park
Magnet
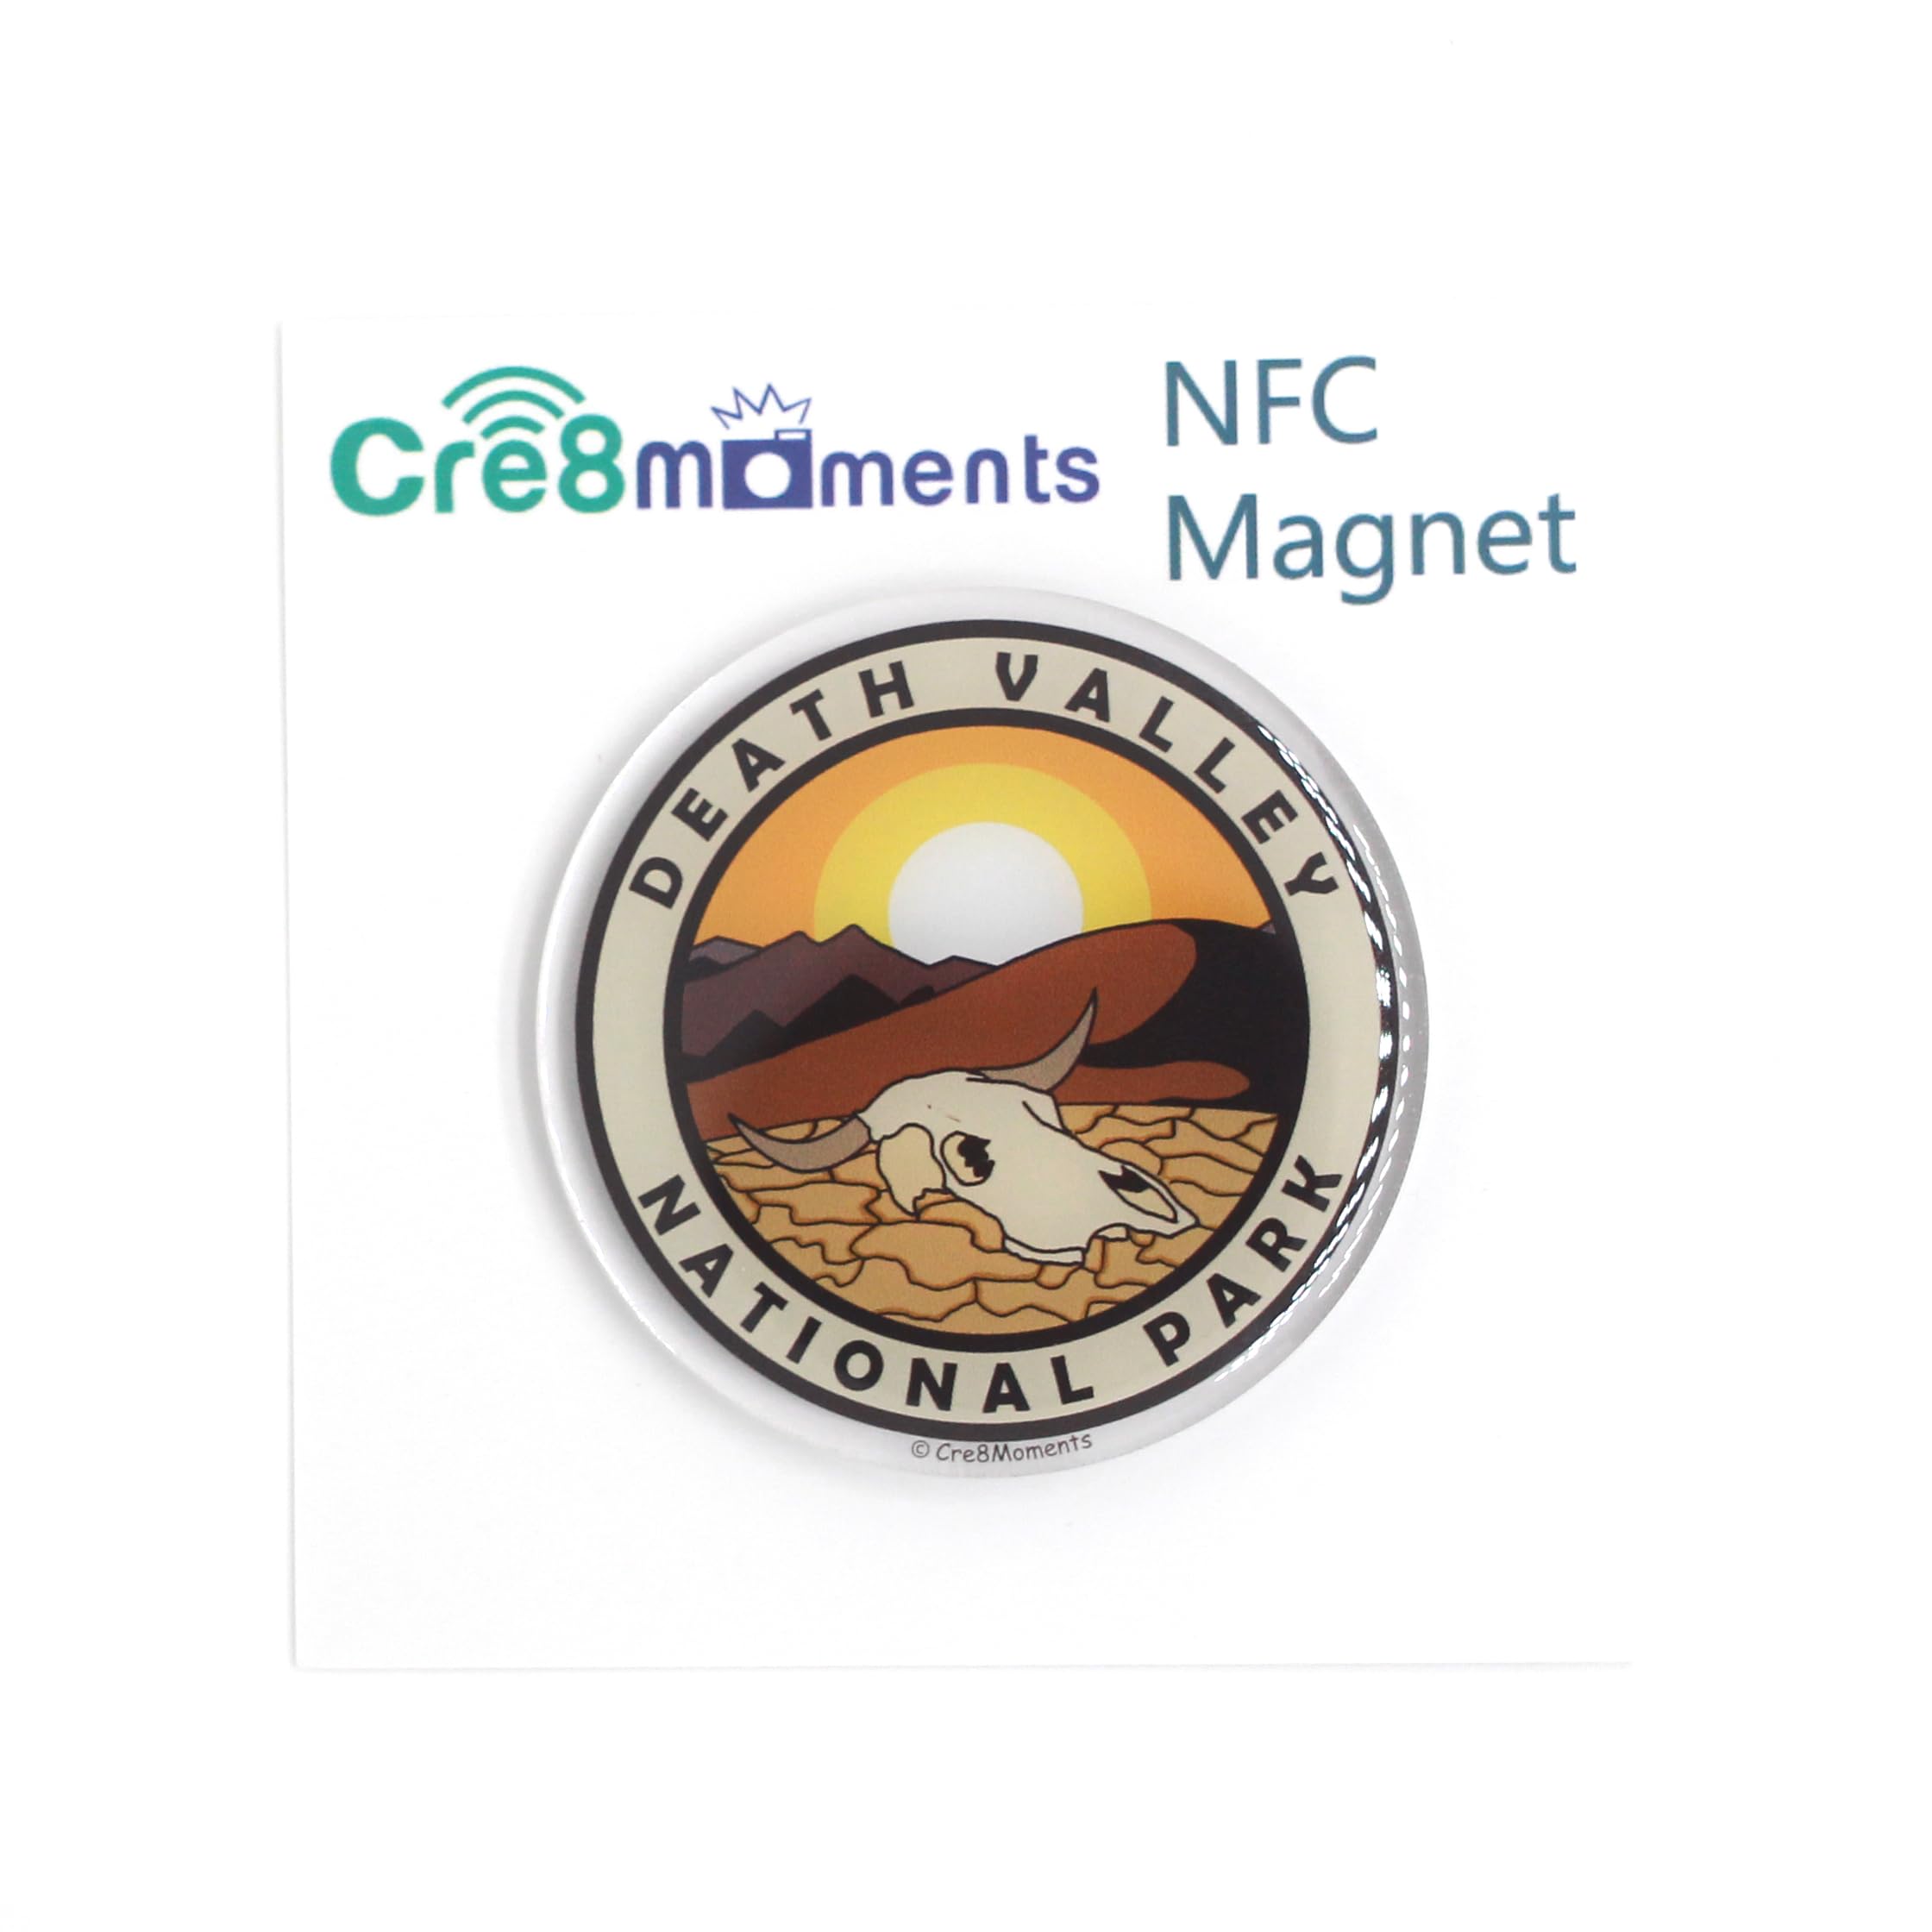 Death Valley National Park
NFC Magnet
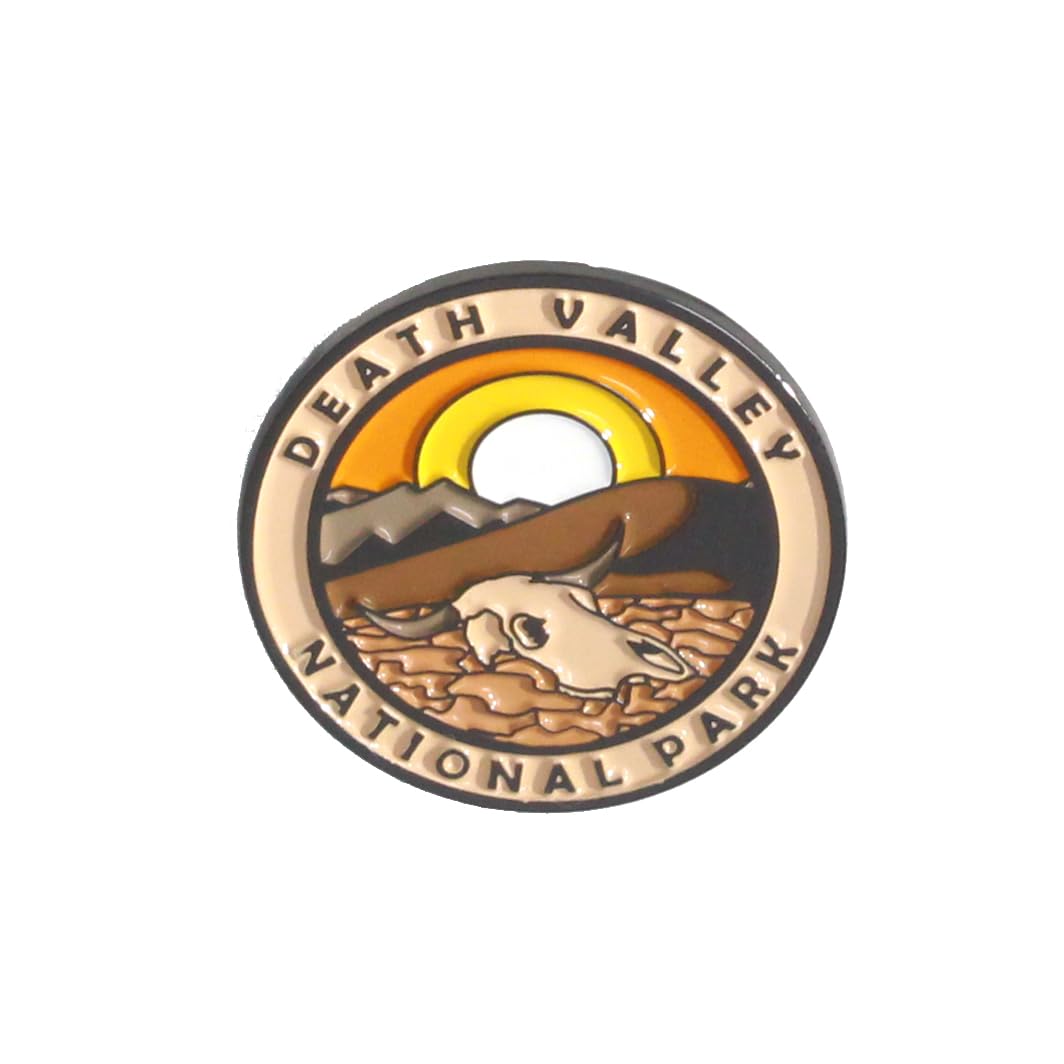 Death Valley National Park
Pin
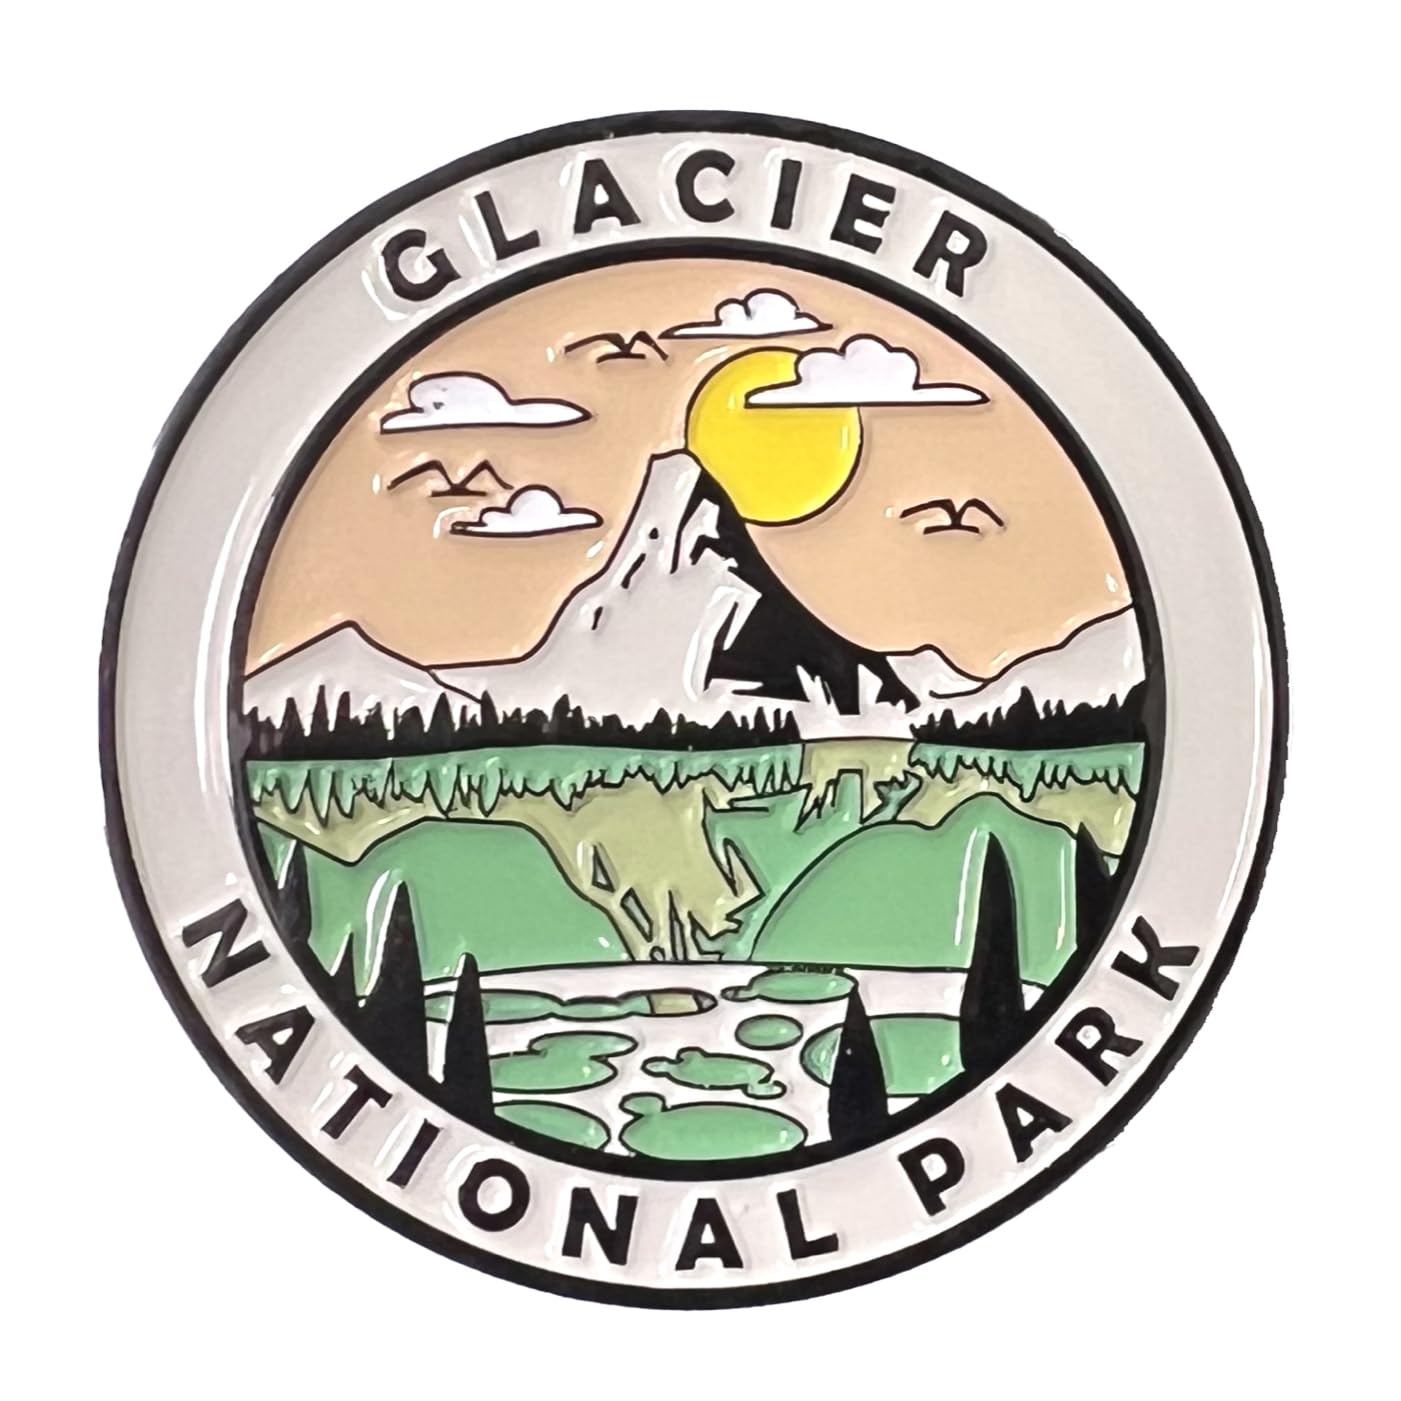 Glacier National Park
Magnet
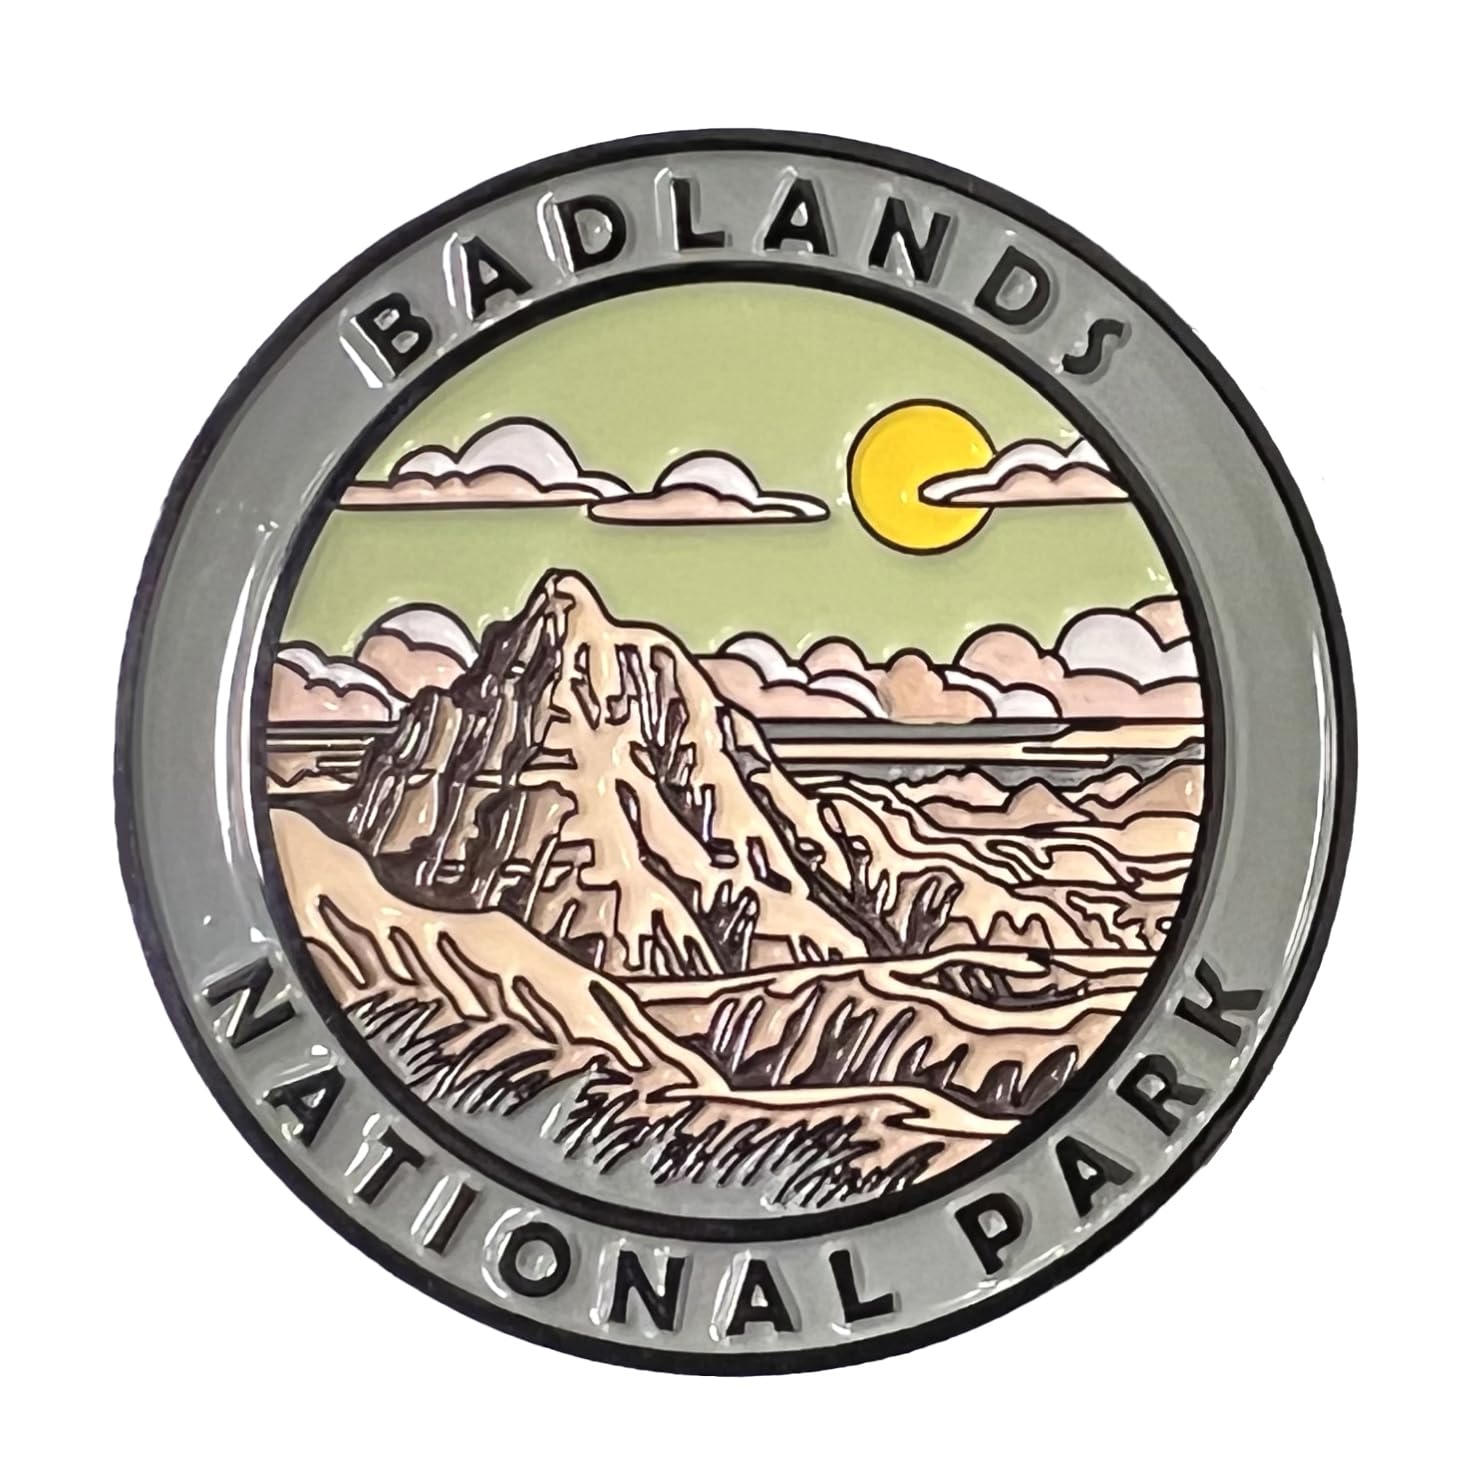 Badlands National Park
Magnet
Amazon Buyer Notes
What collectors mention after the trip
28 linked products checked
3 products with matching child-ASIN reviews
3 qualifying 4–5 star reviews found
On the car, not the fridge!
Use these magnets on our car. The magnet is strong and they look nice. The size is perfect for allowing multiple magnets to be used. Looking forward to adding more as we visit more national parks.
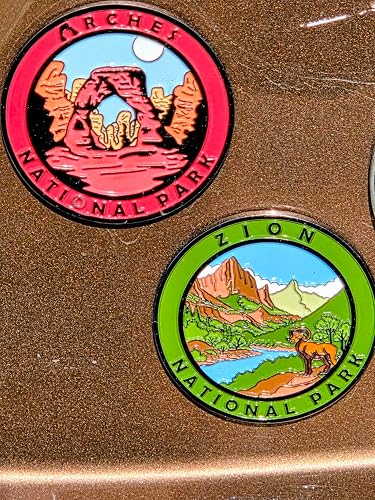
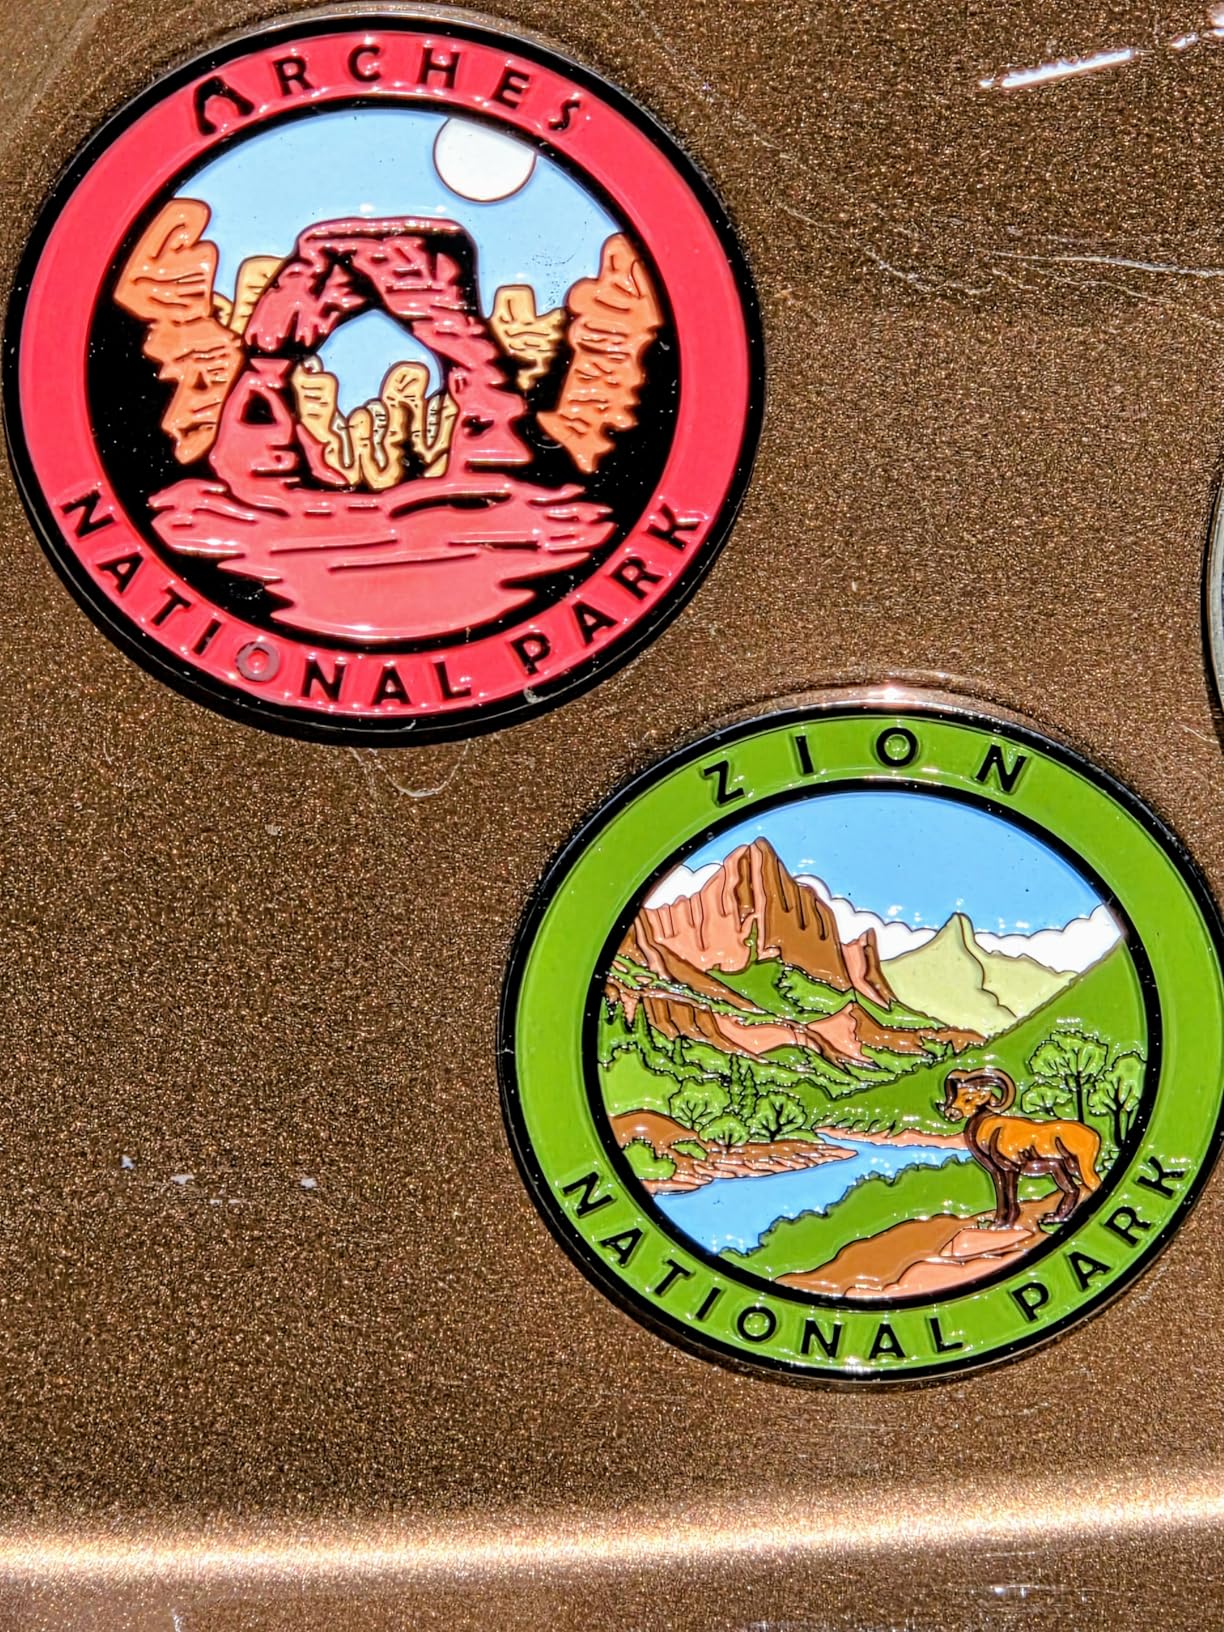
Awesome Product!
Love these magnets! They are exactly what I was looking for to start a collection of the places I have been to. They are high quality and the details in the artwork are beautiful!...
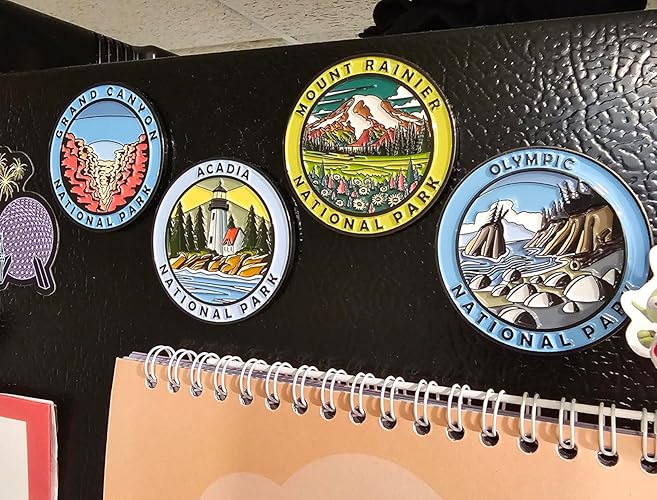
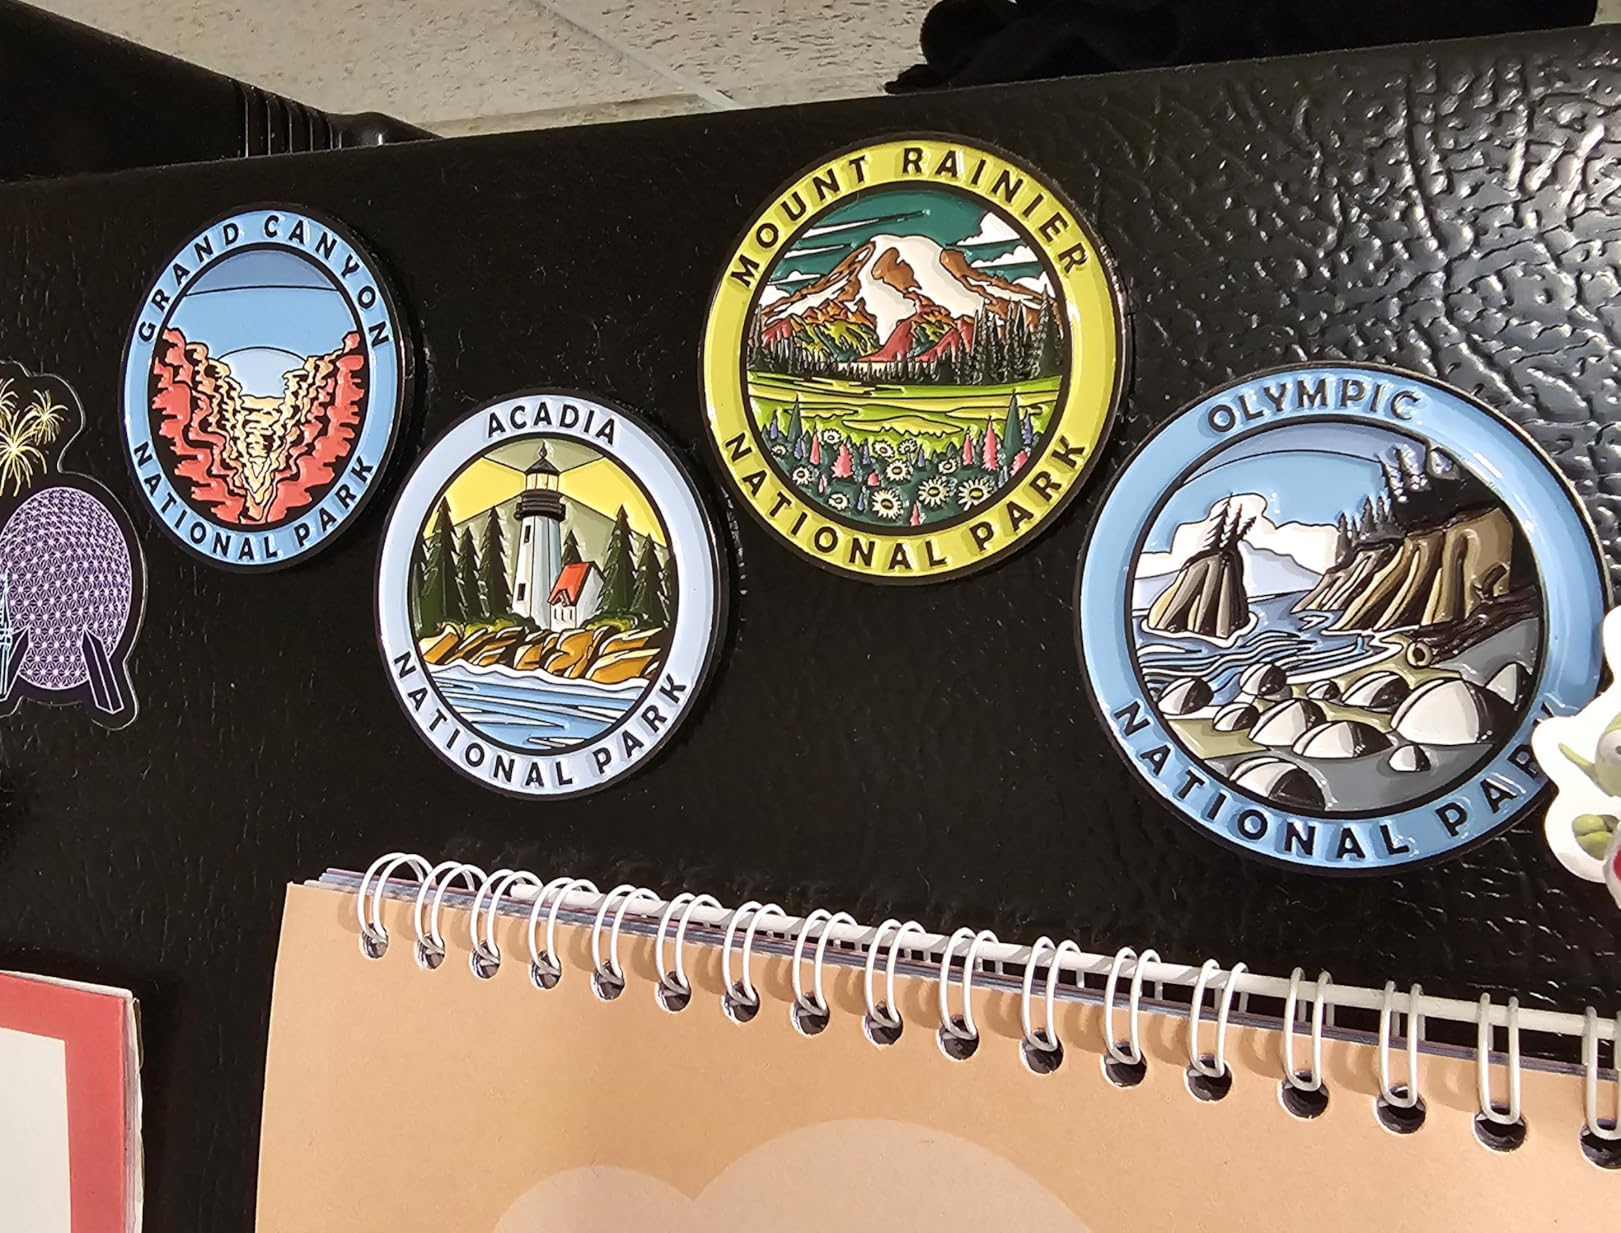
You wont' regret this purchase
I purchased these magnets as a gift and they are much more impressive than I was even expecting. There is beautiful, radiant colors in each magnet. They stick well on the fridge. They are larger than i imagined too....
Bryce Canyon National Park / B0DBG235CB / Verified PurchaseView the reviewed product